One of my most cherished Christmas traditions is baking a bunch of Christmas goodies to share with the ones I love. Every year of my childhood, my mom would make delicious treats during the holidays…fudge, sugar cookies, caramel popcorn, peanut butter kiss cookies, gingerbread cookies,…the list goes on. She would package them up and send them to family, take them to work to share with her co-workers, and of course, we would always keep some to enjoy at home!
When I was old enough, I joined my mom in the kitchen. I will always remember the times that we’ve shared over the years…laughing, spreading flour everywhere, running out of counter-space, burning up mixers, and creating wonderful memories (and delicious treats)!
Although, we may not be able to get together every year for a Christmas baking extravaganza, we both still spend our December weekends mixing up our favorite holiday goodies!
Italian Pizzelles
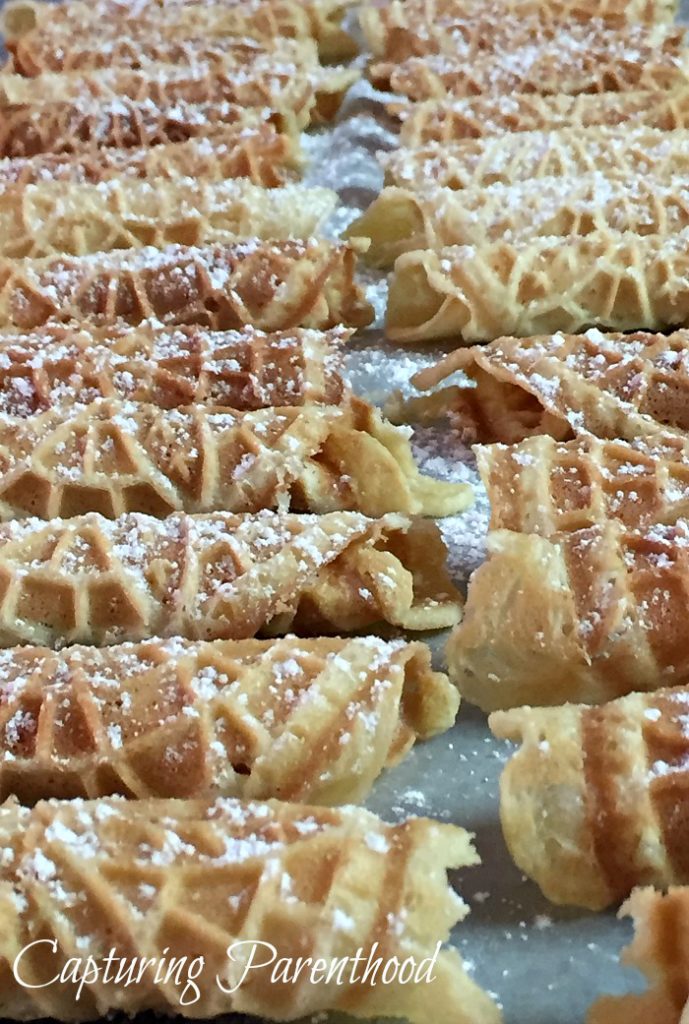
I have wonderful memories of helping my mom make Pizzelles at Christmastime when I was a little girl. I was usually in charge of sprinkling on the powdered sugar right after they came out of the hot Pizzelle iron. These crunchy and delicious cookies always made our house smell so delightful. Eventually, our Pizzelle iron broke and they became a thing of the past…all until I got married…and excitedly placed a Cuisinart Pizzelle Iron on my wedding registry!
I have found that most people I’ve met, are not familiar with these delectable cookies — including my (now)husband. When I told him that we “just had to” put a Pizzelle iron on our registry list, he looked at me dumbfounded. “What on earth could we possibly need one of those for?” Granted, he had never eaten a Pizzelle in his life. Well…our first Christmas as a married couple, I proudly whipped up a batch of these Italian Pizzelles…and the rest is history. In fact, my husband always requests a second batch, and has often told me that he thinks that Pizzelles are a type of cookie that we should make every month…not just at Christmas! He’s really changed his tune!
My go-to Italian Pizzelle recipe is one-and-the-same from my childhood. Our Rival Pizzelle & Waffle Maker may have gone to the wolves, but my mom made sure to hang onto the little recipe book (which she passed down to me, after my wedding).
So…if you don’t already have one, you will need to acquire a Pizzelle iron to make these…but I promise you, it will be money well spent. You won’t regret it!
Ingredients: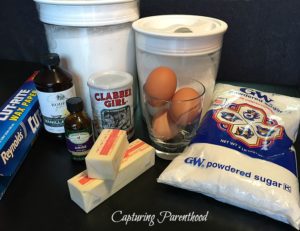
- 3 Eggs, beaten
- 3/4 Cup Sugar
- 3/4 Cup Butter or Margarine, melted
- 3/4 – 1 Cup Flour
- 1 tsp. Baking Powder
- 2 tsp. Anise Extract
- 1 tsp. Vanilla Extract
Instructions:
- Add and beat ingredients together in the order listed (use the smaller amount of flour for thinner Pizzelles). Note: I like them thicker, so I always use the full cup of flour.
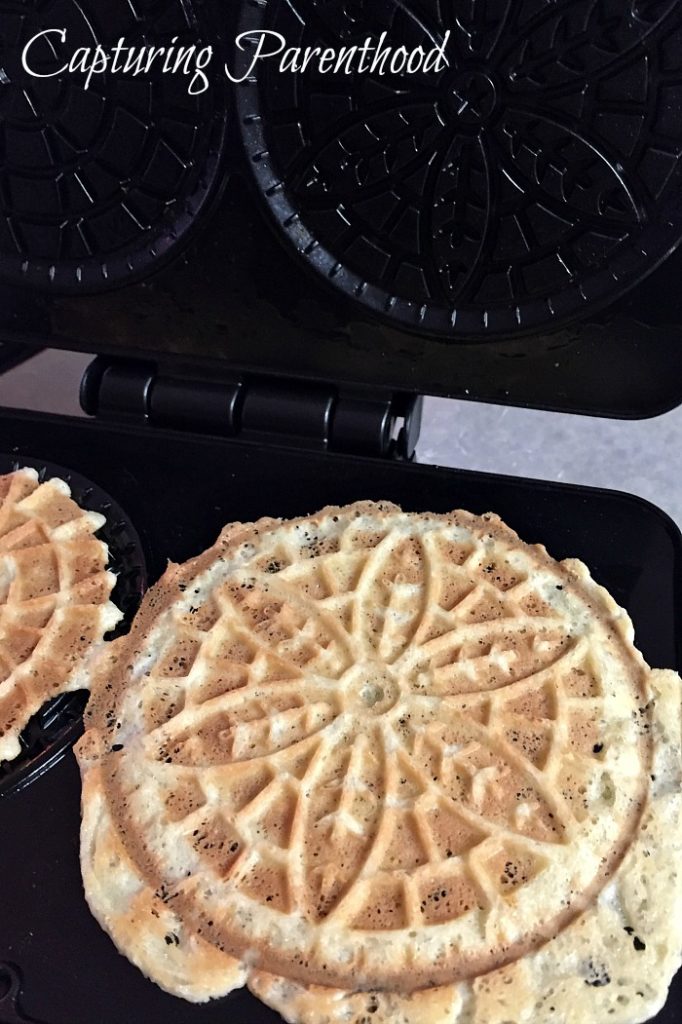
- Batter should be thick, but flow from a spoon. Place about one tablespoon of batter in the center of both sections of the pre-heated grid.
- Close the lid and allow to cook until steaming stops (about 45-60 seconds). Note: My Cuisinart Pizzelle Maker has indicator lights to let you know when the cookies are done. I typically have mine set anywhere between 3 and 3-1/2.
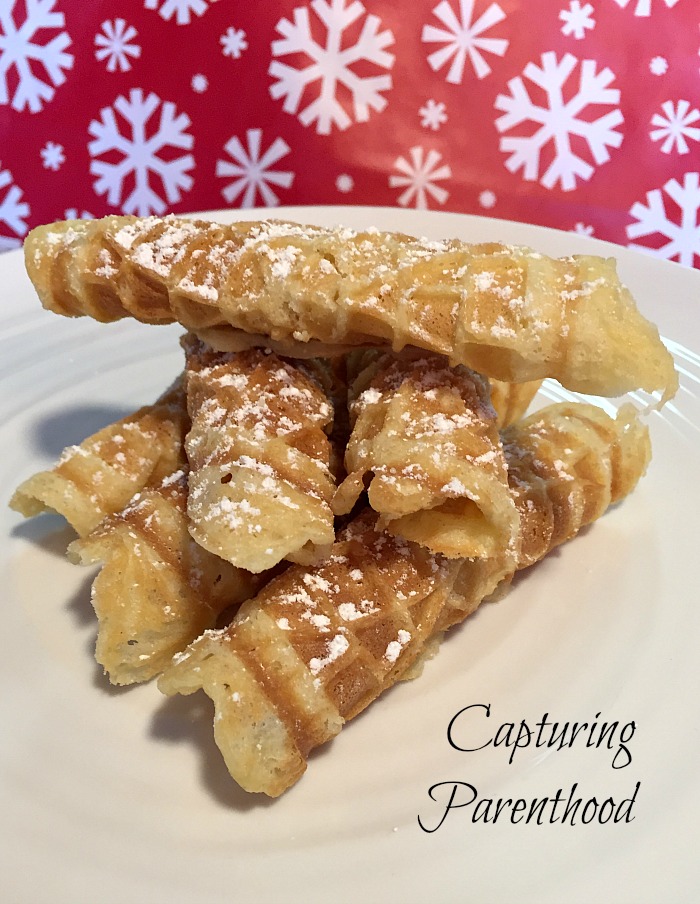
- Carefully remove with a fork and place on a wire rack or wax paper. Note: You can let them cool flat, however, I like to immediately roll mine into a cylinder when they come off of the iron. They are notorious for being crumbly and I find that they are easier to enjoy (and less messy) when they are all rolled up.
- Dust with powdered sugar and store in an airtight container.
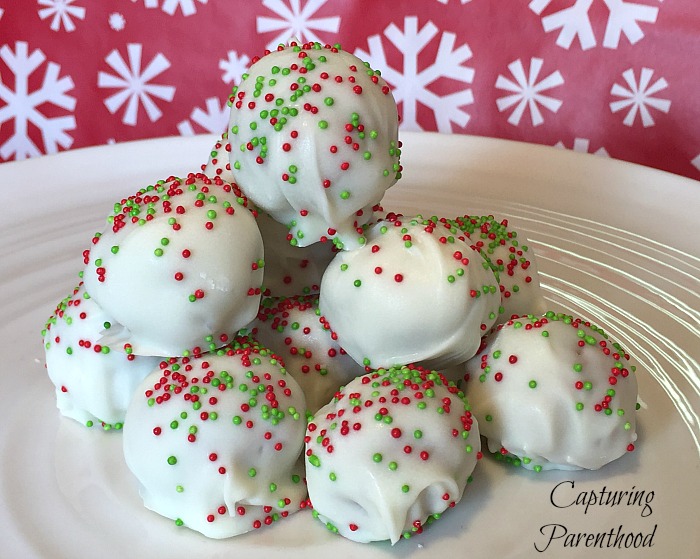
Christmas Sugar Cookie Truffles
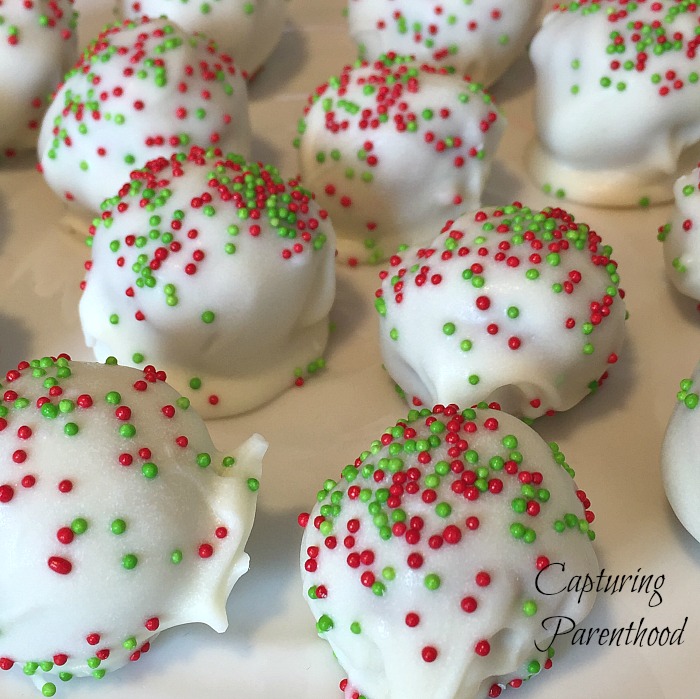
This was my very first year trying these Christmas Sugar Cookie Truffles that I found on If You Give A Blonde A Kitchen, and I can tell you one thing for sure…it won’t be my last! These little bite-sized creations are heavenly!
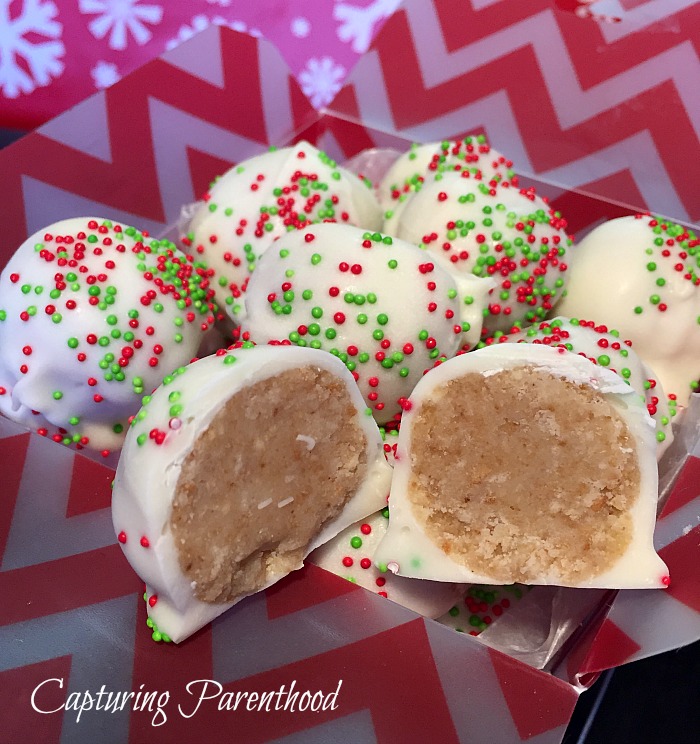
My mom and I have been baking the same “secret recipe” sugar cookies every holiday season. They are by far my ultimate Christmas indulgence…so when you pair your favorite homemade sugar cookie recipe with some cream cheese, melted white chocolate, and sprinkles…it can only get better!
Now, I must admit…I’m still slightly partial to my frosted sugar cookies (I always will be)…but I can guarantee that I will make these truffles for years to come – thanks for the wonderful idea, Haley!
For the recipe, please visit: http://www.ifyougiveablondeakitchen.com/2016/10/31/christmas-sugar-cookie-truffles/.
Reindeer Rice Krispies
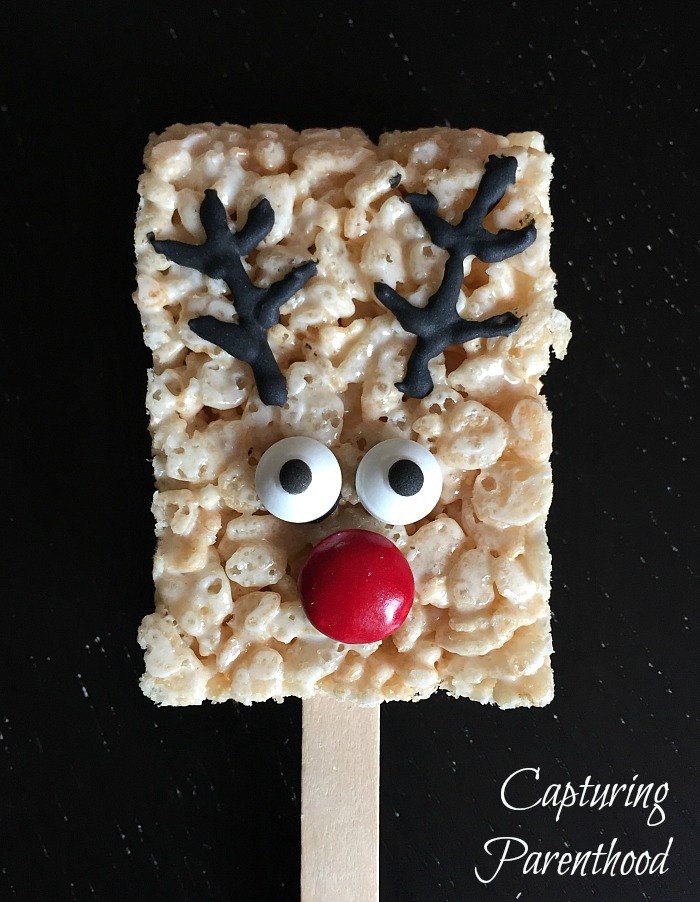
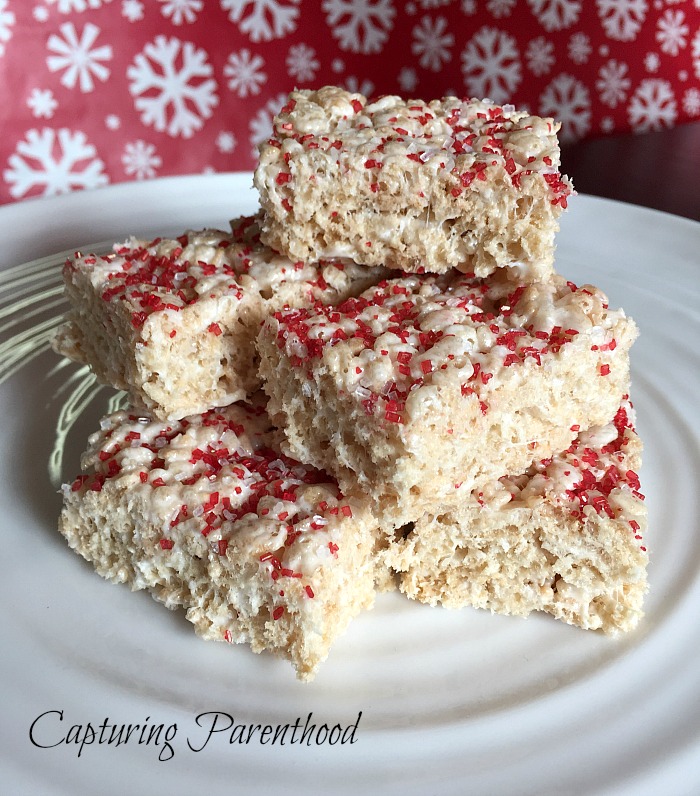
Rice Krispies Treats are always on my holiday baking list (not that you need to bake them)! I typically just go with the standard squares covered with Christmas sprinkles (see picture below)…and while still incredibly tasty…I decided to change things up a bit this year.
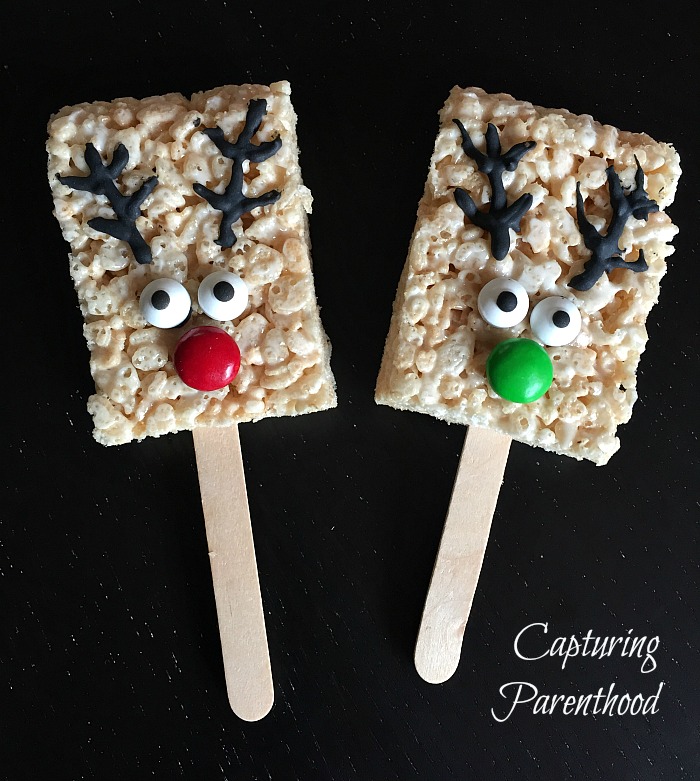
I fell in love with these Reindeer Rice Krispies when I found them on Thirty Handmade Days (http://www.thirtyhandmadedays.com/reindeer-rice-krispies/)! I made a few very slight adjustments to Mique’s recipe, but all in all…these delicious treats are super easy to put together. All you have to do is stir up a batch of Rice Krispies Treats (using the coveted recipe on the back of the Rice Krispies box). Once the Krispies were set, I cut them into rectangles and inserted a popsicle stick. Mique used craft spoons, but either will work just fine. Then I took my candy eyes and my red (and green) M&M’s and “glued” them to the treats using a royal icing pen (found with the cake decorating items in your grocery store). The original recipe uses dark cocoa candy melts for the “glue,” but I found that the icing pen worked just fine. I went ahead and drew on my antlers using the same icing pen.
My daughter was so excited when she laid eyes on these cute little reindeer…I might just have to up my Rice Krispies Treat game with these reindeer every year, instead of using the good ole’ sprinkle technique.
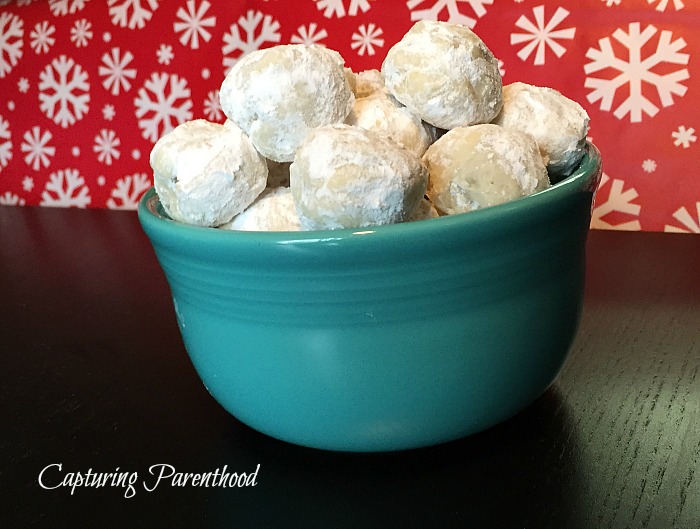
Chocolate Kiss Powder Puff Cookies
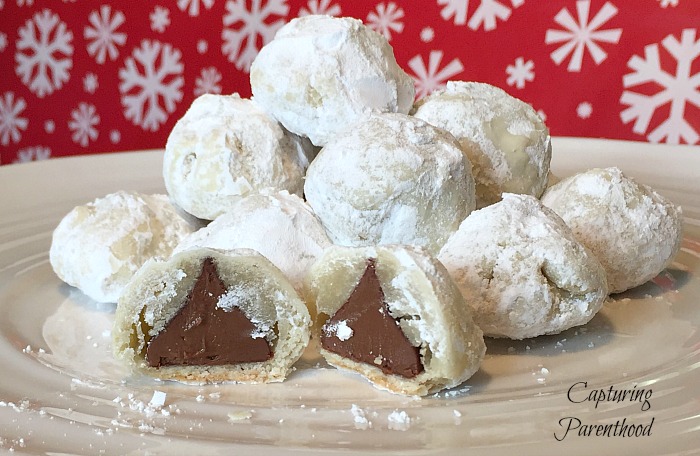
It wouldn’t be Christmas if you didn’t have a cookie covered in powdered sugar – and if I were you, I would make this one from Averie Cooks. I mean, how could you go wrong with a cookie that’s hiding a Hershey’s Chocolate Kiss inside? Aside from the delicious chocolate surprise in the middle, these cookies are so light and flaky (thanks to the pie crust exterior) and they only require three ingredients!
For the recipe, please visit: http://www.averiecooks.com/2014/09/chocolate-kiss-powder-puff-cookies.html#.
Peanut Butter Reindeer Cookies

These Peanut Butter Reindeer Cookies are incredibly adorable and delectable to boot! Not to mention that they will be a huge hit with your kids! I found this idea on the Baker Girl blog a few years back and they immediately made our must-bake list of holiday goodies each year.
FYI – The recipe calls for mini chocolate-covered pretzels, which I have never been able to find in a local store, so I’ve always made do with the regular-sized chocolate-covered pretzels and have (carefully) cut each one in half with a very sharp knife, to create a pair of antlers.
For the recipe, please visit: http://buddingbaketress.blogspot.com/2010/12/peanut-butter-reindeer-cookies.html.
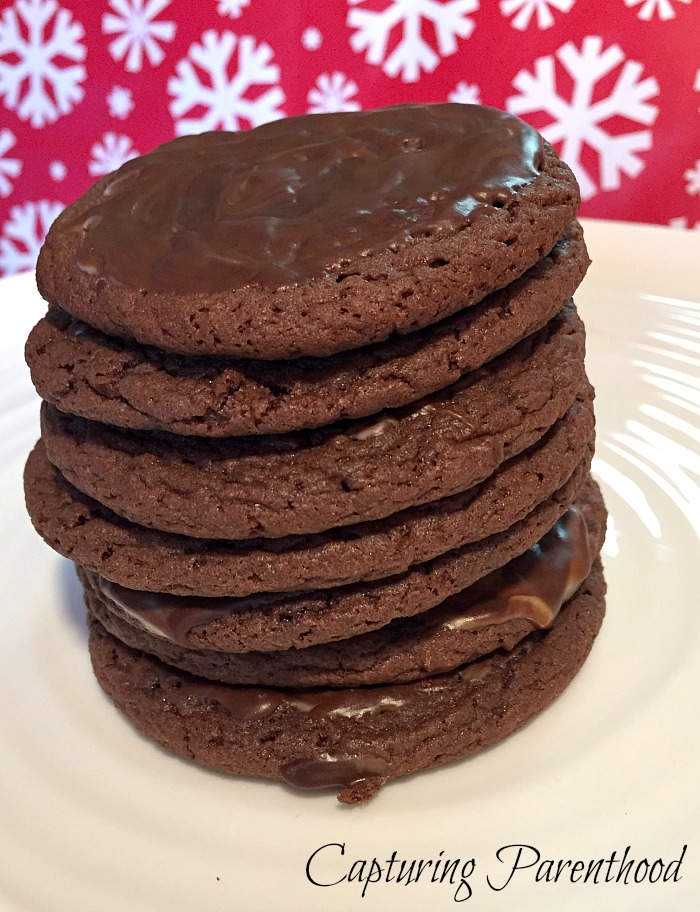
Andes Mint Cookies
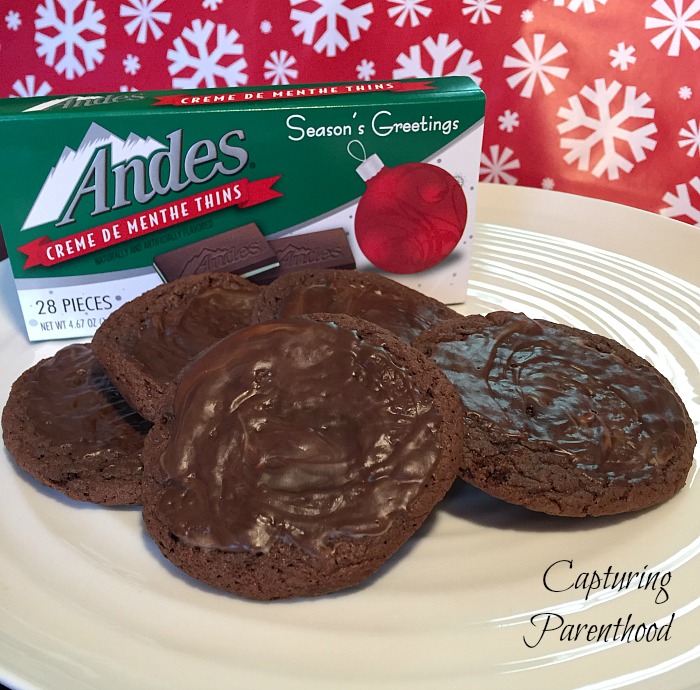
I love Andes Mints during the holidays! They are bite-sized and simply delicious! My love for them is so well-known, that I always find a box in my stocking come Christmas morning (thanks Santa!) and every year, my best friend mails me a box along with my Christmas gifts – without fail! In case you were still questioning my love and enthusiasm for these perfect little creations, perhaps you will notice how many exclamation points I’ve used in the previous three sentences.
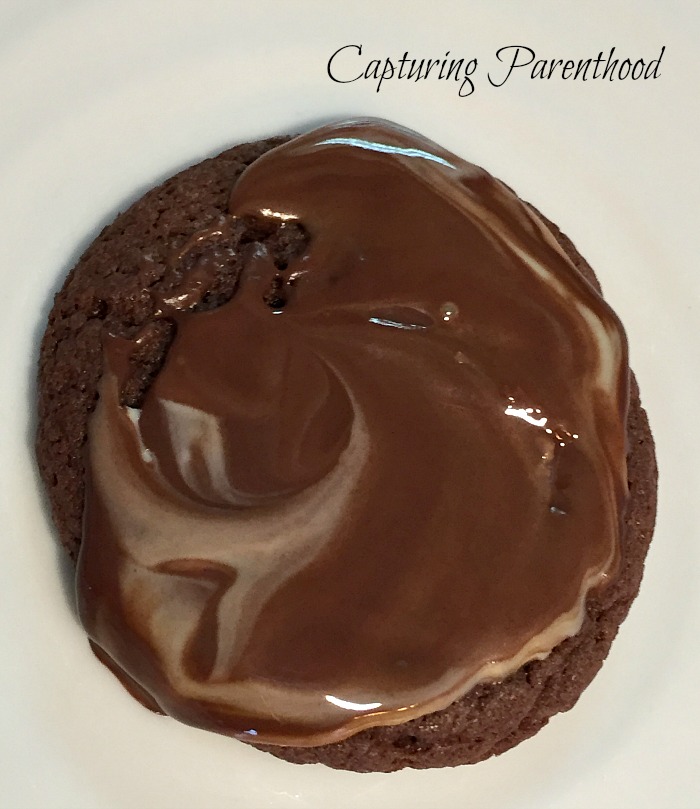
Anyways…when I happened across these Andes Mint Cookies on the Six Sisters’ Stuff blog, I knew they were a must try this Christmas. The best part…these cookies only require four ingredients and are so easy to whip up. They are soft and chewy and they made my kitchen smell delightful!
For the recipe, please visit: http://www.sixsistersstuff.com/2011/04/andes-mint-cookies-recipe.html?showComment=1323739192245.
While my little nugget helped with some stirring, and lots of sprinkles…I’m looking forward to the day when she will fully be able to join me in the kitchen, so that we can start our own Christmas baking tradition!
What are some of your favorite go-to holiday treats? Which Christmas goodies do your kids absolutely love? I would love to hear about them – leave me a comment!


Aww, that was so nice to read! I laughed about the mixer – that was a total cookie weekend bake. I was exhausted after that one! ❤❤Mom
I’m glad you liked it! And that was a really exhausting weekend of baking…but, we made some really tasty goodies.Thank you for sharing this Christmas tradition with me!