Hippity hoppity, Easter’s on it’s way! I don’t know about you, but we’ve started crafting with lots of pastel colors lately, in preparation for Easter. And I wanted to take a moment and share our favorite Easy Easter Crafts, that we’ve created this year, so that you and your little ones can hop in and join the fun!
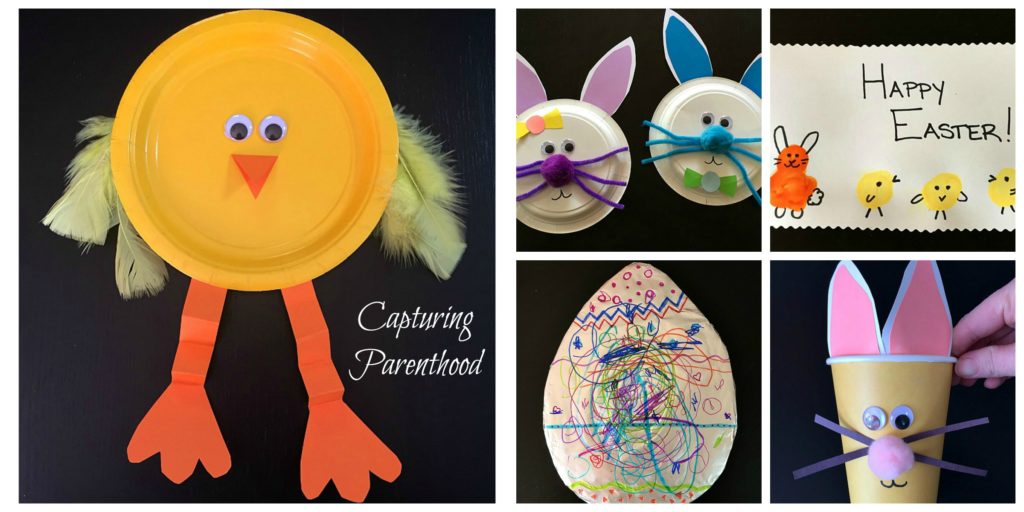
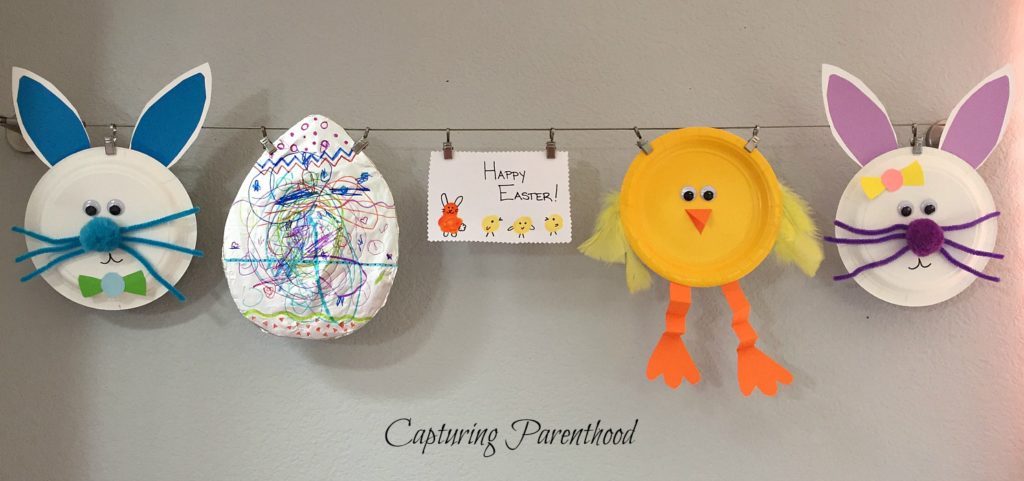
Paper Plate Chick
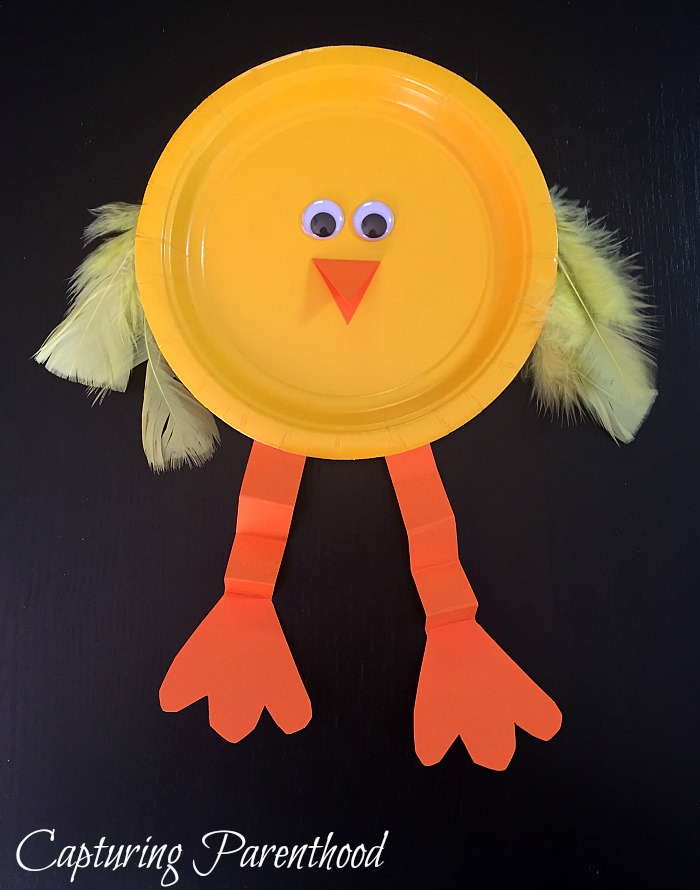
I came across a picture of this cute little Paper Plate Easter Chick on the Chickabug blog, where Heather shared an awesome list of Easter Crafts for Kids (http://blog.chickabug.com/2015/03/easter-crafts-for-kids.html). I took one look at this adorable little chick and just knew that I needed to make one with my little nugget.
All you need to create your own Paper Plate Chick, is a yellow paper plate (you could also use some yellow paint on a white paper plate), some yellow feathers (you can find these at your nearest craft store), some orange construction paper for the beak, legs, and feet, and a pair of googly eyes. Cut out some long strips of orange paper and fold them accordion-style. Cut out two webbed feet and then fold the orange paper in half and cut out a triangle for the beak. Glue all of the components onto your paper plate. Once dry, have a little bit of fun with your toddler, bouncing the springy little chick around your house. Feel free to make some cheeping noises, for added effect.
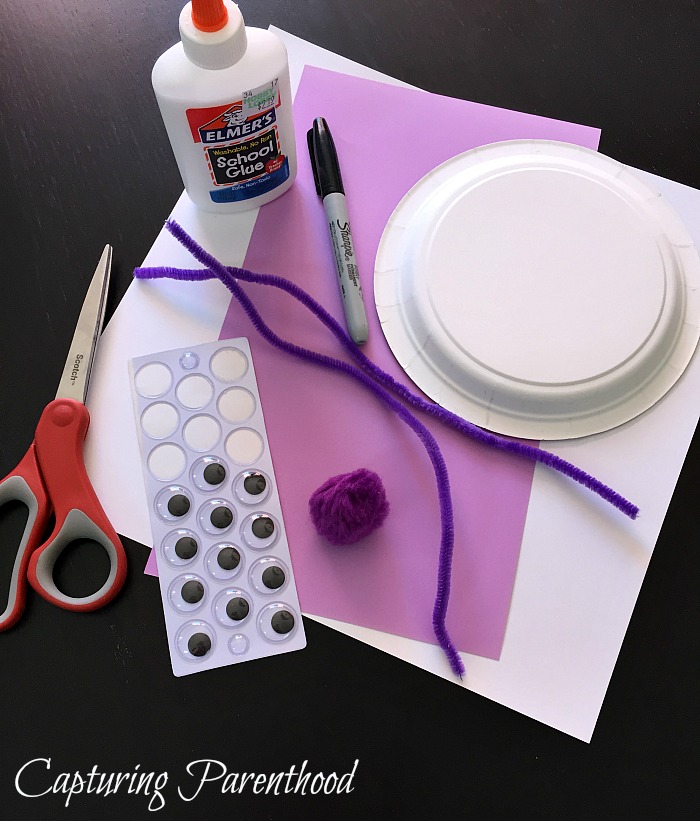
Paper Plate Easter Bunnies
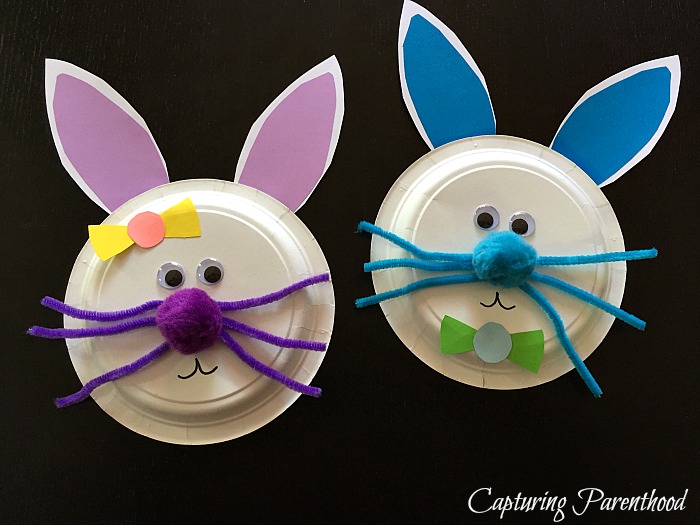
Grab a couple more paper plates (yep, I like to keep it easy and simple when crafting with my toddler) and get to work creating some fun Paper Plate Easter Bunnies! You likely already have all of the necessary supplies for this craft. Aside from the paper plates, you need some construction paper (I let my little nugget choose what color she wanted her bunnies to be), some pipe cleaners and poms in coordinating colors, some googly eyes, and a black marker to draw on the bunny mouths. We also decided to add a couple of colorful paper bows for an added flourish!
I found this adorable idea on The Best Ideas for Kids blog (https://www.thebestideasforkids.com/paper-plate-easter-bunny-craft/).
Tinfoil Easter Egg
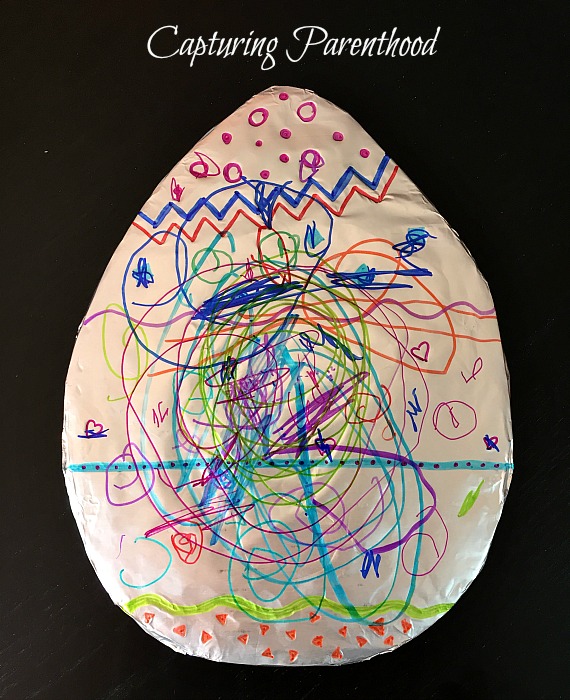
Coloring on shiny tinfoil with vibrant Sharpie markers is something that my little nugget absolutely loves doing. She gets to let her creativity run wild, and she gets to use mommy’s extra special markers! If you’ve followed along with us for awhile, you may remember that we did this same craft (in the shape of a heart) as part of our Heart-Filled Valentine’s Day Crafts (http://capturingparenthood.com/heart-filled-valentines-day-crafts-2017/).
This craft is really easy to setup. All I did was carefully cut an egg shape out of a cardboard box, using an Xacto Knife. Then you just cover the egg in tinfoil and hand it on over to your toddler, along with some colorful markers. Feel free to join the fun and color along with them, or let them create a masterpiece all on their own.
Bunny & Chicks Fingerprint Craft
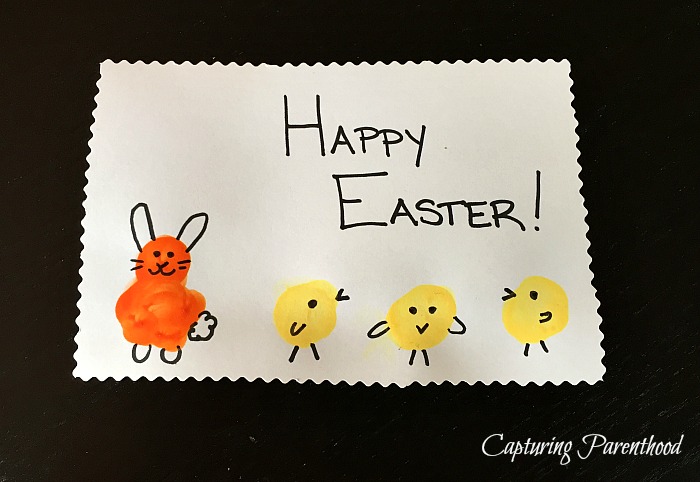
I had saved this Easter Bunny & Chick Fingerprint craft from Heather (again!) over at the Chickabug blog (http://blog.chickabug.com/2014/04/easter-bunny-chick-fingerprint-craft.html) a long time ago, and just found it again this year when I was scrolling through my holiday board, on Pinterest, looking for more cute ideas. This simple and easy Easter craft will take just a few minutes, but will add the perfect finishing touch to your Easter decorations this year. You could even make a handful of these and send them out to family as Easter cards!
All you need is a piece of paper (or card stock), some yellow and orange paint, and a black marker. In all honestly, my little nugget’s fingertips are still so small that if we just made this using fingerprints, the chicks and bunny would be so minuscule that you would never be able to tell what they actually were. So, we revamped the idea, and did a little bit of circular finger painting instead, and they turned out great! All you need to do is make a few small yellow circles and one orange one. Once the paint has dried, draw on the chick’s faces, feet and wings (using the black marker) and then add the bunny’s ears, face, feet and tail. Feel free to top it all off by writing an Easter greeting!
Paper Cup Bunny
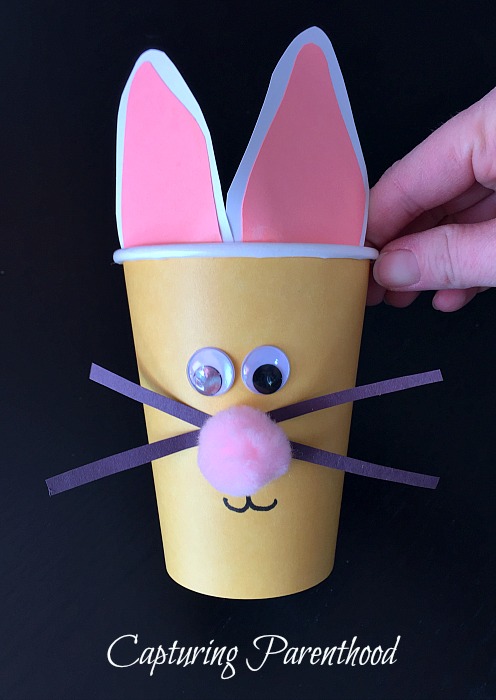
You can never have too many bunnies on Easter, right? That was our motto when we created this quick Paper Cup Bunny craft. You could also use a plastic cup, I just happened to have a paper cup on hand at the time. I guess you could say I was really into utilizing my paper dinnerware during this crafting session. Anyway, aside from the cup, you will need some construction paper for the ears and whiskers, a pair of googly eyes (we should probably buy stock in these, since we use them so frequently), a small pom for the nose, a black marker to draw on the mouth, and don’t forget a big pom for the tail!
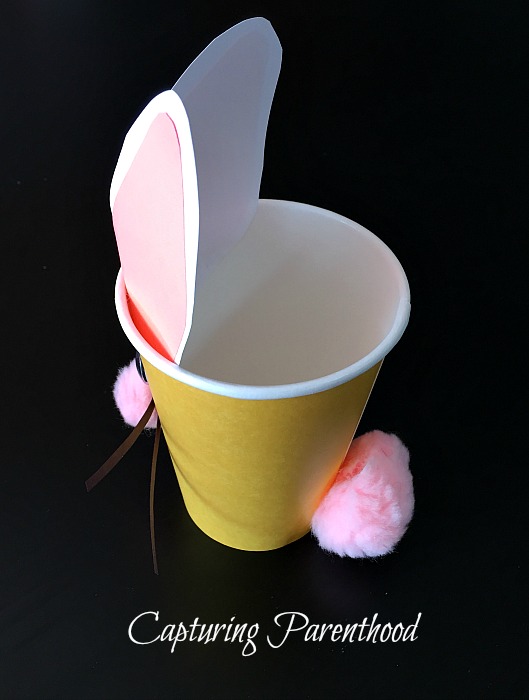
Use some Elmer’s glue to adhere everything to the cup and set it aside to dry. Our bunny has become the new centerpiece on our dining room table!
And there you have it…our favorite fun and easy Easter crafts for 2017! What are some of your favorite Easter crafts to create with your little ones? I would love to hear your ideas, so feel free to leave them in the comments below. And from our family to yours…Happy Easter!