It was not long after my little nugget mastered the Alphabet Song, that I decided we should take it a step further and work on letter recognition. Learning new concepts seems easier when music is involved, because it is both fun, and engaging. I knew that I needed to find a fun and engaging way for my daughter to learn letter recognition, and I’m happy to report that I found the perfect activity! All aboard the Alphabet Train!
Most toddlers I know love trains. They love watching trains, riding trains, playing with toy trains as they chug throughout your house. And most of all, they love making the all-important train noises! Our little nugget became super excited about trains after a trip we took to the San Diego Zoo. At the end of our day of animal adventures, we walked out of the gates and over to the mini railroad that they have setup in Balboa Park. As an adult, the train ride is not all that exciting, but for a two-year-old…it’s amazing! The conductor animatedly exclaims “All Aboard!” and as you depart the station the train makes it signature “Choo Choo!” The trains winds its way past various (fake) animals and, after chugging through a dark tunnel, it makes its way back to the station. Our daughter was so excited about the train ride, she almost completely forgot about the entire day we had spent looking at all of the animals. It was the perfect ending to a perfect day.
So, when I came across this Alphabet Train idea from Polly at Thriving Home (http://thrivinghomeblog.com/2013/11/alphabet-train-toddler-learning-activity/), I just knew that it was going to be the perfect way to teach my daughter her letters! Polly used construction paper and tape for her train, and while construction paper was the starting-off point for my train as well, I wanted the train to be a bit more toddler-proof (i.e. I wanted it to last longer than a few minutes). As I’ve mentioned before, my little one loves to rip paper, so I knew immediately that I would need to do something a little bit different, to make it longer-lasting.
Alphabet Train
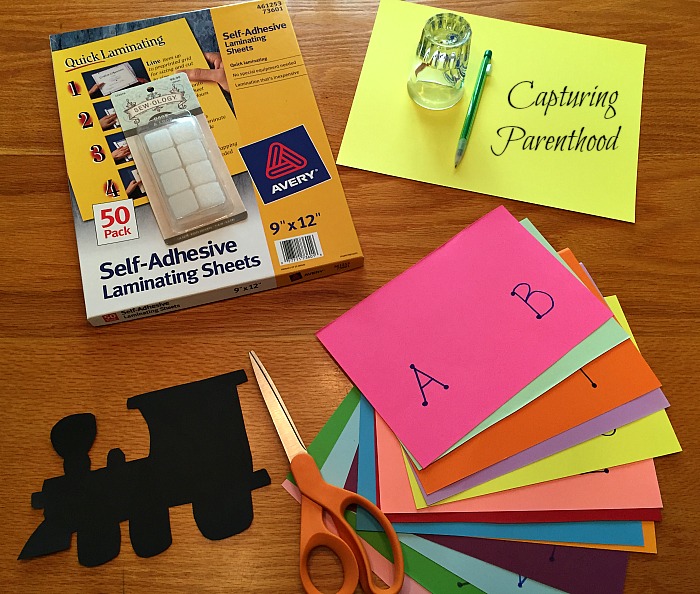
Supplies:
- Construction Paper (in varying colors, including black)
- Sharpie Marker
- Scissors
- Pencil
- Small Round Glass (for tracing the train wheels)
- Avery Self-Adhesive Laminating Sheets
- Small Velcro Stickers (I found mine in the fabric/sewing section of Hobby Lobby)
Instructions:
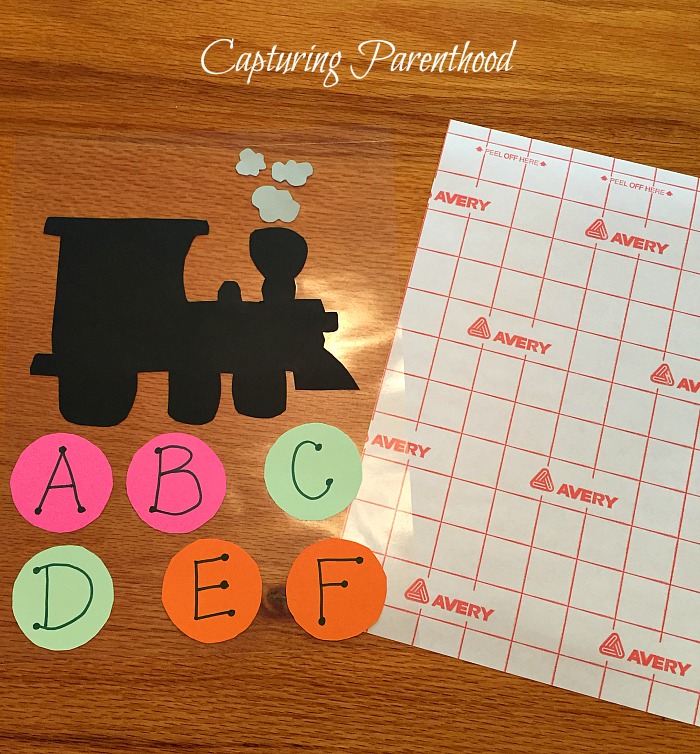
- Cut your train engine out of a piece of black construction paper.
- Cut 13 rectangles (your train cars) out of various colors of construction paper.
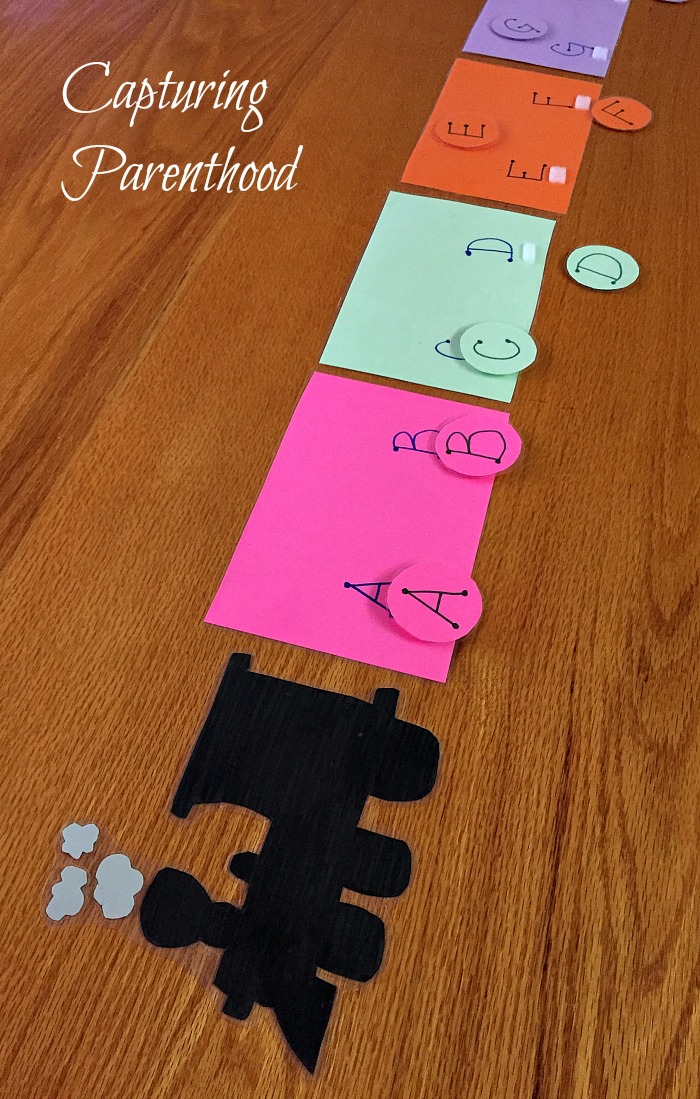
- Using your Sharpie marker, write two letters of the alphabet (in order) on each train car (slightly above the area where the wheels will be), until you have all 26 letters.
- Using a small round glass (I used a shot glass) trace two circles on each of the remaining pieces of construction paper (the ones you cut the rectangles from earlier) and cut out the 26 circles. These are your train wheels.
- Now it’s time to write one letter on each wheel, using your marker. I purposefully chose to match the color of the wheels to the color of the train car they would be attaching to, but you can really do this any way you like.
- Once you have everything cut out and labeled accordingly, it’s time to laminate. Take one laminating sheet and pull of the protective backing, place as many of your paper items (engine, cars, wheels) on the sheet as you can fit, while still leaving a small border around each item so that you can cut them out. Take another laminating sheet and remove the protective backing. Carefully line the two sheets up and then lay the top sheet on top of the bottom and moving from one side to the other, gently and firmly seal the sheets, while also removing any air bubbles.
- Continue the laminating process until all of your components are protected in plastic.
- Cut out each component, leaving a small border of laminate around each object.
- The final step is to add the Velcro stickers. Make sure to choose which side of the Velcro you want to use on the train cars, and which side you want to use on the train wheels. It really doesn’t matter, either way, you just want to be consistent. I chose to use the fuzzier-side of the Velcro on the train cars. Stick two stickers on each train car, right below your letters (where the wheels go). Stick the opposing, pokey-side of the Velcro stickers on the back of each wheel. You can also cut the Velcro stickers into smaller pieces, if so desired.
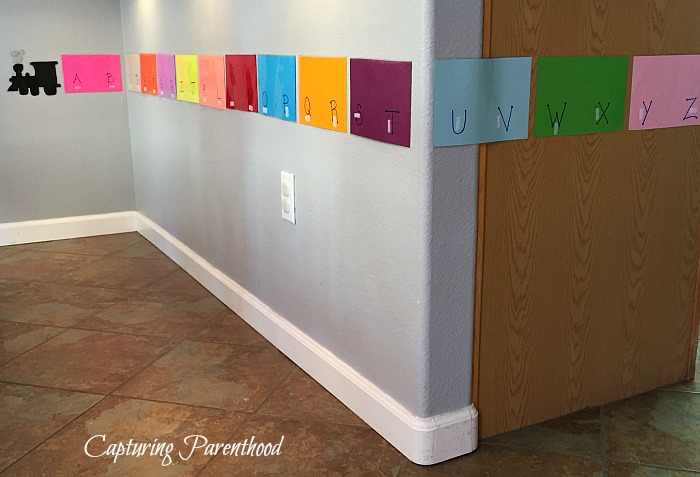
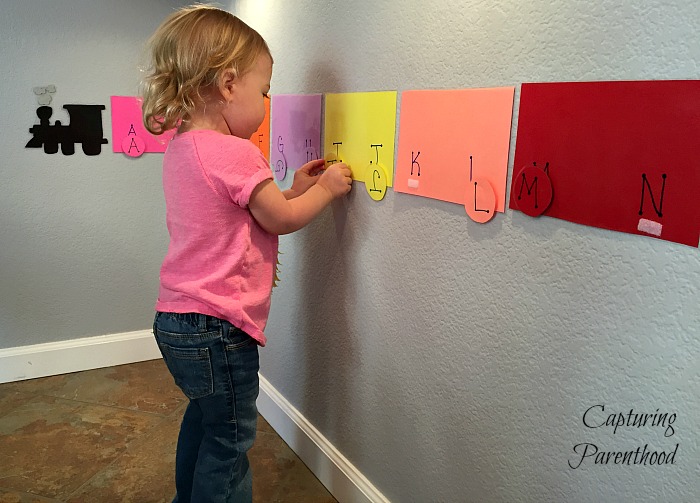
- Tape your engine and train cars to a long, open wall, at toddler height (our train turned a small corner, because we did not have a long enough, open wall in our house).
- Hand the wheels to your toddler and let the fun begin!
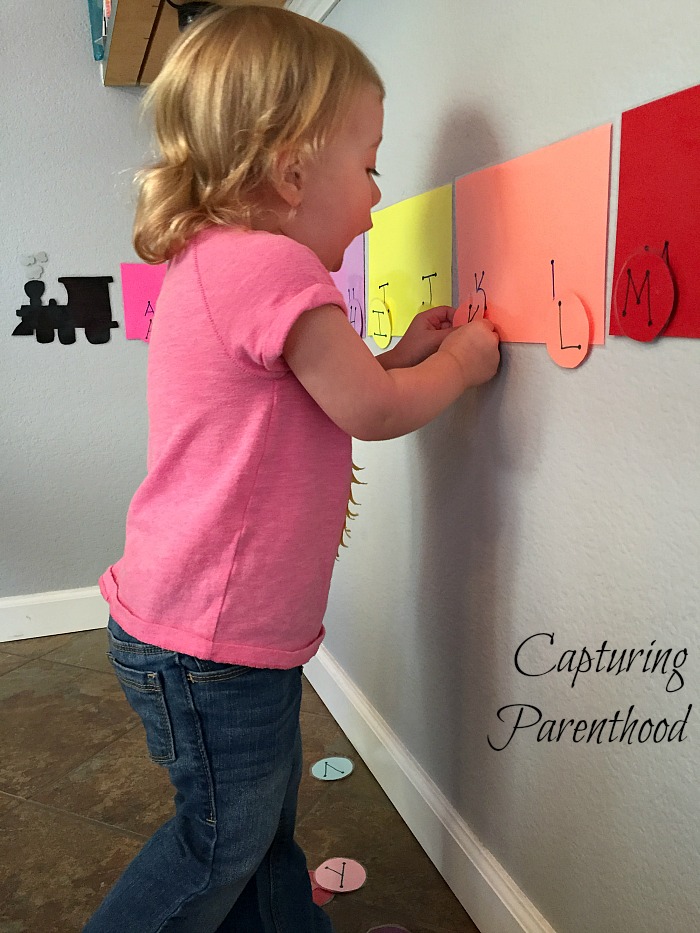
Our daughter was so excited when she returned from school, the day I had taped up our Alphabet Train! She was immediately interested and engaged. When we first started this activity, it was more fun for her to just attach the wheels to the cars. She did not pay any mind to whether she was actually matching up the letters. This evolved into her matching the colors of the wheels to the train cars. She matched the colors really well, but the letters still needed work, as they were more times than not, backwards on the train car. And then, it all just clicked, and she started not only looking at the colors, but also the shapes of the letters and before we knew it, we would walk by to see all of the wheels in exactly the right spot!
We always made this activity a little more fun, by making some awesome train noises. When we were bored with that, we would integrate our Alphabet Song, as we placed each wheel on the train.
I wholeheartedly believe that children learn things quicker, and retain them longer, when they are taught using something active, fun, engaging, and let’s not forget, musical! Education doesn’t have to be boring. Whenever you can, think of ways to make it fun…use sound effects, sing a little ditty, get up and move around. It will be more enjoyable for everyone involved.