During the season of giving, I love finding a few Christmas crafts that our little nugget can create with her own two hands…crafts that she can then gift to her teachers, grandparents, and other special people in her life. If you were following along on Tuesday, you already know that we crafted some snowman ornaments to give to our daughter’s teachers this year. So, we made these super sparkly and festive Pom Photo Ornaments for her grandparents (shh…we don’t want to spoil their surprise)! 🙂
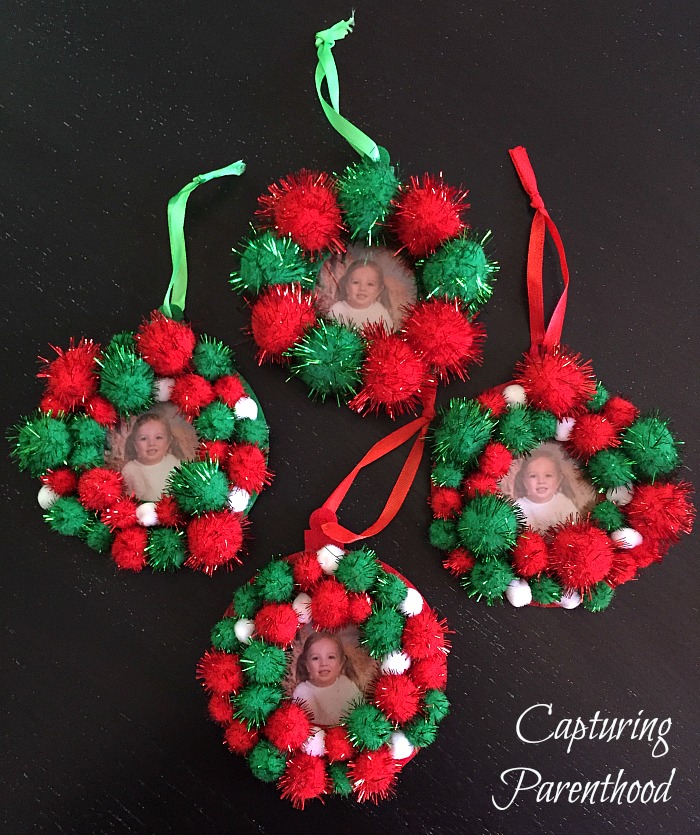
You see, picture day at our daughter’s school took place a little over a month ago, and every single photo package included several wallet-size prints. I never really have a need for wallet-size photos, so after tossing a few into some family Christmas cards, I still had a few leftover. That’s when I came across Debbie’s Pom Pom Christmas Photo Ornaments post, over on One Little Project At A Time! And I decided that these photo ornaments would be the perfect use for our leftover wallet-size photos – thanks Debbie!
Now, I had every intention of following Debbie’s instructions and utilizing a cardboard cereal box as the photo frame, but then I happened to stumble upon the perfect alternative during a quick trip to Hobby Lobby. A 4-pack of holiday felt photo ornaments practically jumped into my cart, as I walked down the center aisle. The entire pack was priced at $2.99…AND all Christmas items were 50% off. I mean, how could I pass that up? 🙂
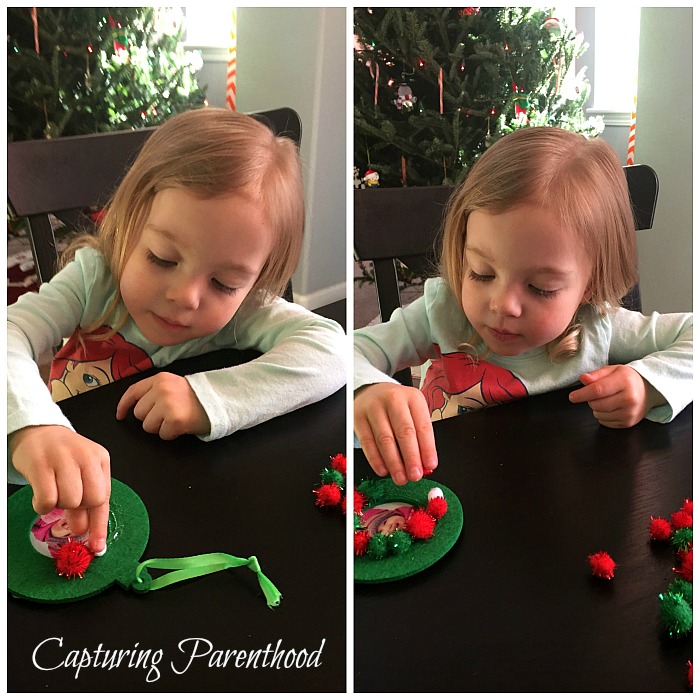
Needless to say, I grabbed a pack of the felt photo ornaments (along with a bag of sparkly Christmas-colored poms), and I headed home to get crafting with my little nugget.
Pom Photo Ornaments
Supplies:
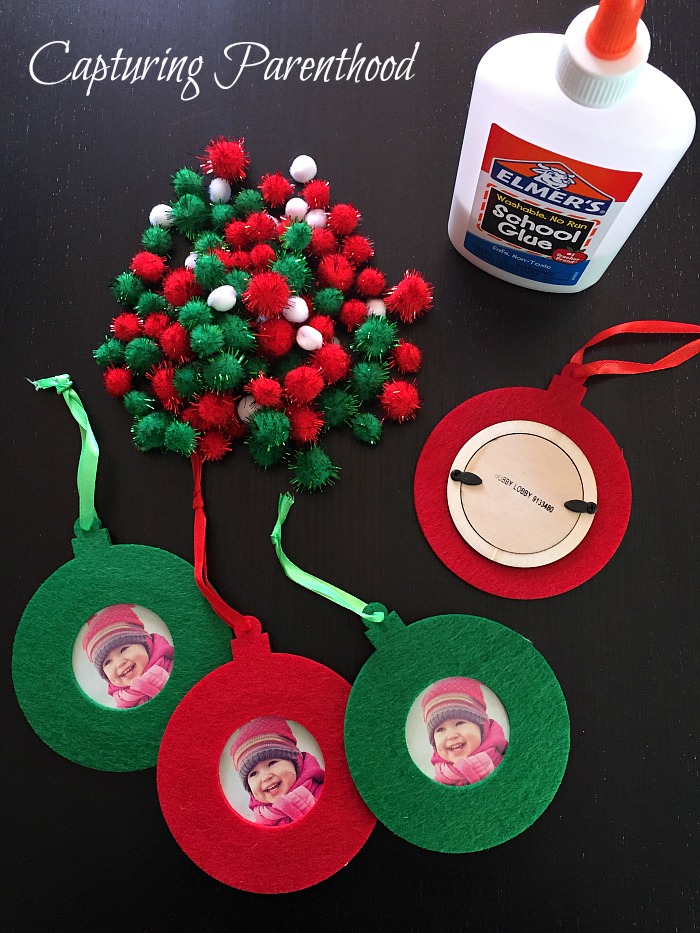
- 1 Pkg. Felt Photo Ornaments (I found mine at Hobby Lobby)
- 1 Bag Christmas-Colored Poms
- Hot Glue Gun **Please ignore the Elmer’s glue in the above photo. I intended on using it, but it just would not work.**
- Photos
Instructions:
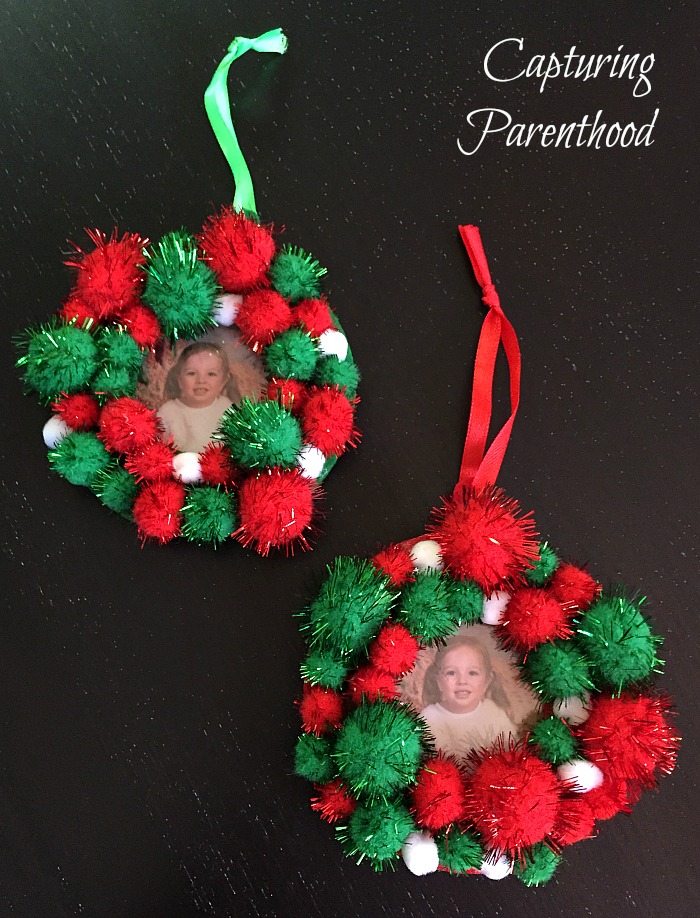
- Dump the poms on the table so that they are readily accessible for your little ones. I would also take this opportunity to have a quick safety talk about the hot glue gun. I informed my little nugget that the hot glue gun gets extremely hot and that it was only for mommy to touch. I also told her to be careful placing the poms on the ornament, so that she kept her fingers out of the hot glue. 🙂
- Working with a small section of an ornament at a time, squeeze some hot glue out onto the top of the felt ornament (making sure to steer clear of the photo portion in the center). Let your little ones place the poms on top of the glue, in the design of their choosing.
- Continue working your way around the ornament, until all of the felt has been covered with poms. Using your palm, press all of the poms down firmly onto the ornament. Set aside to dry.
- Complete this process for each ornament.
- Once all of the poms are stuck in place, you can add your photos. I find the easiest way to get the photo-sizing correct, is to utilize the paper photo insert (that comes with the ornament). Lay it on top of your photo (over the part of the photo that you would like in the frame) and gently trace around the outside. Then cut around the outline, place the photo into the ornament frame, and adhere the frame backing. Ta Da!
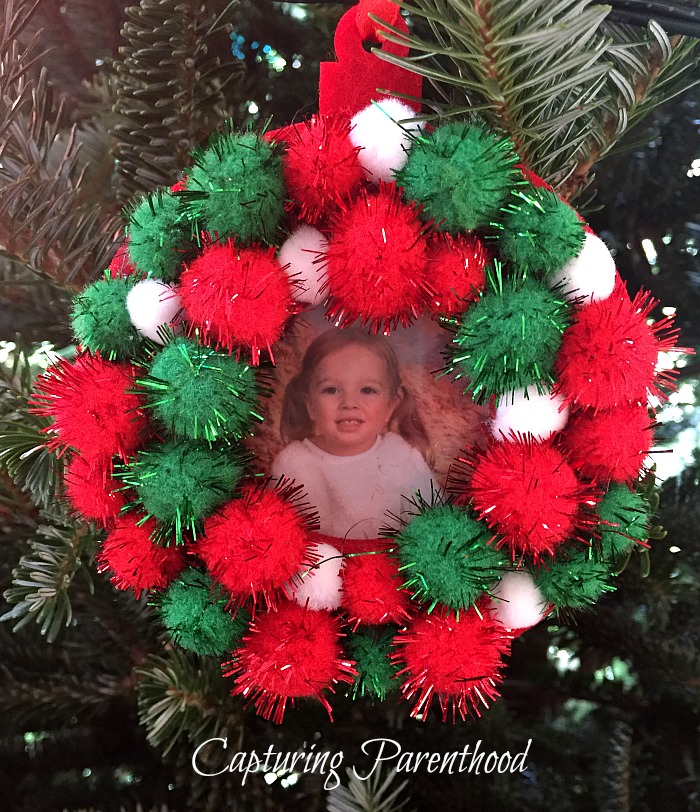
- Wrap up your kiddos heartfelt and personalized gifts. Hand them out to teachers, grandparents, neighbors, friends, etc. And if you have an extra…grab a hook, and hang it from your family Christmas tree! The handcrafted ornaments on our Christmas trees are always some of my favorites!
Does your family have any handcrafted Christmas ornaments that they simply love? Feel free to tell us all about them in the comment section below.
HAPPY HOLIDAYS!
