The bees are constantly buzzing in our yard during the summer months…bouncing from flower to flower, sucking up nectar. Our little nugget started to notice their presence every time we were outside, and if one flew nearby, she would become frustrated and fearful. In all honesty, I’m not a huge fan of bees swarming around me either, but I have a huge respect for the role they play on our planet. I wanted to instill the same respect in our daughter, so we decided to devote a little bit of time to learning all about bees. And we kicked off our bee extravaganza by creating this awesome Bubble Wrap Beehive & Paper Bee Rings craft!
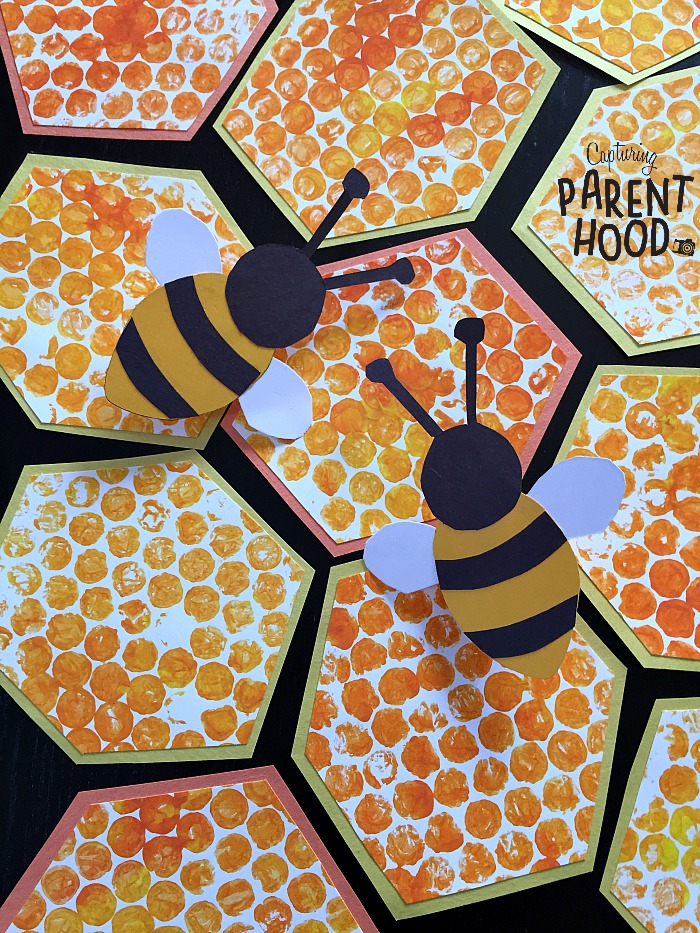
I mean, you really can’t go wrong combining bubble wrap and paint, with non-threatening paper bees that you can fly around on your finger! But, before we could jump in to our beehive craft, we needed to know what a beehive actually looks like. So, we turned to our good friend, Google. 🙂 We browsed through several different images of beehives, learning that the internal structure is constructed of hexagonal cells made of beeswax (also known as honeycomb). The hexagonal cells are used to store food (honey and pollen), as well as to house the entire colony.
We were having so much fun learning about beehives, that we decided to head over to YouTube to watch a couple of educational videos…all about bees! Our little nugget was totally engaged. Several weeks later, she is still informing us of the differences between bumblebees and honeybees – bumblebees tend to be bigger and a lot fuzzier than honeybees, and they spend far less time making honey. The honeybees are the hard-working honey makers…they are constantly out and about collecting nectar and pollen. The only time that they are in their hives for a significant duration, is at night.
Another fun bee fact that our daughter loves to share…bees have six legs. This is an easy tidbit to remember, if you correlate it with the fact that beehives contain hexagonal (six-sided) cells. Our little nugget was also fascinated with the queen bees (even though they don’t wear tiaras or crowns). Each beehive has one queen bee, and she governs the entire colony.
With our new wealth of bee knowledge swirling around in our heads, it was time to break out the paint and construction paper, and start getting crafty!
Bubble Wrap Beehive
Supplies:
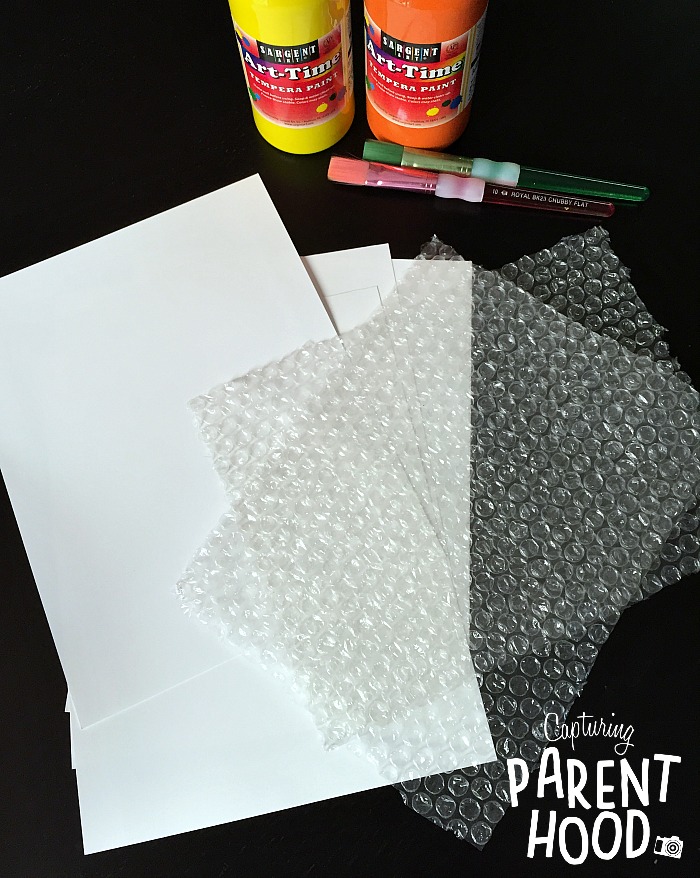
- Bubble Wrap (we used the smaller bubbles)
- White Card Stock or Construction Paper
- Yellow and Orange Paint (we used Tempera paint)
- Paintbrush
- Scissors
- Yellow and Orange Construction Paper (optional)
Instructions:
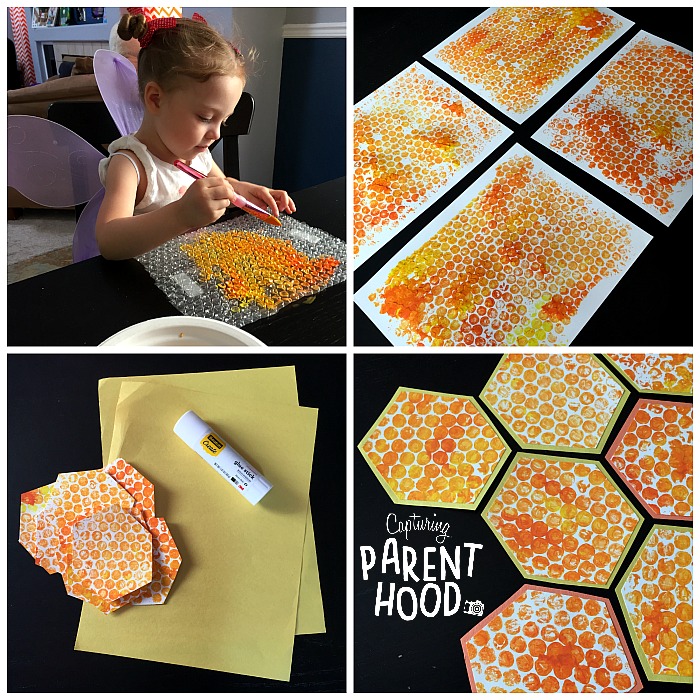
- Cut a sheet of bubble wrap to match the size of your white card stock or paper. I decided to add a couple of pieces of tape to the underside of the bubble wrap, to keep it in place on the table.
- Using the paintbrush, add orange and yellow paint to the bubble wrap.
- When the bubble wrap is completely coated in paint, grab a sheet of white card stock or paper, and place it on top of the painted bubbles, pressing down firmly on the entire sheet of paper.
- Carefully remove the paper, turning it over to reveal the beautiful beehive bubble print. Set aside to dry completely.
- Feel free to repeat this process as many times as your heart desires. We ended up using four pieces of card stock.
- Once the paint has dried, grab your scissors and start cutting hexagons out of the bubble-printed paper. For an extra punch of color and dimension, feel free to glue each hexagon onto a piece of yellow and/or orange construction paper. Leaving a border of solid color, cut out the hexagons again. Note: I came across this brilliant idea over on the @raising.kinley Instagram feed.
Paper Bee Rings
Supplies:
- Black, Yellow, and White Construction Paper
- Scissors
- Glue Stick
Instructions:
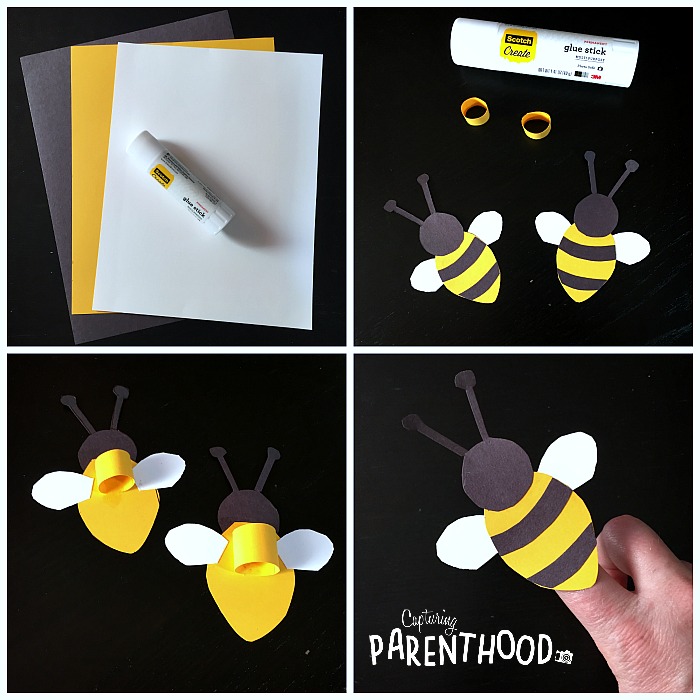
- Using the scissors, cut out a yellow bee body, black head (with antennae) and stripes, and white wings.
- Glue your bee together using the glue stick.
- Cut a strip of yellow paper and glue it together in a circle (making sure it will fit on a finger, like a ring). Glue the ring to the underside of the bee’s body. Set aside for the glue to dry completely.
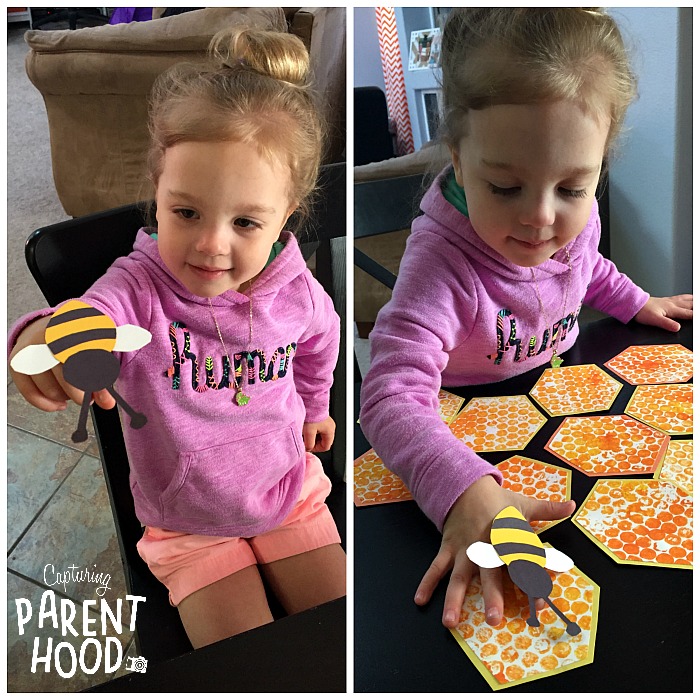
- Place the bee on your finger and fly him/her around the house. Don’t forget to buzz!
Did you know that a bee’s buzzing sound is actually created by their wings moving together rapidly? Our little nugget thought that was super cool…but not as cool as learning that bees make honey! When our bubble wrap beehive and paper bee rings were complete, she insisted that she needed to try some honey from a beehive. 🙂 Since we do not have any hives in our backyard, we made due with a tasting of Colorado’s own Ambrosia Honey Co. Pure Honey.
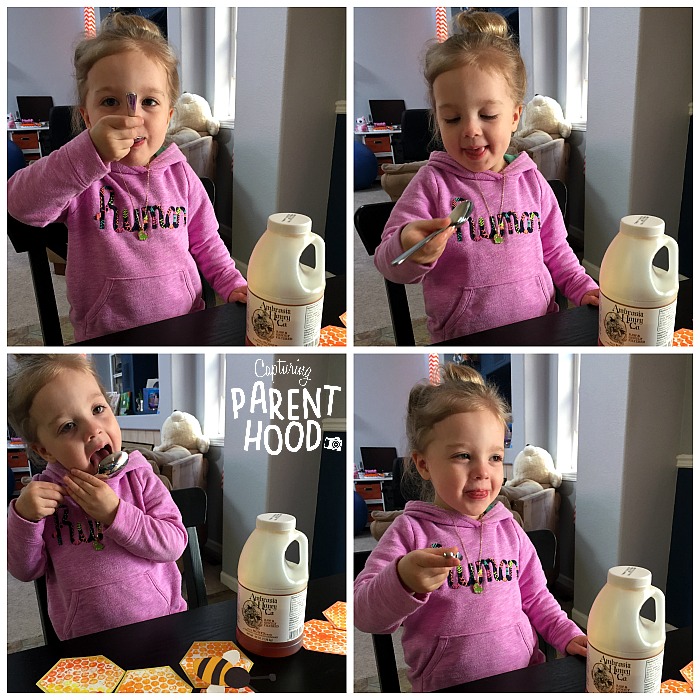
I loved watching our daughter’s facial expressions as she ate her spoonful of honey…it was clearly the highlight of our fun-filled day of bees! And now that she knows that bees are responsible for such a deliciously sweet concoction, she’s much more appreciative of their existence…and more forgiving when they decide to pay her a close visit.
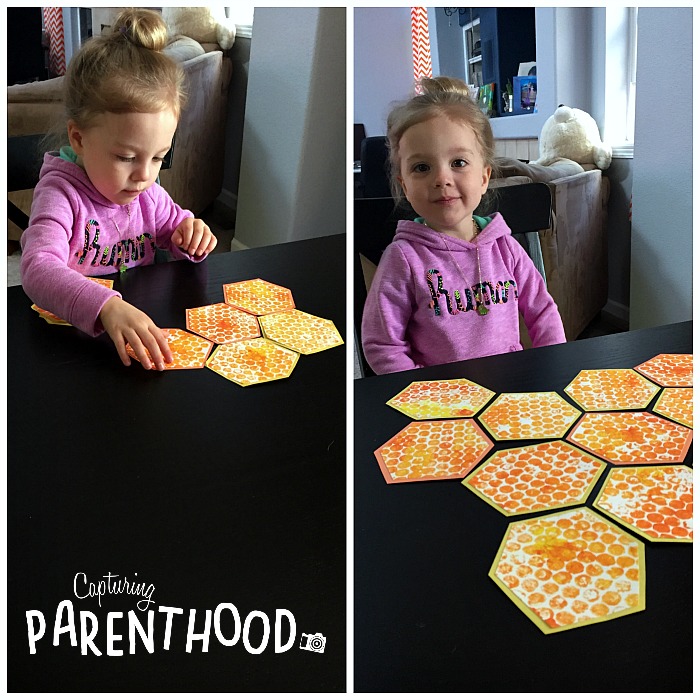
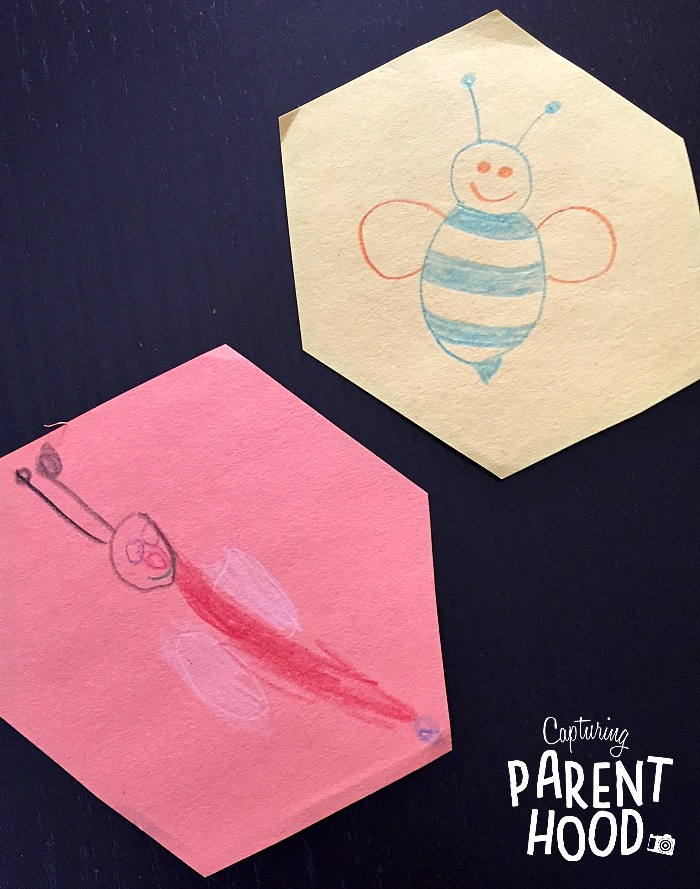
This simple bee craft provided so many different creative, educational, and fun opportunities. I was surprised when our daughter sat down with all of the hexagonal cells and declared that she was going to put together the beehive puzzle. When she tired of that, she asked for some colored pencils, turned the hexagons over and requested that we color bee-themed pictures on the back!
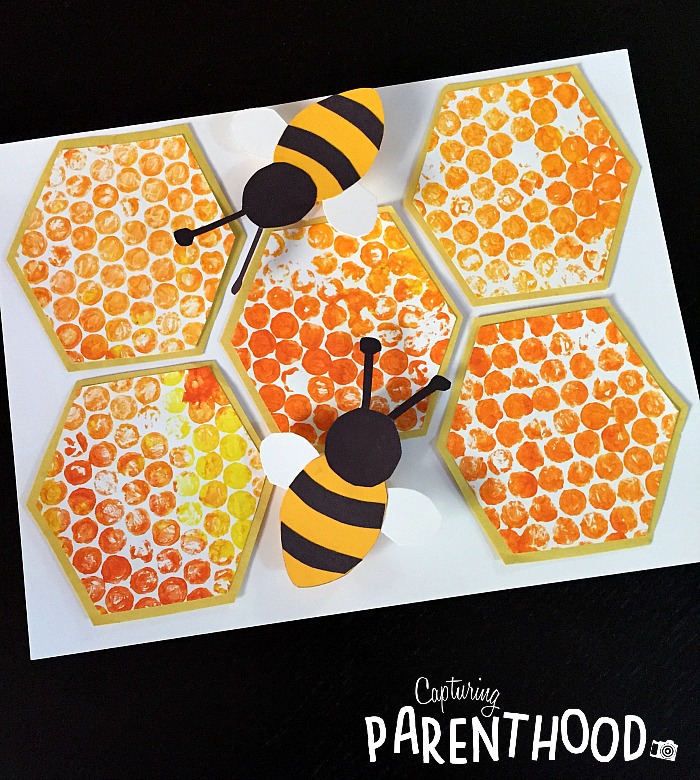
After the paper bee rings had been flown around our house numerous times, I gathered a few hexagons, and taped them to a sheet of white card stock. The bee rings were taped on top, and then our bee-inhabited hive was hung on display for everyone to enjoy!
We had so much fun creating our bees and beehive, that we decided to keep the beehive rolling (so to speak), and create a delicious bee-inspired snack. So stay tuned…our buzz-tastic bee snack will be featured on the blog this Thursday!
