After all of the rainbow crafts and activities that we’ve been creating the past couple of weeks, it would just be wrong if we didn’t incorporate some rainbow sensory play…right?!? I was inspired to put together my own March sensory bin, after purchasing a Wolfpack Sensory Bin last month. That being said, Katy’s sensory bins are so incredibly awesome…I still purchased one of her March bins…and I’m not sorry. 🙂 Who says you can’t play with more than one sensory bin per month?
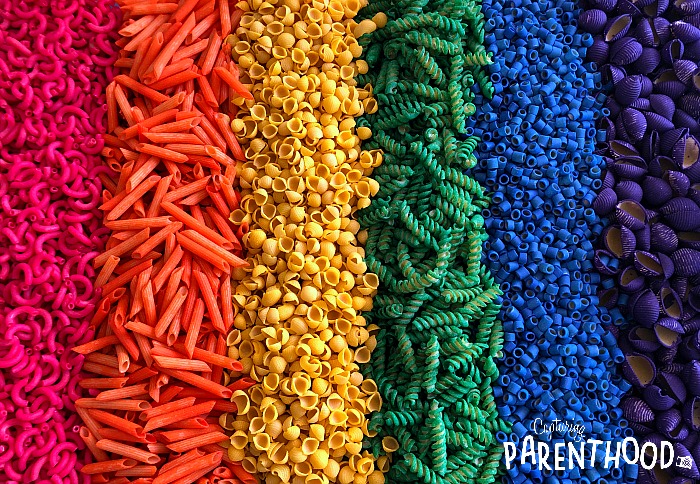
When I started daydreaming about a March sensory bin, my dreams led me straight to rainbows (shocking, I know). A rainbow of pasta…to be more specific. I’d never dyed pasta before, but after watching Katy (@prekwolfpack) and Kristian (@friendsartlab) dye various sensory elements with liquid watercolors, I figured I would just jump right in and try to create a Rainbow Pasta Sensory Bin!
From the second I started shaking up my very first bag of colored noodles, I was practically drooling. The colors were so bold and vibrant! It was love at first sight…and not just for me…our little nugget actually squealed when she saw the rainbow pasta for the very first time.
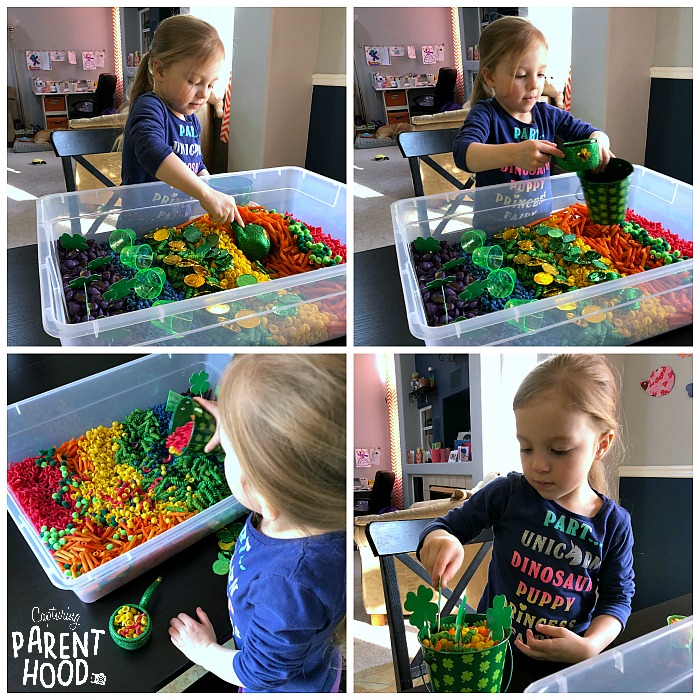
She could not wait to get her hands into this sensory bin…and she’s been scooping up beautiful pieces of pasta ever since. She requests to play with this rainbow bin on a regular basis…so I know it will be a huge hit with your kiddos too!
Rainbow Pasta Sensory Bin
Step One – Dyeing Dried Pasta
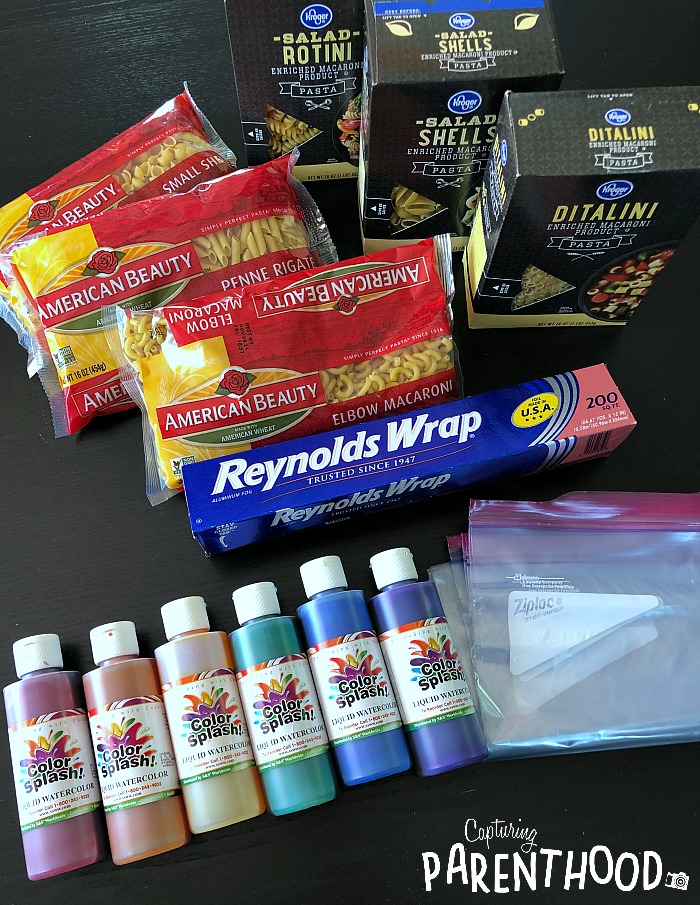
Supplies:
- Uncooked Pasta (we used 16 ounces each of six different types of noodles – macaroni, penne, ditalini, rotini, small shells, and salad shells)
- Liquid Watercolors (red, orange, yellow, green, blue, and purple)
- 6 Ziploc Bags (storage size)
- Aluminum Foil/Wax Paper
Instructions:
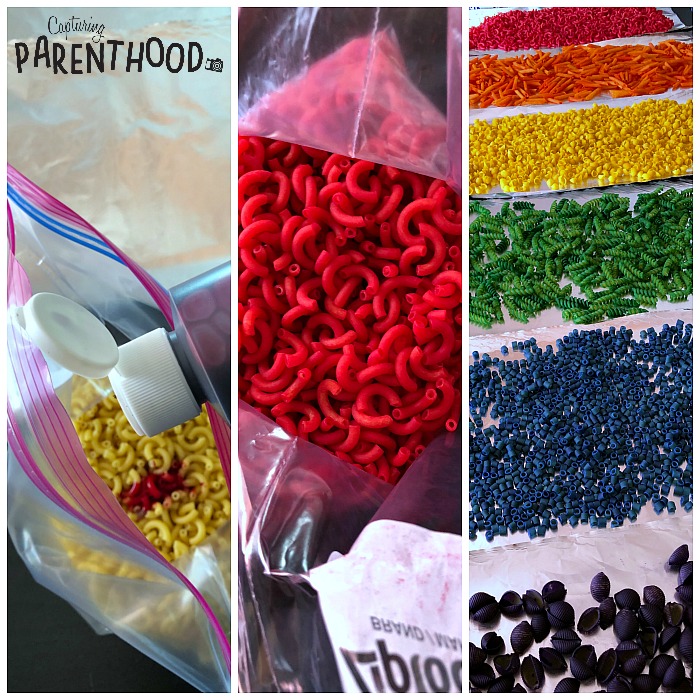
- Cover a flat surface with several sheets of aluminum foil or wax paper – this is where you will dry the colored pasta.
- Pour each type of pasta into its own Ziploc storage bag.
- Squirt a few drops of red liquid watercolor into one of the bags of pasta. Seal the bag and start shaking. Shake until all of the noodles are coated red. If the shade of red is too light for your taste, feel free to add a few more squirts of liquid watercolor at a time…shaking as you go…until you achieve the exact shade that you’re looking for.
- Once you are satisfied with your red noodles, open the Ziploc bag and pour them out onto a sheet of aluminum foil – spreading them out into an even layer so that they will all dry at the same rate.
- Repeat the above steps for your orange, yellow, green, blue, and purple noodles. Keep in mind that some of the liquid watercolors may not adhere to all of the nooks and crannies of certain types of pasta. The inside of the spirals on our rotini noodles, as well as the inside of our salad shells, remained their original color. But the outsides still looked beautiful and vibrant!
- Let your dyed pasta sit out to dry for a couple of hours, or until completely dry to the touch. Keep in mind that the more liquid watercolor you use, the longer your pasta will need to sit out to dry.
- Once the pasta is dry, it’s time to set up the sensory bin!
Step Two – Putting Together A Rainbow Pasta Sensory Bin
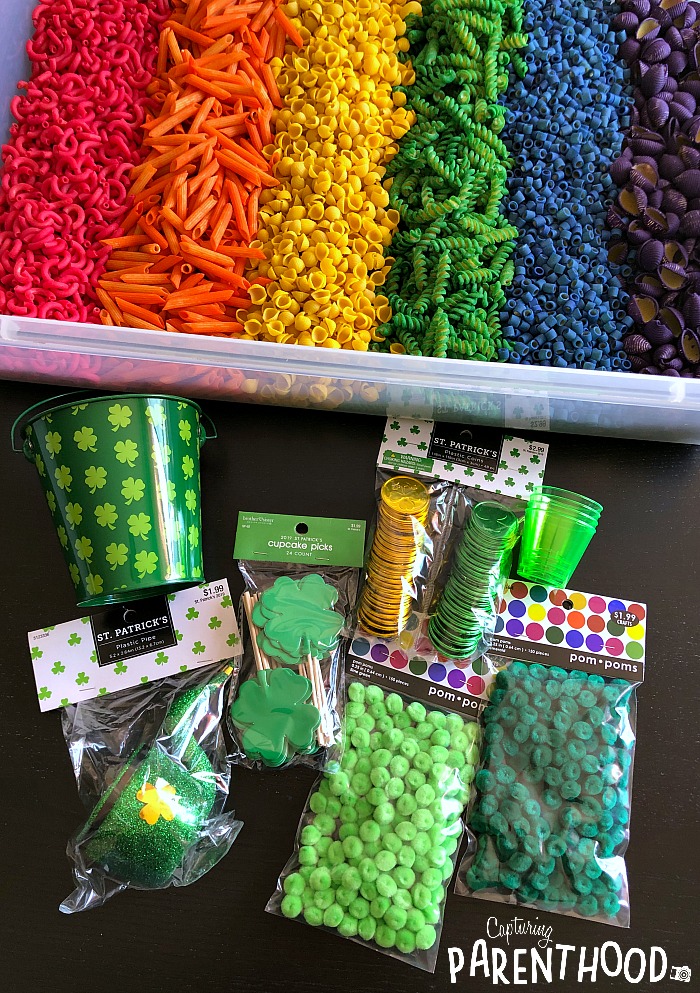
Supplies:
- Under-Bed Plastic Storage Tub with Lid
- Rainbow Pasta (from Step One)
- Sensory Bin Fillers
- Shamrock Bucket
- Green Plastic Cups/Shot Glasses
- Mini Green Poms
- Shamrock Cupcake Toppers
- Green & Gold Coins
- Leprechaun Pipe/Scoop
Note: We made our Rainbow Pasta Sensory Bin for St. Patrick’s Day, so we utilized lots of St. Patrick’s Day fillers that we purchased from Hobby Lobby. That being said, you could make this bin any time of year…and utilize all sorts of different sensory fillers. Though I highly recommend always including some type of scoop, as well as something to fill (bucket/cups).
Instructions:
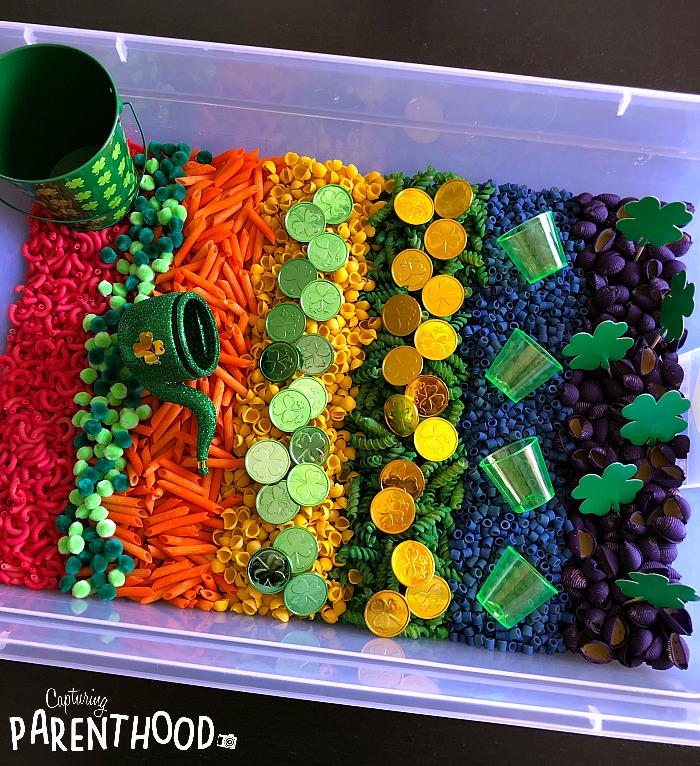
You can literally setup your rainbow sensory bin in any way your heart desires. I’m partial to Katy’s (@prekwolfpack) style of setting up sensory bins in a linear manner. So…I started by laying down different lines of colored pasta (in rainbow order) until the bottom of the bin completely transformed into a beautiful rainbow! Next, it was time to add all of the other little holiday-themed accessories. I placed a line of mini green poms between the red and orange noodles. I placed the green leprechaun coins on the yellow noodles, and the gold coins on the green noodles. Four little green cups were placed on the blue noodles, and the shamrock cupcake toppers were stuck down into the purple shells. Lastly, I dropped the shamrock bucket into the corner of the red macaroni, and placed the leprechaun pipe/scoop on top of the orange penne noodles.
Just know that your beautiful sensory bin setup will be demolished in a matter of seconds, once your kiddos start playing in the bin. 🙂 And that’s ok. The whole point of creating a sensory bin for your children is so that they can play, explore, and create. Sensory bins are meant to end up messy (the mess ultimately means that the bin was well-loved). And, as is the case with this rainbow pasta bin, the mixed-up mess looks just as stunning!
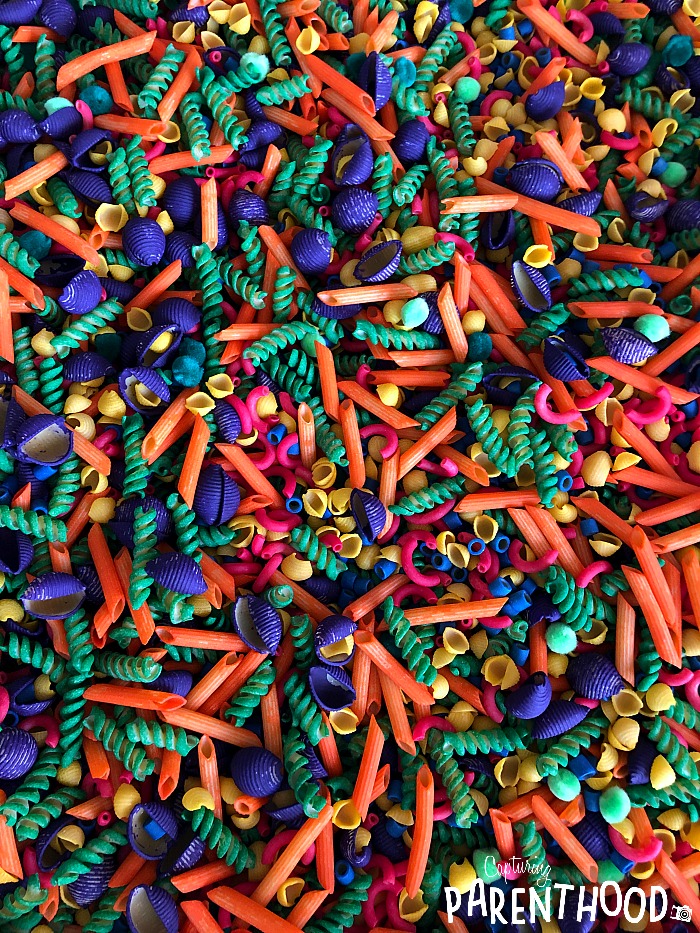
At this point you might be asking yourself…why bother with the clean setup? If it’s just going to end up a mixed-up mess, why not toss everything in the bin all willy-nilly? Laying everything out in a nice clean manner tends to result in more creativity and imaginative play from the kiddos – because they can see absolutely everything that they can use, and it’s not just piled into one big jumbled mess.
My favorite thing about this Rainbow Pasta Sensory Bin (aside from the beautiful rainbow of color) is the sound that all of the dry pasta noodles make when you play with them! When you pick up a handful of noodles and let them fall back into the bin, it sounds like it’s raining. I just love when sensory bins contain a special sound element…don’t you? 🙂
And did you know that you can use liquid watercolors to dye rice too? When we made our Rainbow Rice Sensory Bin we used vinegar and food coloring. I have to admit, I wasn’t very pleased with the vinegary smell that emanated through our house each time we opened up the bin for some sensory play. I will definitely be sticking with the liquid watercolor method from now on. Katy also used this dyeing method on rock salt and the end result was breathtaking! If you want to catch a glimpse of the magic, pop on over to the @prekwolfpack Instagram feed, and scroll down until you hit the rainbow rock salt sensory bin.
HAPPY ST. PATRICK’S DAY!
