Have you ever heard of batik? It’s a wax-resist cloth-dyeing technique originating from the Indonesian island of Java. It’s basically resist art…much like our favorite oil pastel and watercolor resist art…but for fabric! The traditional Indonesian process involves hand-drawing various patterns onto cloth using hot wax (paraffin and/or beeswax). The cloth is then placed in a dye bath. Once the cloth is dry, the wax is removed by boiling or scraping the fabric. The areas treated with wax will retain the original color of the cloth, creating patterns on the fabric. The entire process can take up to one year. Sounds intimidating and time-consuming, right? But did you know that there is a much easier way to create a beautiful batik? And it’s a process that both you and your kiddos are bound to love!
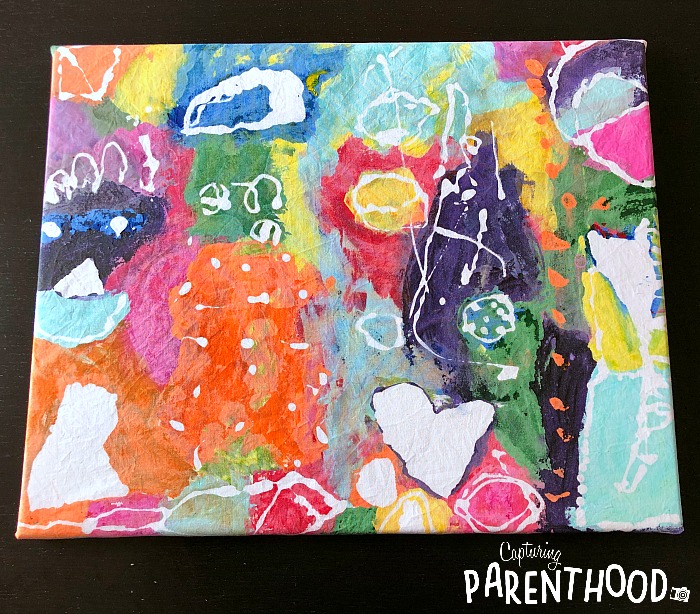
I was introduced to the fabulous glue-resist batik technique by Kristian, the amazing creator and curator of the famous @friendsartlab Instagram feed. Kristian taught her college students the art of batik a few weeks ago, and she was kind enough to share her tips and tricks on Instagram. I was immediately inspired, so I hopped in the car and headed straight to Hobby Lobby to purchase some fabric.
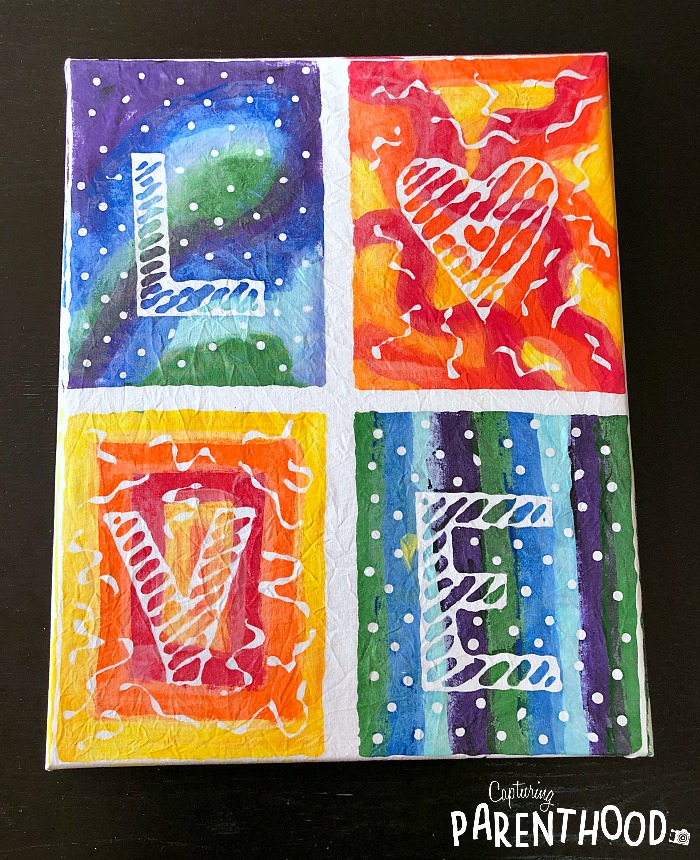
And when it came time to choose a design for my own personal batik, I went straight to another one of my favorite Instagram teachers – Cassie Stephens – for inspiration. I’ve been drooling over her student’s LOVE Prints for over a month now…so my batik design was a no-brainer. 🙂 You can never fill your home with too much love!
Glue-Resist Batik
Supplies:
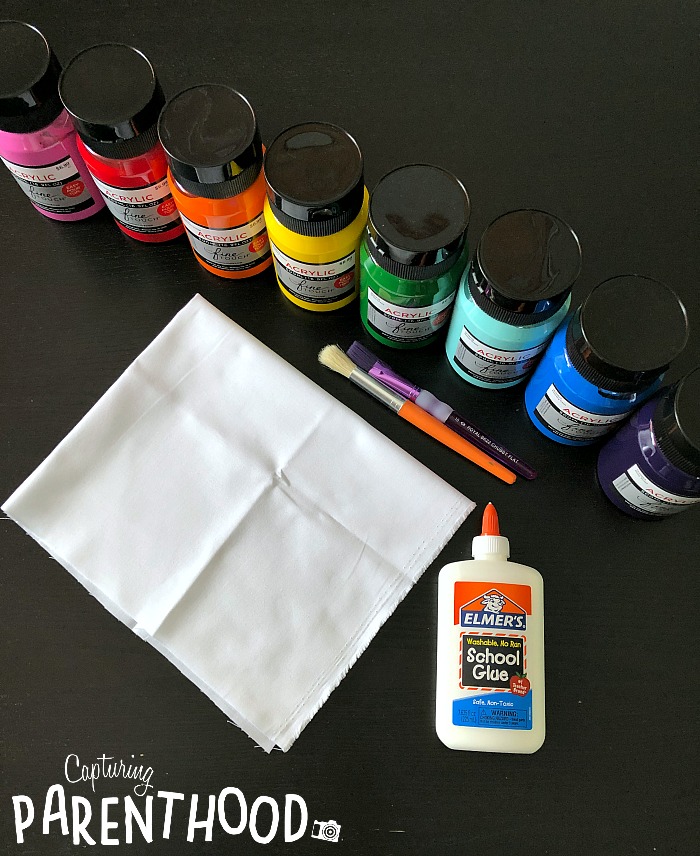
- White Fabric (it does not need to be an expensive fabric)
- Elmer’s Washable White School Glue
- Acrylic Paint
- Water
- Paintbrush
- Tablecloth (optional)
- Canvas (optional)
Instructions:
This is a three-phase craft project. Each phase requires approximately 24 hours of dry time.
Phase One – Get Your Glue On!
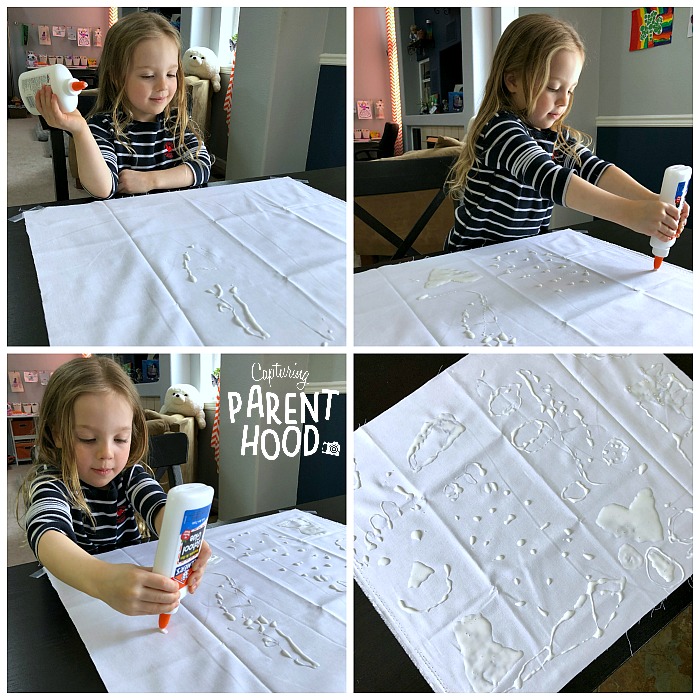
Cut the white fabric to your desired shape and size and lay the fabric down on a flat surface. Feel free to place a tablecloth underneath, as the glue may seep down through the fabric – especially if there are some areas of pooling. Grab a bottle of Elmer’s glue and let the creativity begin! It took a few minutes for our little nugget to realize that the possibilities were endless and that she could decorate her fabric however she wanted. But once the wheels started spinning…her ideas poured right out onto the fabric in rapid succession. And she had a smile on her face the entire time! 🙂 She created a smiley face, a rocket ship, the solar system, a big ole’ heart, a kite, and a giant ice cream cone…complete with a cherry on top!
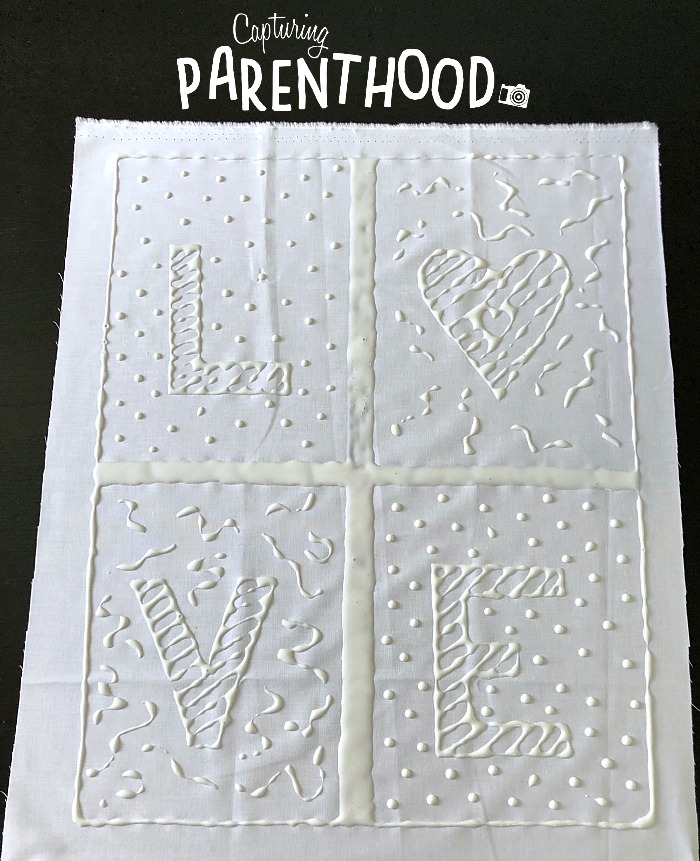
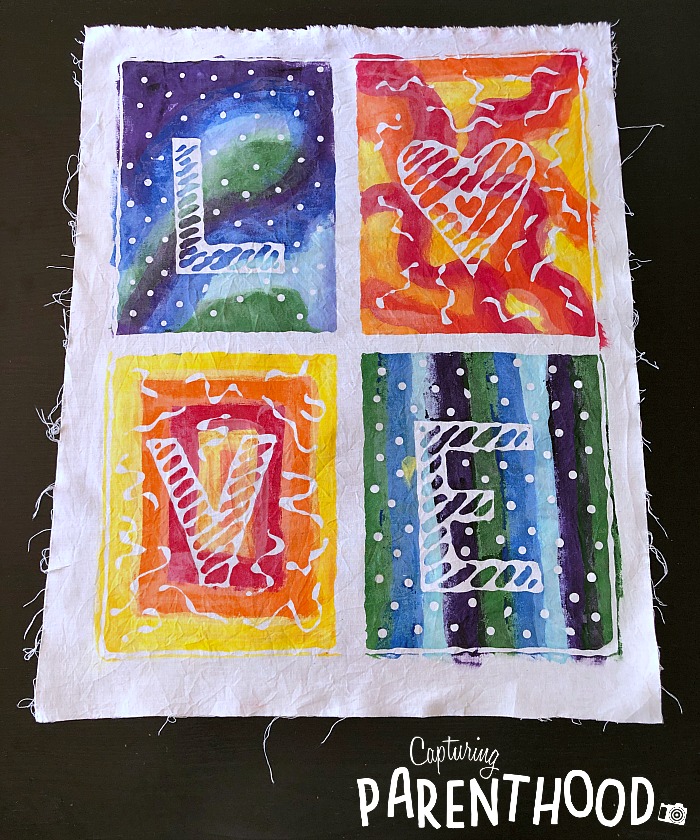
As I mentioned above, my batik design was inspired by the incredible Love Prints that Cassie Stephens has been creating with her students for the past few years. Her second graders just finished their masterpieces at the beginning of this month – complete with sparkly clay hearts and a beautiful background. If you want to take a peek, you can find them on her Instagram page. To mimic a similar design with glue, I created a thin rectangular border around the outside of my fabric. I then added a thick plus sign (+) in the middle to create four distinct boxes. I placed one letter of the word “LOVE” in each box and decorated around it. In the “L” and “E” box I added little polka dots of glue. And in the “O” and “V” box I created random squiggly lines.
When we were finished creating our fabulous glue designs, we set them aside to dry for 24 hours.
Phase Two – Let’s Paint!
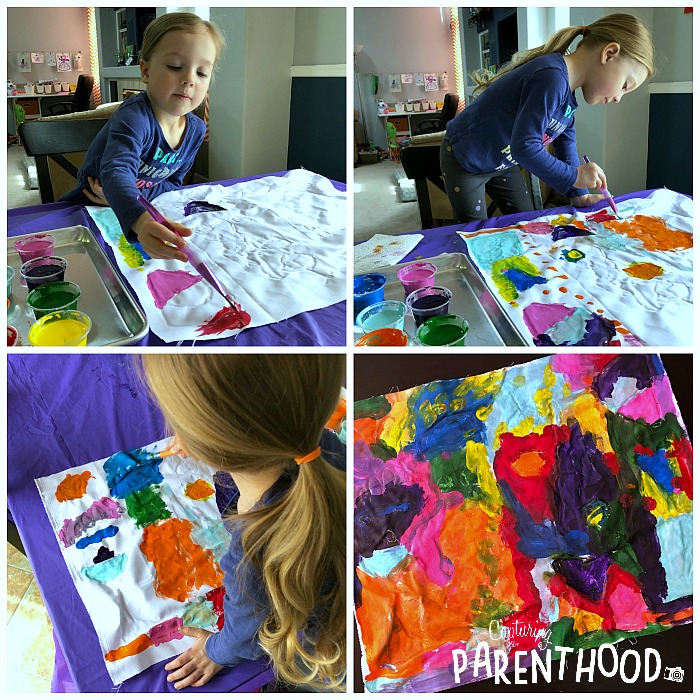
As Cassie Stephens would say, “It’s time to add some color, baby, color!” Bust out all of the colors of acrylic paint that make you happy. You will need to water down your paint…so squirt a bit of each color into a small cup (one color per cup) and add a splash of water – stirring to combine. We did not use accurate measurements of paint and water – we just eyeballed it. And from what I can tell, you don’t really need to use exact measurements. 🙂
I highly recommend laying that handy tablecloth back on the table, because if your kiddos are anything like mine, they are going to want to paint every square inch of fabric. Place your (dried) glue-designed fabric from phase one on top of the tablecloth (glue-side up) and grab a paintbrush. I also recommend using some paper towels, or a couple of pieces of scrap fabric, to wipe off the paintbrushes in between color changes.
Paint your heart out – let the colors flow freely from your paintbrush! Once you’re are satisfied with your colorful masterpiece, it’s time to set it aside to dry again. We let ours rest for another 24 hours.
Phase Three – Scrub-A-Dub-Dub!
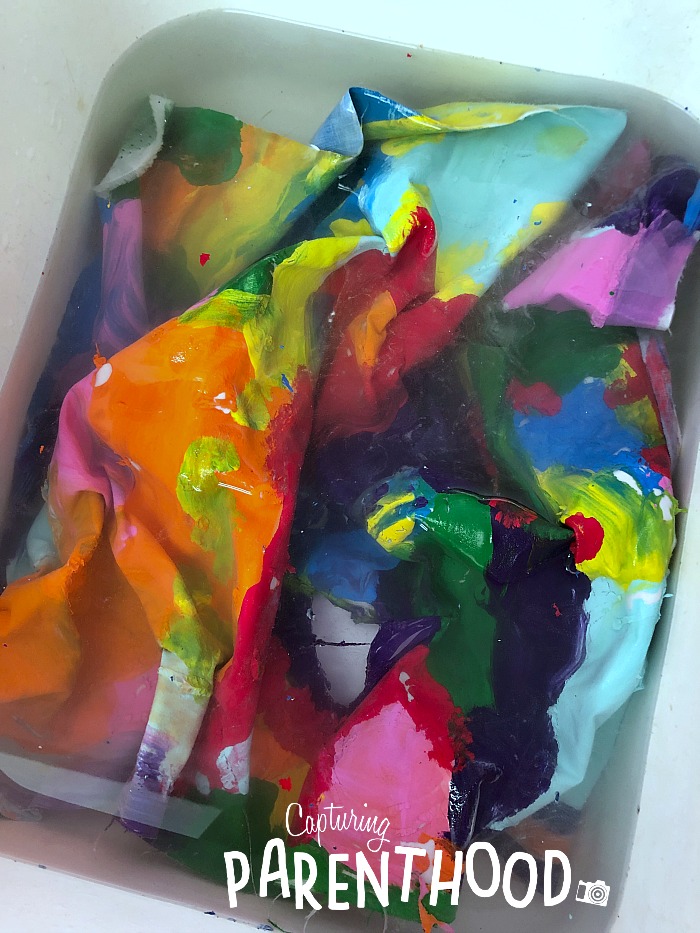
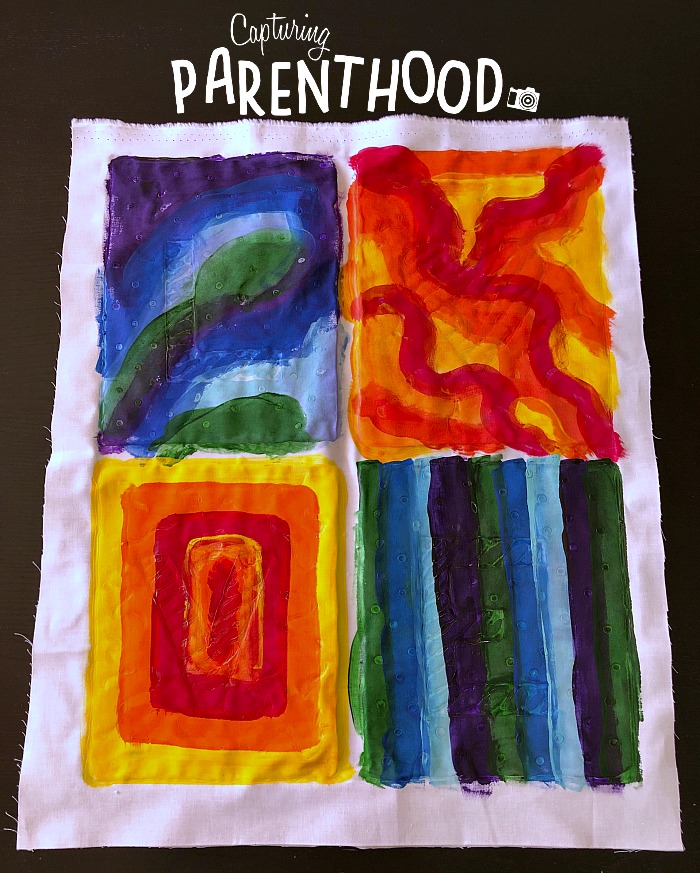
Once all of the paint has completely dried, it’s time to give your fabric a bath! The bath will cause the washable glue to dissolve…leaving all of your fabulous designs nice and white against the colorful fabric! We filled our sink with the hottest water from our tap and submerged our fabric. We let it sit in the hot water for approximately one hour, but every 10 minutes or so, I would rustle the fabric around in the water, in order to agitate it and speed up the glue-dissolving process. At the halfway mark, I drained the sink and refilled it with hot water.
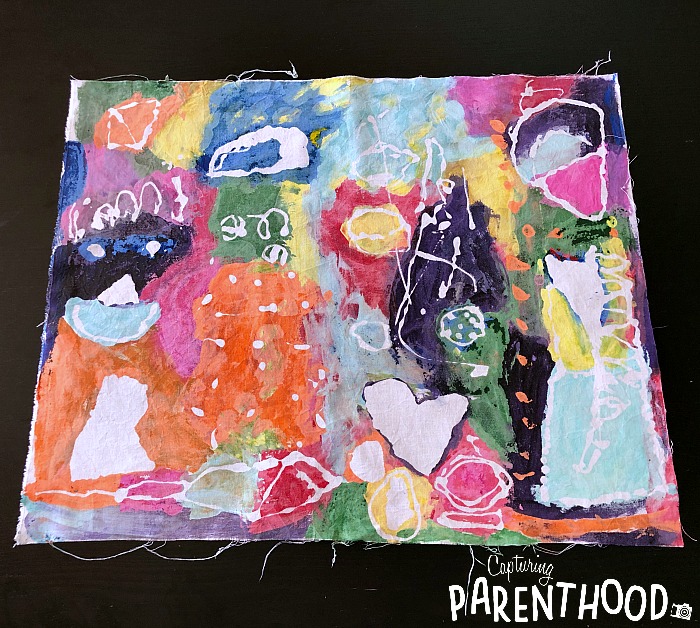
After an hour, and while your fabric is still in the water bath, run your hands over it to find any residual glue – it will feel slimy to the touch. Gently rub off any remaining glue with your fingers. Once all of the glue has dissolved, wring out the fabric and lay it on a flat surface to dry completely. After drying, our fabric was a bit wrinkly, so I went over the back of each batik with a warm iron.
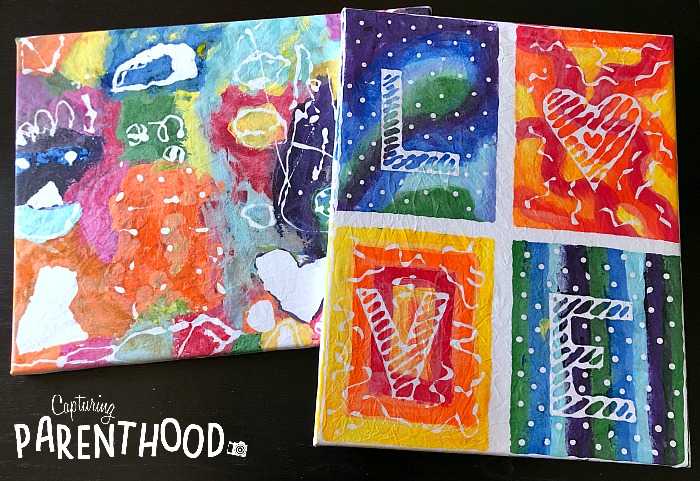
Our little nugget was so in love with the batiks that we created, she wanted to hang them up on display. So, I decided to snag a couple of blank canvases from Hobby Lobby, in the approximate size of our paintings (16×20). I placed the fabric down on the canvas, pulled the fabric taut, and stapled it to the wood frame on the backside of the canvas.
Ta Da! Who knew that making a batik could be so easy and fun?!? We had an absolute blast with this colorful craft project. And I’m happy to report that our little nugget enjoyed every single step in the process. She loves a good multi-day craft project – the anticipation and excitement just builds and builds from one day to the next. 🙂
I know I’ve said it before, but there is nothing better than watching your child’s creativity flow freely! I always sit back and marvel as our daughter’s creative process unfolds. Her enthusiasm and imagination actually inspire me to let go and enjoy the creative moment. And I love when we can work on a project together…I have a feeling that this batik craft will remain in the memory books for years to come!
