It’s May! And I’m super excited because even though Spring officially started a little over a month ago, May is the first month that truly feels like springtime in Colorado. It’s the first month that we finally get to plant flowers and vegetables (without having to worry about a frost). And needless to say, we’ve got flowers on the brain. So today, we wanted to unveil these beautiful little Muffin Tin Print Flower Gardens! Did you happen to catch our Baking Sheet & Muffin Tin Print – Process Art post on Tuesday? Well…we just couldn’t let those gorgeous muffin tin prints go to waste!
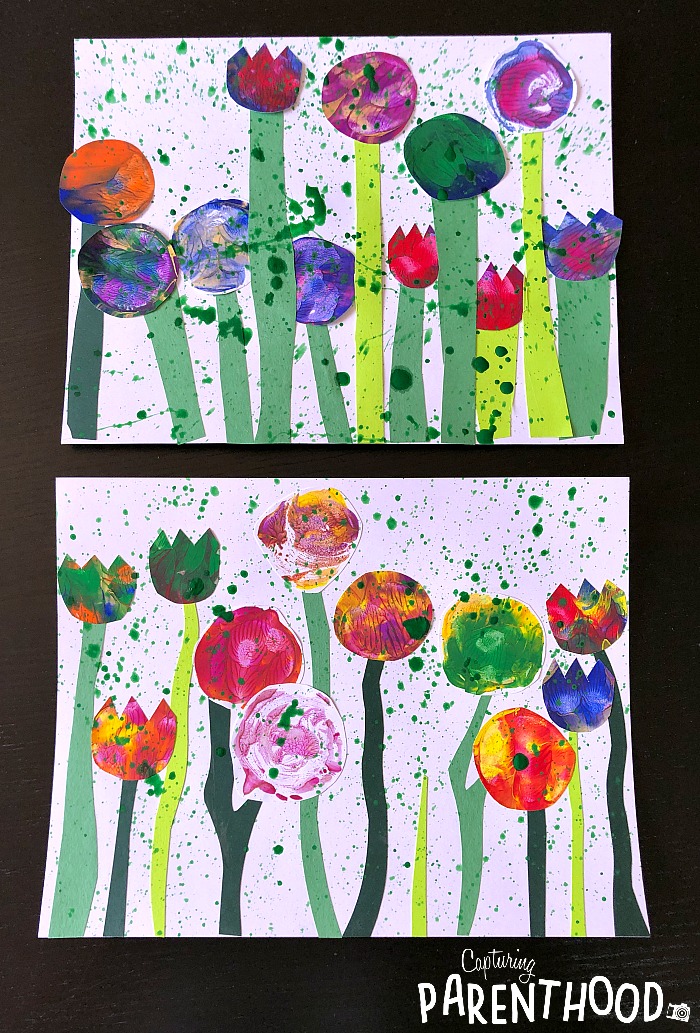
I love being able to re-purpose some of our artistic creations! In all honesty, our daughter creates a massive amount of artwork (between home and school) and while I absolutely love it…it’s hard to find a place for it all sometimes. And we made a BUNCH of muffin tin prints the other day. You might even say we became slightly addicted. 🙂
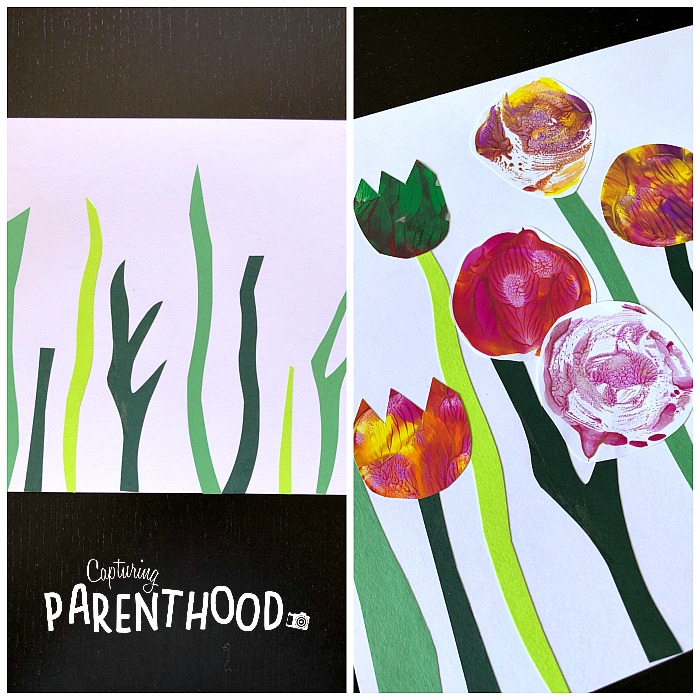
The prints were so vibrant and stunning, I just knew that we had to find a way to work them into another art project. And that’s when I remembered this Tulips and Sprinkles project that Laura Lohmann (Painted Paper Art) recently completed with her first grade artists. I initially spied the idea on Laura’s Instagram account (@paintedpaperart) – an account that you should definitely check out…her Instagram feed is swoon-worthy!
I knew that our muffin tin prints would make the most stunning flowers…so using Laura’s idea for inspiration…we jumped head-first into our very own field of flowers!
Muffin Tin Print Flower Gardens
Supplies:
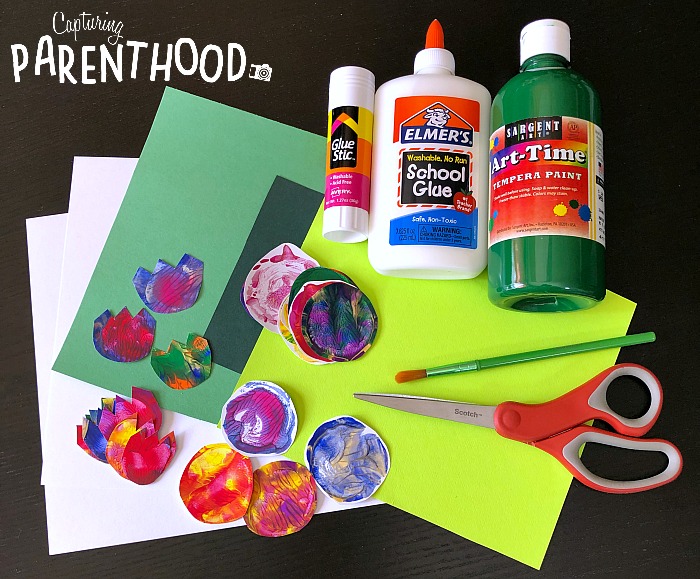
- Muffin Tin Prints (see our Baking Sheet & Muffin Tin Print – Process Art post from Tuesday)
- White Card Stock or Construction Paper
- Green Card Stock or Construction Paper (feel free to use varying shades)
- Elmer’s Glue or Glue Stick
- Scissors
- Rimmed Tray/Baking Sheet
- Green Tempera Paint
- Water
- Paintbrush
Step One: Cut & Glue
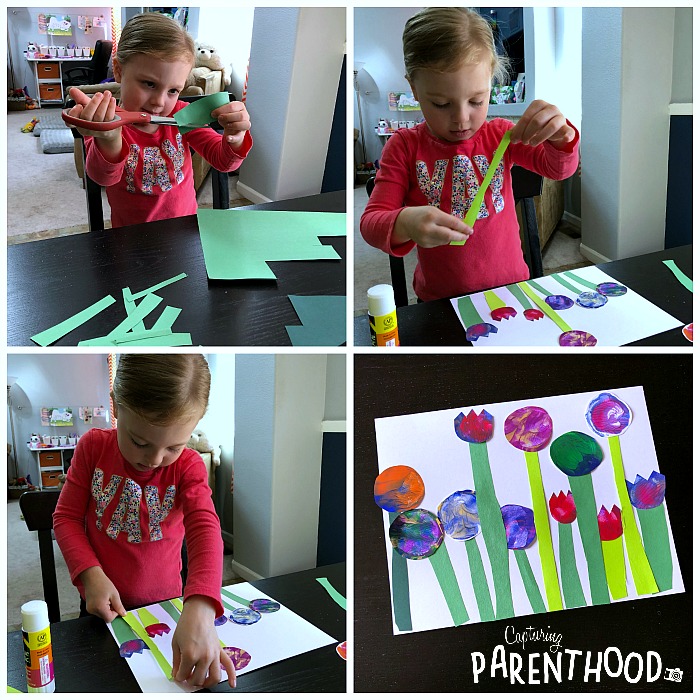
- Start by cutting your muffin tin prints into flowers. We decided to cut most of ours into circles, but we cut a few into tulips.
- Now, it’s time to cut some green flower stems. Using your scissors and green paper, cut a flower stem for each flower.
- Grab your sheet of white paper and glue on a green flower stem. Feel free to glue all of your flower stems on first…or…glue a flower on top of each stem as you go.
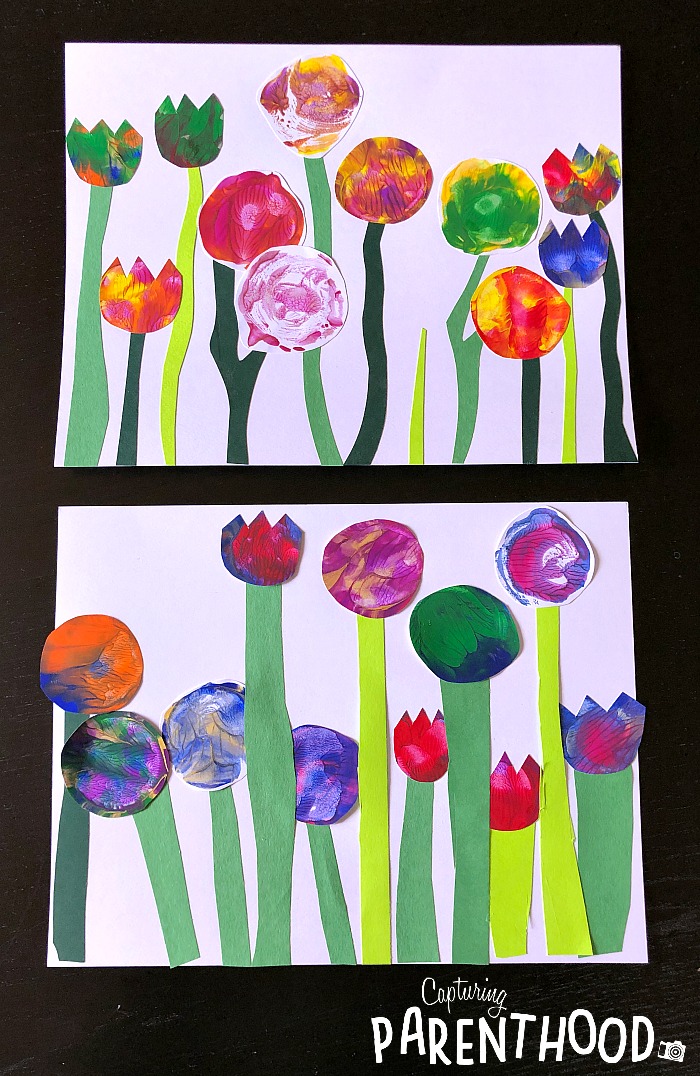
- When you’re finished, you should have a beautiful, and oh-so-colorful, flower garden! Set your paper aside until the glue dries completely.
Step Two: Paint Splatter
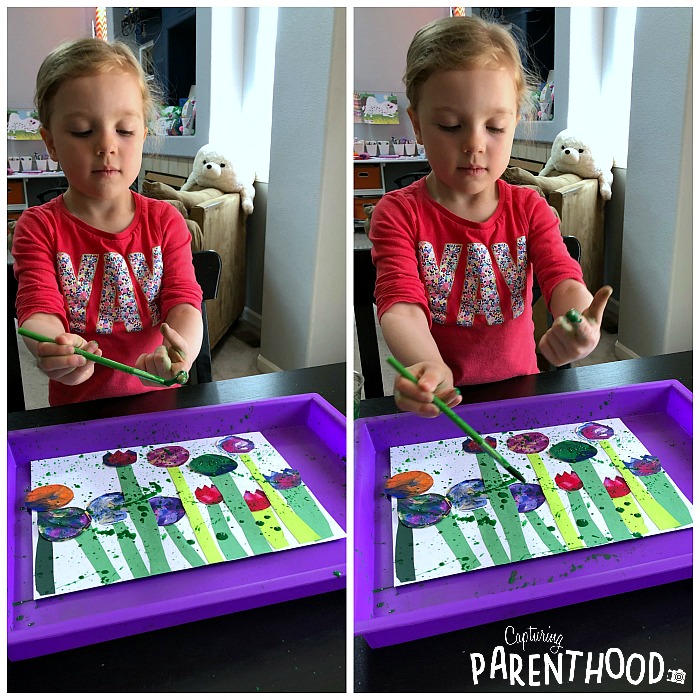
- Now…the fun part! Paint splatters! 🙂 Once the glue has dried completely on your flower gardens, you can add a bit more pizzazz!
- In a small cup, add a bit of green tempera paint.
- Add a few drops of water to the paint, and stir to combine. I did not accurately measure the amount of water…I added just enough to thin out the paint, so that it was a runnier consistency. You want it to easily splatter from your paintbrush.
- Place your flower garden on a rimmed tray or baking sheet (splattering paint gets messy – which is why we also used washable paint).
- Dip your paintbrush into the watered-down green paint. Hold the paintbrush up over your flower garden and gently brush it downward against your pointer finger.
- Move your paintbrush around, until your entire garden is covered with a nice layer of green speckles.
- Set the flower gardens aside to dry once again.
- Hang up on display…bringing a little piece of springtime inside your home!
This flower garden project turned out better than I ever dreamed…and we had fun every single step of the way! It was a great project for practicing lots of cutting and gluing skills. And it provided the perfect introduction into the art of splattering paint. Something tells me that there will be a lot more paint splatter projects in our future. 🙂 That being said, the flower gardens are equally as beautiful without all of the speckles of paint…so if you’re not into getting a bit messy, you could always opt out of the final step.
Are you in need of a few more fun flower ideas? Make sure to check out all of our Paper Flowers for Spring, our Flower Garden Sensory Bottle…and when you start to feel a bit hungry, you won’t want to miss out on these delectable Flower Pudding Tarts!
