It’s all about bugs this week on Capturing Parenthood! It seemed only natural to include a few insects with our Spring theme this month. After all, this is usually the time of year when we start to see bumblebees flitting around from flower to flower, caterpillars transforming into beautiful butterflies, and ants scrounging around for leftover picnic crumbs. So to kick things off this week…we are sharing these adorable Tissue Paper Bugs!
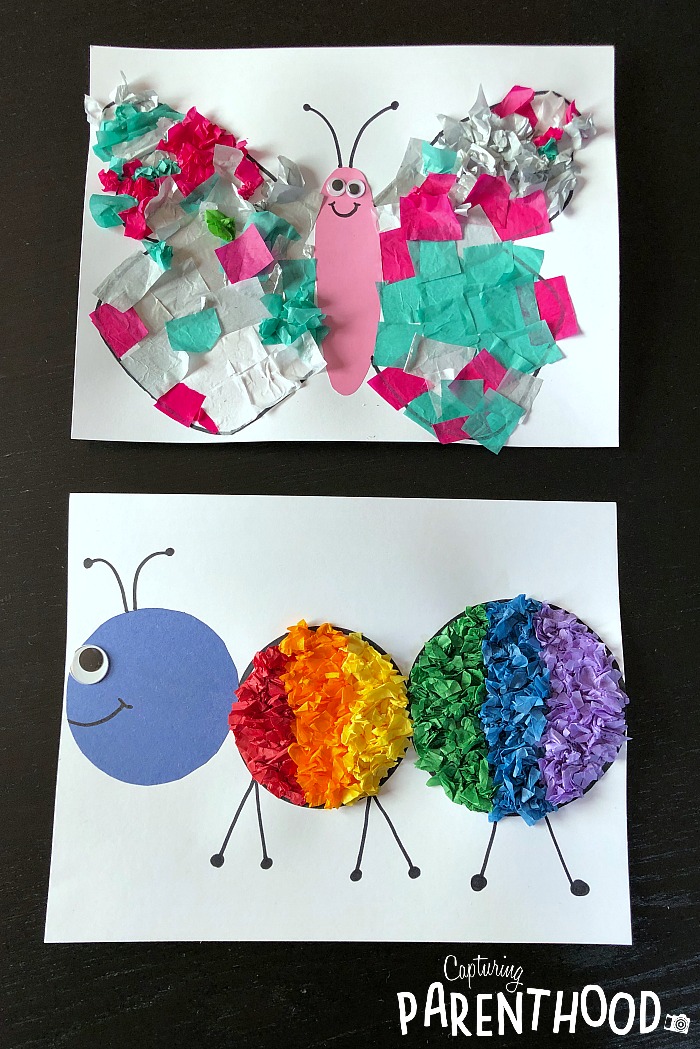
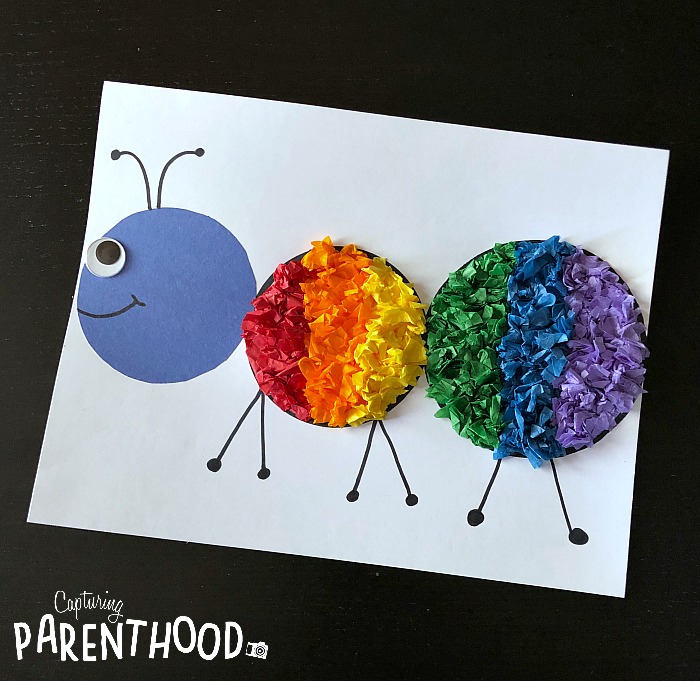
I came across this super fun bug idea over on Key to Kinders, where Gail shares a handful of Easy Bug and Insect Crafts. She even shares free, printable templates for a bumblebee, ant, dragonfly, and ladybug! We chose not to use the templates, but I loved Gail’s little tissue paper ant so much, I just had to make one of my very own. And our little nugget went with her all-time favorite insect…a butterfly!
We always seem to have a healthy supply of cut-up tissue paper squares – we love using them to make various crafts and suncatchers! But if you don’t already have some on-hand, I can guarantee that your kiddos will absolutely love helping you cut-up, or tear-up, some colorful tissue paper. 🙂
Tissue Paper Bugs
Supplies:
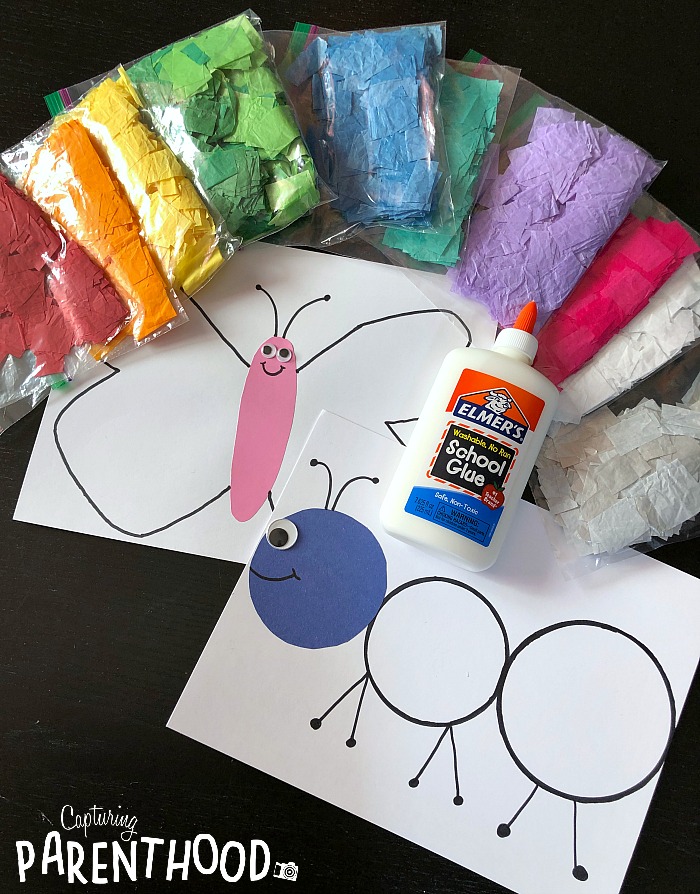
- White Card Stock
- Black Marker
- Construction Paper
- Googly Eyes
- Tissue Paper (cut or ripped into approximately 1″- 2″ squares/sections)
- Elmer’s Glue
Instructions:
- Using a black marker, start drawing the outline of your bug on a sheet of white card stock.
- Depending on what type of bug you’ve decided to create, cut whatever section of the bug that contains the eyes/face, from a piece of construction paper (as it’s a bit tricky to glue googly eyes on top of scrunched up tissue paper). For example, we cut our ant’s head, and our butterfly’s body, out of construction paper.
- Glue the construction paper onto the white card stock in the appropriate location.
- Glue on a googly eye (or two) and add a smile and antennae (if applicable) with the black marker.
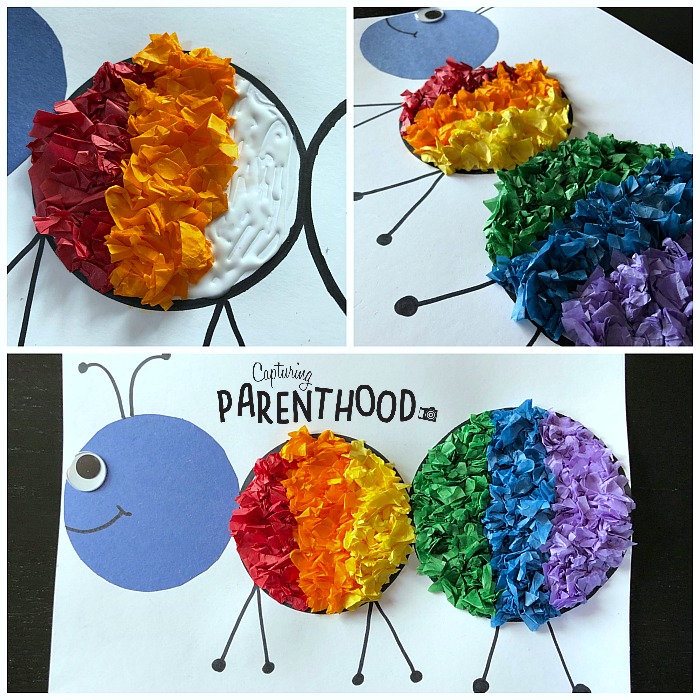
- Now, it’s time for some tissue paper fun! Grab your tissue paper squares, in whatever colors your heart desires, and start scrunching them into small, crumpled pieces.
- Once you have a few crumpled pieces of tissue paper, add a decent amount of Elmer’s glue to one section of your bug, and gently press the crumpled tissue paper pieces down onto the glue.
- Continue this process, working in small sections, until your entire bug is covered in colorful, crumpled tissue paper.
- Set your bug aside, so that the glue can dry completely.
- Hang your beautiful, texture-filled bug on display for everyone to see!
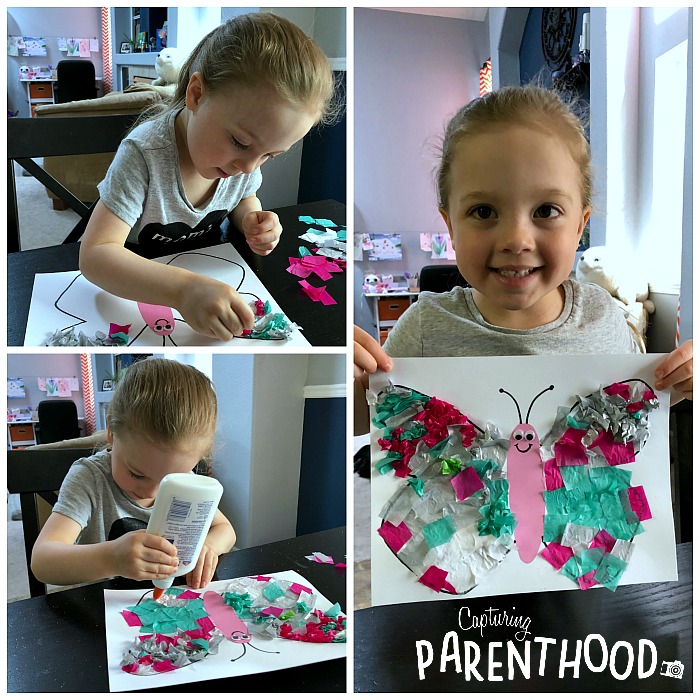
One quick note: If you want your kiddos’ bugs to be completely covered in scrunched up tissue paper, you may want to draw their bugs on a smaller sheet of card stock – making the entire thing smaller in size. Kids tend to get tired of (or bored with) scrunching up lots of tissue paper. As you can see from our daughter’s butterfly…she was totally into the crumpled tissue paper in the beginning (the top sections of her butterfly), but quickly switched over to gluing down the flat squares of tissue paper instead. The outcome didn’t bother me though…her butterfly is still covered in tissue paper, and we both think that it looks lovely!
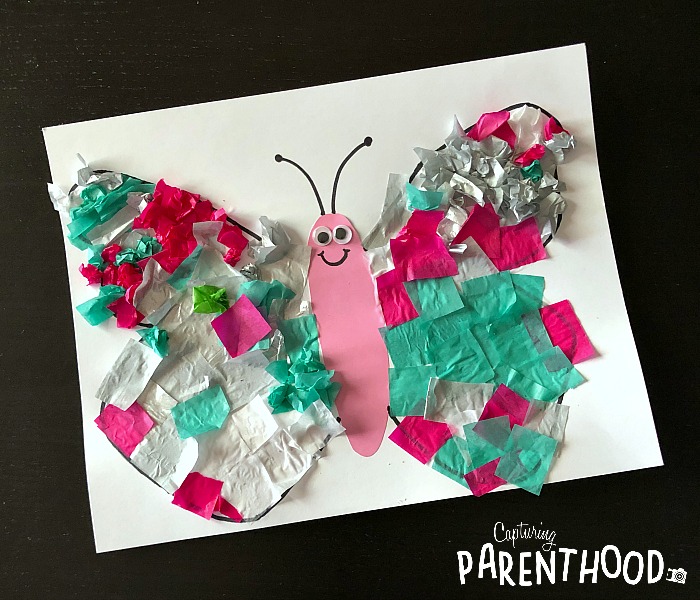
We had a lot of fun bringing these charming little tissue paper bugs to life! They fit right in with all of our flowers, and other Spring craft decor!
If you’re looking for some other fun bug crafts, make sure to check out our Puffy Paint Window Clings, and our 3D Ladybug Crafts! And after all of that bug crafting, your little ones will probably be craving a delicious snack – so why not put a smile on their face with these Pretzel Bumblebees, or these Watermelon Ladybugs?!?


