All of this space travel and exploration has certainly made us hungry! And what better way to curb our appetite than with a few tasty Space Snacks for Kids?!?
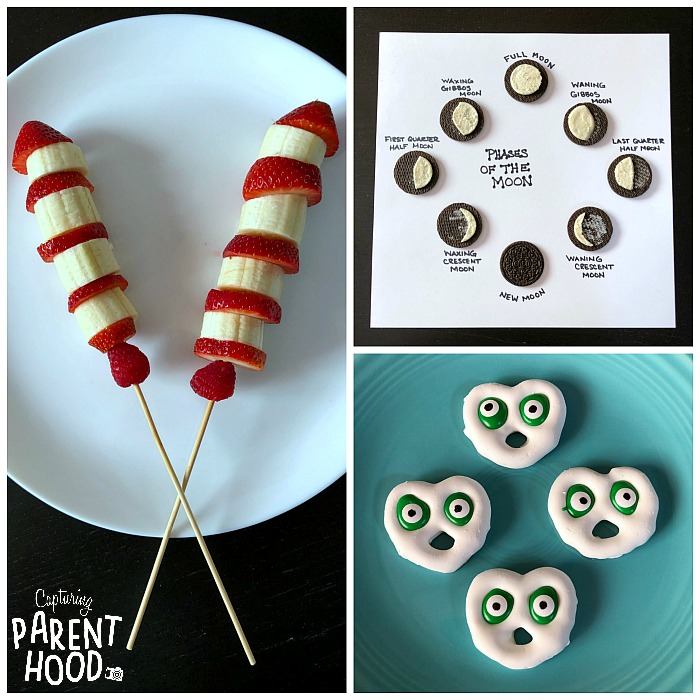
So, get ready to blast-off on a rocket ship fruit kabob…to discover the various phases of the moon (with milk’s favorite cookie). And who knows…we might even make a few yogurt pretzel alien friends along the way! 🙂
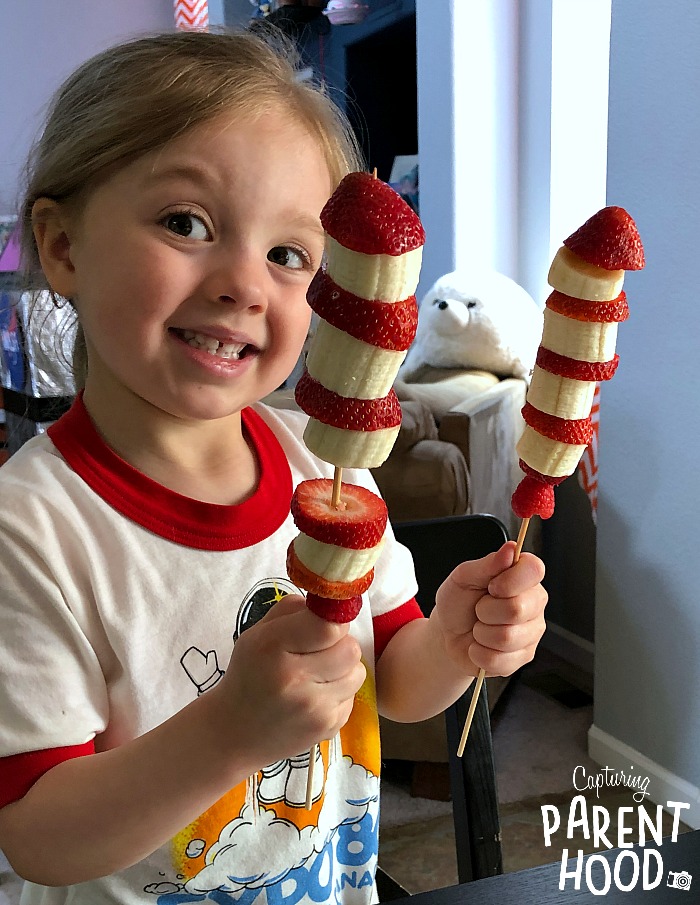
Rocket Ship Fruit Kabobs
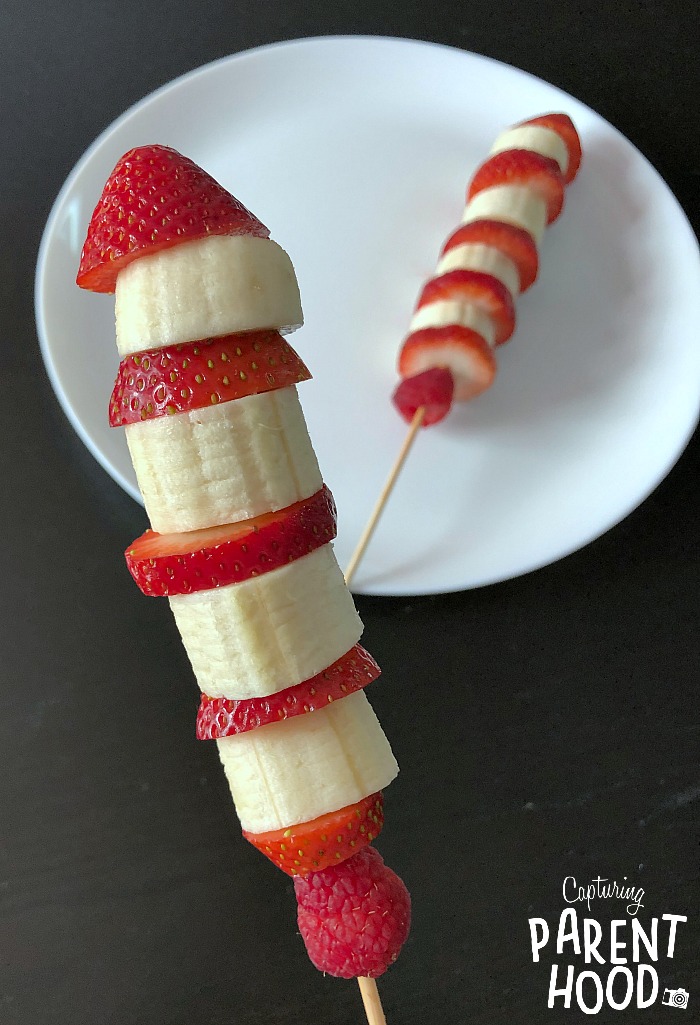
It’s much easier to learn about a specific place, if you can actually swing by for a visit. So…if we want to learn more about the wonders of space, we need to escape from our planet’s atmosphere and gravitational pull. In order to do so, we need a trusty space vessel – a rocket ship to be exact. And what could be better than these delicious, and nutritious, Rocket Ship Fruit Kabobs?
I came across this stellar snack idea in Alia’s Space Party Food Ideas & Printables post, over on Party Like A Cherry.
Ingredients/Supplies:
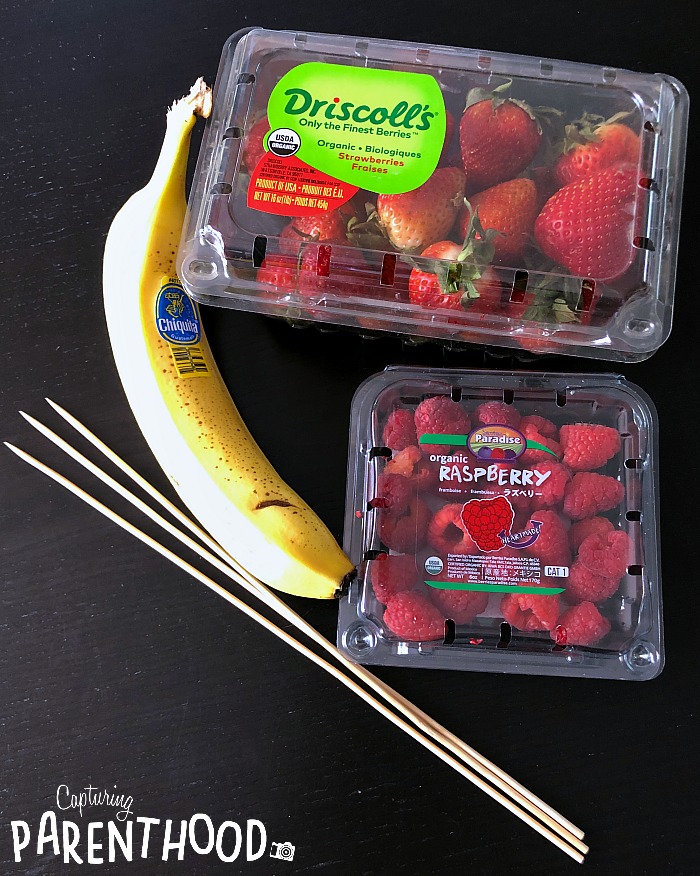
- Strawberries
- Banana
- Raspberries
- Wooden Skewers
Instructions:
- Start by rinsing a handful of strawberries, as well as one raspberry for each rocket ship fruit kabob that you plan on making.
- Remove the stems from the strawberries, and slice the strawberries into circles.
- Peel the banana and slice it into circles as well.
- Grab a wooden skewer and slide one raspberry down onto the stick…followed by alternating strawberry and banana rounds.
- Top the kabob with the pointed end of a strawberry. Repeat the process until you have the exact number of rocket ship fruit kabobs that you require.
- Prepare the rocket ships for launch, and let your kiddos enjoy this truly stellar space snack!
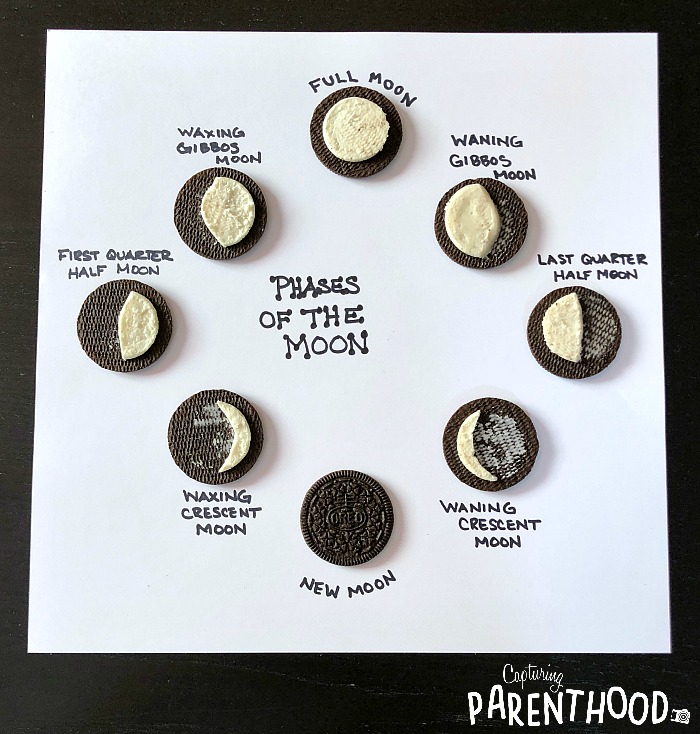
Oreo Moon Phases
The moon is the second-brightest, regularly-visible celestial object in our sky (the sun is the first). That being said, the moon itself is dark. We see it in our sky when the sun’s light is reflected off of it. The various phases of the moon are the directly sunlit portions of the moon, as viewed from Earth. And the lunar phases gradually change over a period of approximately 29 days, as the orbital positions of the moon and Earth shift around the sun.
What better way to introduce the concept of the moon’s different phases than through a delicious demonstration? I stumbled upon this clever Oreo lunar phase idea, over on Art & Science Club. Since Laurel’s setup was a bit scrunched and I couldn’t read all of her handwriting, I searched for a moon phase diagram on Google images. The diagram I used had gibbous moon misspelled as g-i-b-b-o-s…and I copied it down without checking…thus the reason it is also misspelled on our diagram. So, my apologies for the spelling error…the correct spelling is g-i-b-b-o-u-s. 🙂
Ingredients/Supplies:
- Oreo Cookies
- Small Kitchen Knife
- White Construction Paper or Card Stock
- Black Marker
- Glass of Milk (optional)
Instructions:
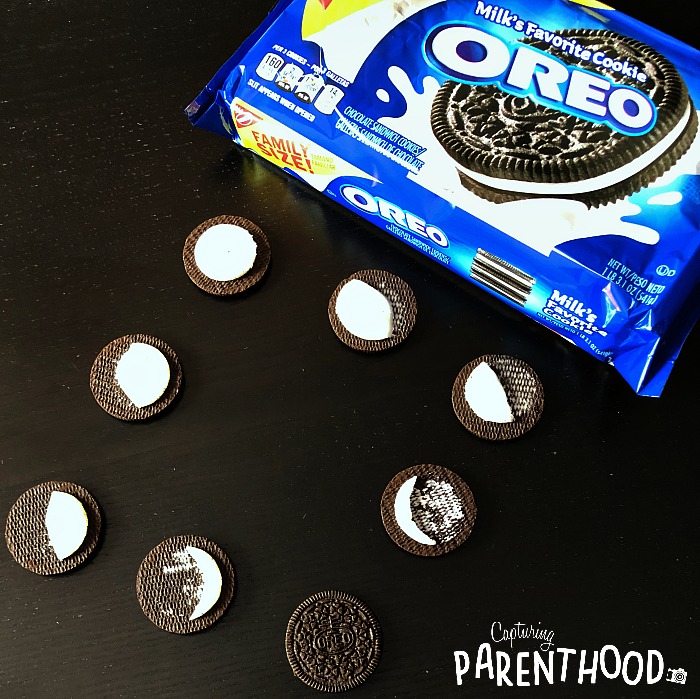
- Start by separating (into halves) seven Oreo cookies.
- Set aside one of the pieces with zero filling attached – for the new moon. Set aside one of the pieces with the full circle of filling attached – for the full moon.
- At this point, you can discard (i.e. eat) the rest of the blank (filling-less) pieces.
- Working with a sharp kitchen knife (this part should be done by an adult), carefully carve a small crescent shape into a full circle of filling. Place the flat (sharp) edge of the knife under the crescent shape that you just cut, and carefully scrape up the small crescent…leaving the larger portion of the moon intact. Repeat this exact process on one additional cookie. These two pieces will be your gibbous moons (both waxing and waning).
- Grab two more filling-coated cookie halves, and using the same process, cut away a bit more filling this time…to create two half moons (a first quarter half, and a last quarter half).
- Grab the final two filling-coated cookie halves and carve a small crescent shape into each of them. But this time, instead of removing the crescent shape, you’re going to remove the larger pieces, leaving the small crescents intact on the cookie…to create your two crescent moons (both waxing and waning).
- Collect all of your moon pieces and place them in a circle on a sheet of white construction paper or card stock. Place the full moon at the top of the circle, followed by the waning gibbous moon, last quarter half moon, and waning crescent moon. The new moon should be placed at the bottom of the circle, followed by the waxing crescent moon, first quarter half moon, and waxing gibbous moon.
- Using a black marker, label each moon phase accordingly. Feel free to write “Phases of the Moon” in the very center.
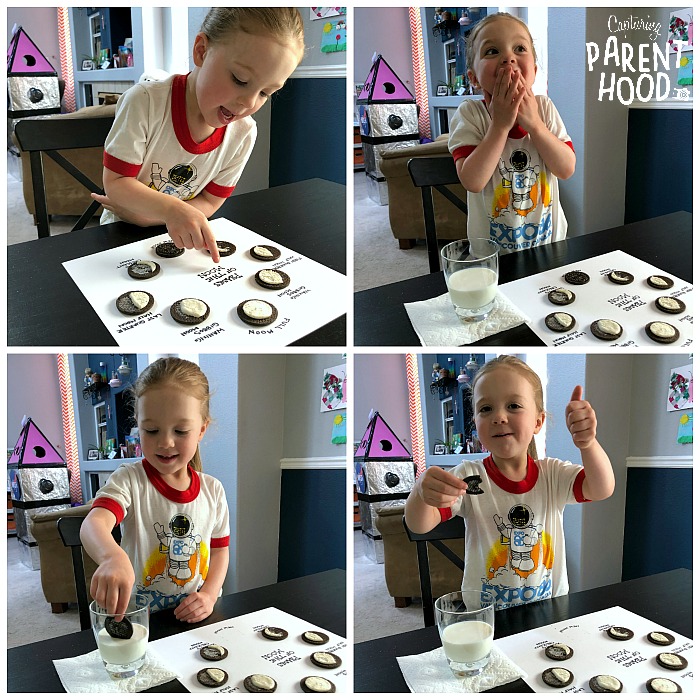
- Place the sheet of moon phases in front of your child, and have a quick discussion about the moon and its many phases. Ask your child which moon phase is the brightest? Which is the darkest? And why?
- When the discussion is over…it’s snack time! Grab a glass of cold milk and start dunking! Who knew that the moon could taste so good? 🙂
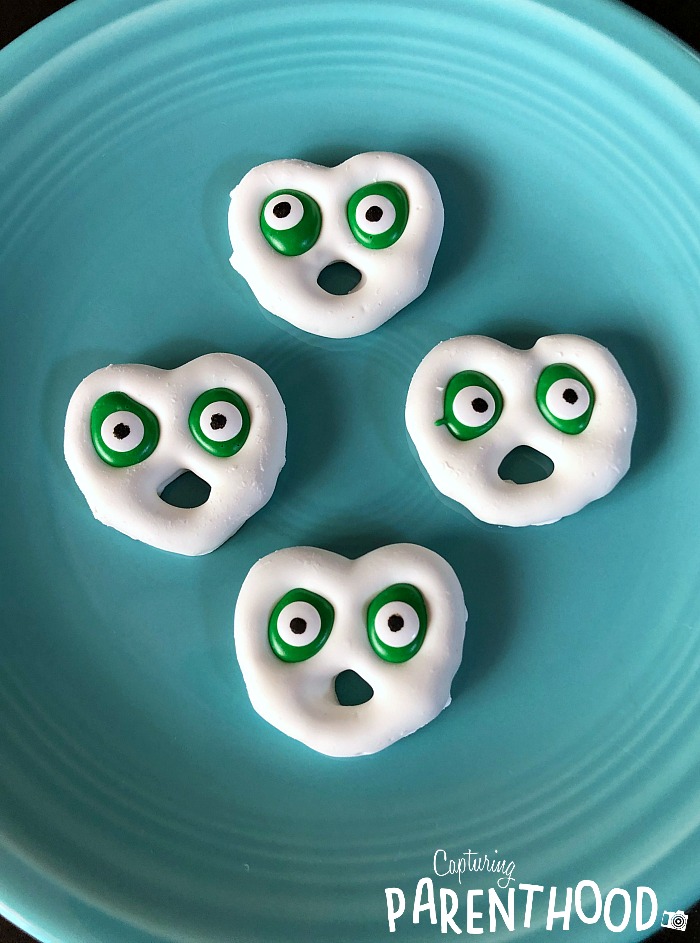
Yogurt Pretzel Aliens
Are we the only living creatures in our solar system? In the universe? While there is no solid proof of life outside of planet Earth, there certainly are plenty of rumors and theories…as well as numerous claims of UFO (unidentifiable flying object) sightings – which are most commonly associated with aliens. My little family does not hold the answers about extraterrestrial life…but we’re willing to join in on the fun and speculation…especially if there’s a tasty treat involved!
As I was searching for fun space-themed food, I happened upon this brilliant Alien Pretzel idea, over on Newspaper Cat. And it was love at first sight. 🙂 I mean, can you even handle the cuteness of these adorable little aliens? Needless to say, our little nugget was over the moon for this special space snack!
Ingredients:
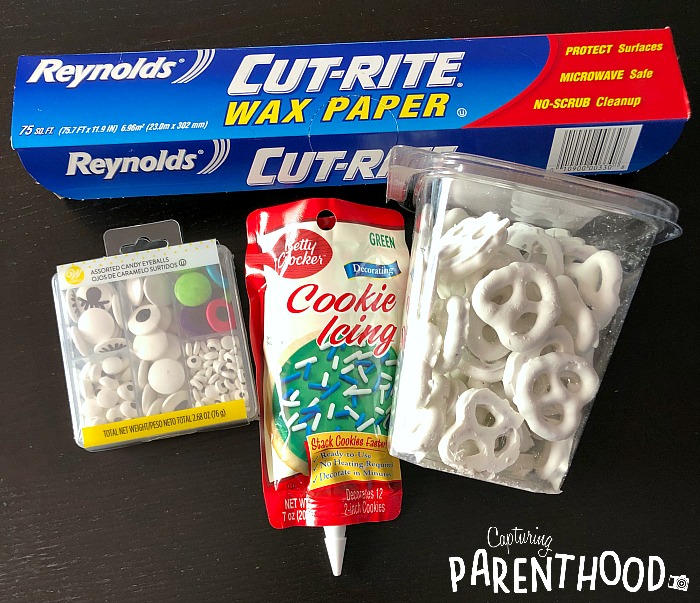
- Yogurt Pretzels
- Green Cookie Icing
- Mini Candy Eyeballs (we used the smallest eyeballs in the set pictured above)
- Wax Paper
Instructions:
- Start by laying a sheet of wax paper on a flat surface.
- Place the yogurt pretzels on the wax paper.
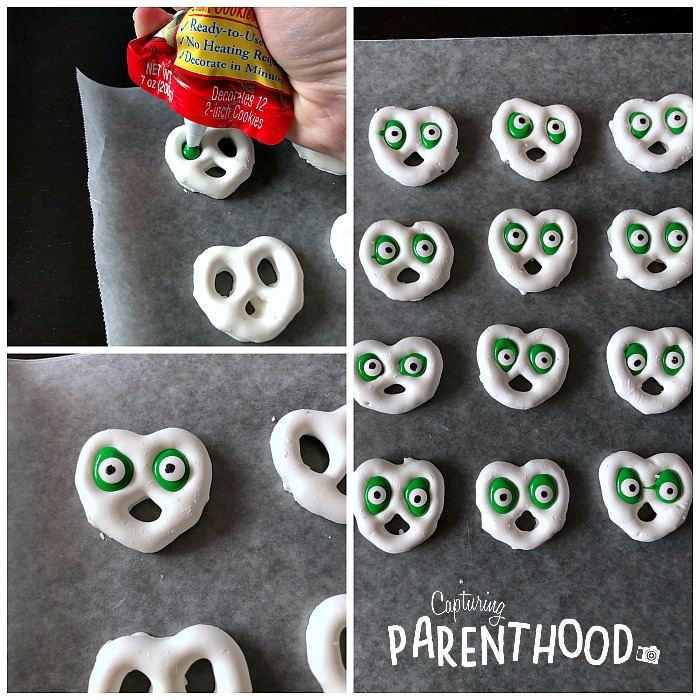
- Grab your cookie icing bag and cut off the plastic tip. Place your mini candy eyeballs nearby.
- Fill the two upper cavities of a yogurt pretzel with green icing. Place a mini candy eyeball on top of each filled cavity, pressing them down gently into the icing. Repeat with the remaining yogurt pretzels. You can speed up the process by adding icing to a handful of pretzels at a time, before returning to insert the eyeballs. Just make sure not to get too ahead of yourself…if the green icing hardens a bit, it might be difficult to get the candy eyeballs to stick.
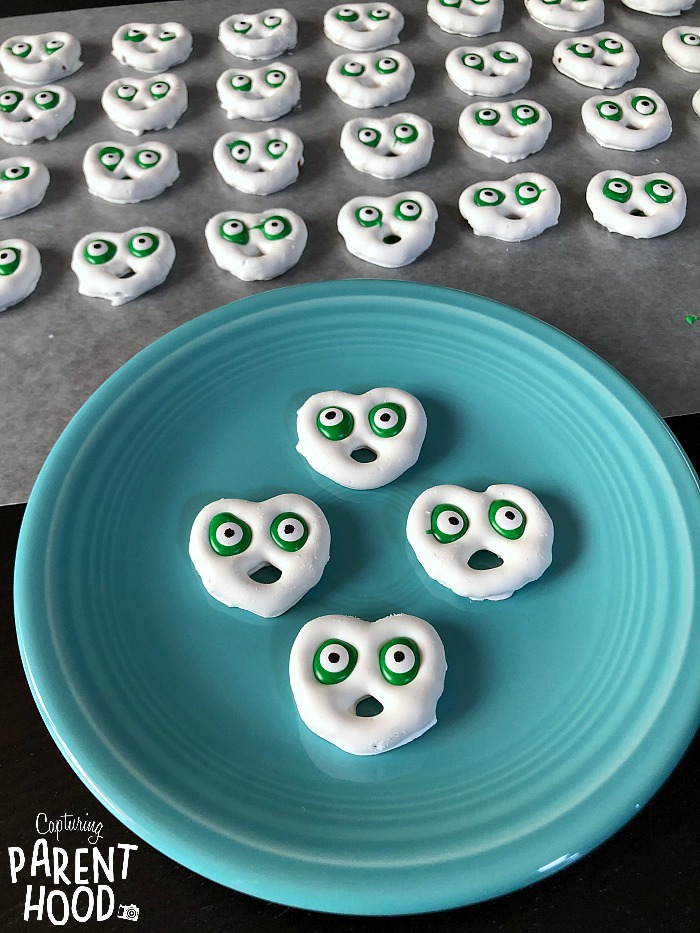
- Once finished, set the cute little aliens aside, so that the icing can harden completely. If you try to remove the aliens from the wax paper at this point in time, the green icing will stick to the wax paper, and your eyeballs will sink. It can take a few hours for the icing to harden. I left ours on the kitchen table for several hours, before transferring them to the refrigerator, to complete the hardening process.
- Present your little ones with a plate of yogurt pretzel aliens for an afternoon snack…or save them for a special dessert!
And there you have it…three super fun and delectable space snacks for kids! If you need to work up an appetite first…why not make a quick Flying Saucer Craft? Or better yet…your very own DIY Cardboard Rocket Ship?!?