It’s March! Which means that little green leprechauns will be gracing us with their presence (and mischief) very soon. In fact, when our little nugget switched her calendar over to the new month, she immediately squealed, “Leprechaun’s Day!” After which, I boldly declared that St. Patrick’s Day shall henceforth be called Leprechaun’s Day. 🙂 I don’t know about you, but nothing says “Happy Leprechaun’s Day” like rainbows and shamrocks. And that is precisely why we decided to combine the two, to create some festive and colorful Rainbow Chalk Shamrocks!
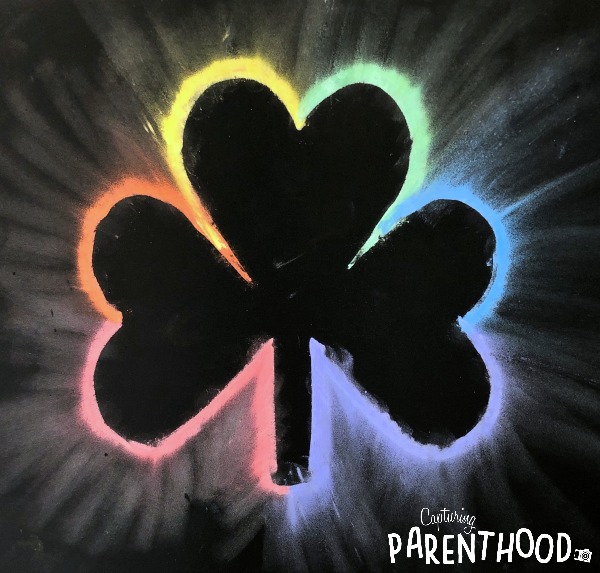
We absolutely love this fun chalk technique, that we first came across over on Kaitlyn Edington’s @artwithmrs.e Instagram feed. Kaitlyn does a mesmerizing Northern Lights project with her art students every year – if you want to check it out (and you totally should) you can find the tutorial on her Teachers Pay Teachers account. We decided to use Kaitlyn’s chalk-rubbing technique to create these stunning shamrocks!
Rainbow Chalk Shamrocks
Supplies:
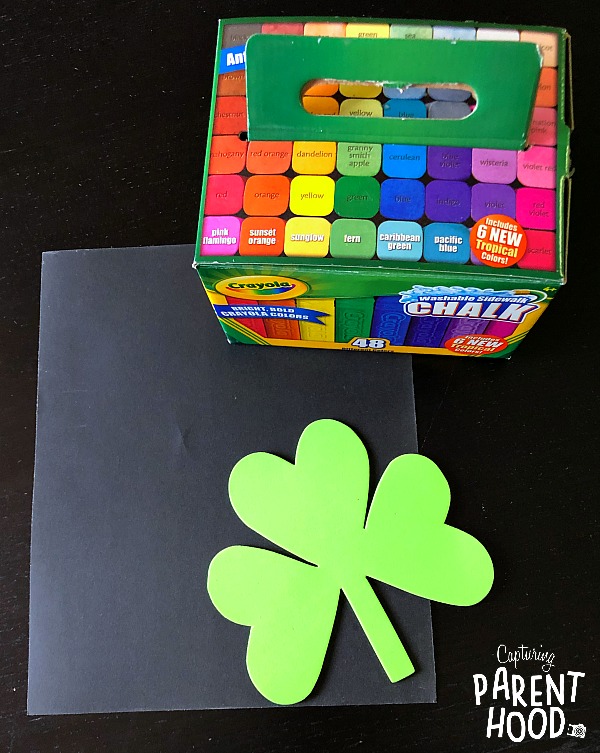
- Chalk (we used our favorite pack of sidewalk chalk)
- Black Card Stock or Paper
- Shamrock Stencil (you can also draw the outline of your shamrock free-hand, but we find that stencils are easier for little ones to use)
Instructions:
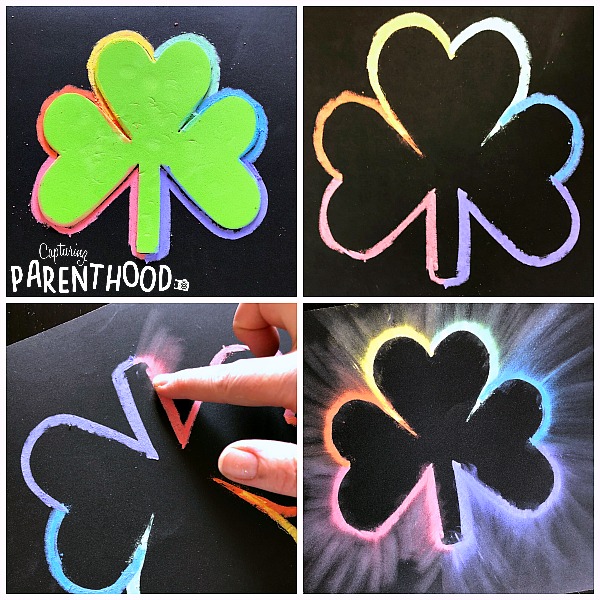
- Select pieces of chalk in all the colors of the rainbow (red, orange, yellow, green, blue, purple) and set aside.
- Place a shamrock stencil in the center of a sheet of black card stock.
- Hold the shamrock in place with one hand. With your free hand, grab the red chalk and start tracing the shamrock (starting from the center of the stem, up and around the first half-heart).
- Trace the remaining half-heart with orange chalk.
- Continue tracing half of each heart with the remaining colors of the rainbow (yellow, green, blue, and purple).
- Continue with purple, down the stem, until you meet back up with the red chalk.
- Remove the shamrock stencil.
- Using your fingertip, gently rub/sweep the chalk away from the shamrock – working your way all the way around the outside of the shamrock. Ta Da!
My little nugget and I had a lot of fun creating some colorful St. Patrick’s Day chalk art. But on that particular day (and much to my surprise) she was not at all interested in creating a rainbow shamrock…so I let her take creative license with her own shamrock.
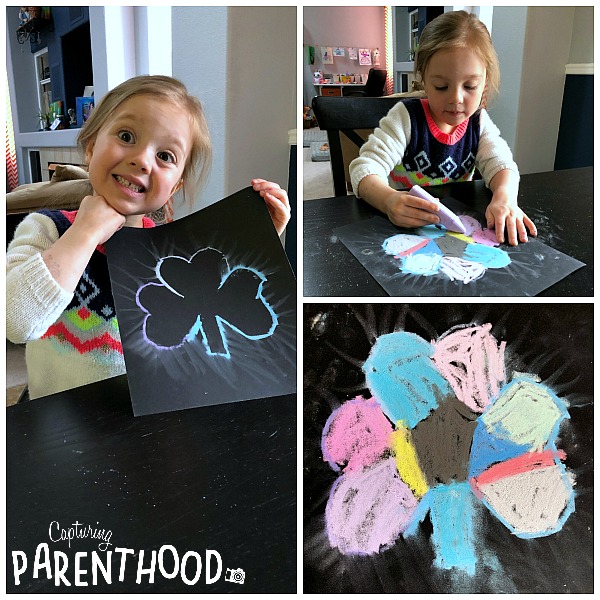
She still traced the shamrock with colors of her choosing, and rubbed the chalk with her fingertips. But once that was done, she decided that her shamrock needed more color…so she colored the inside of the shamrock too.
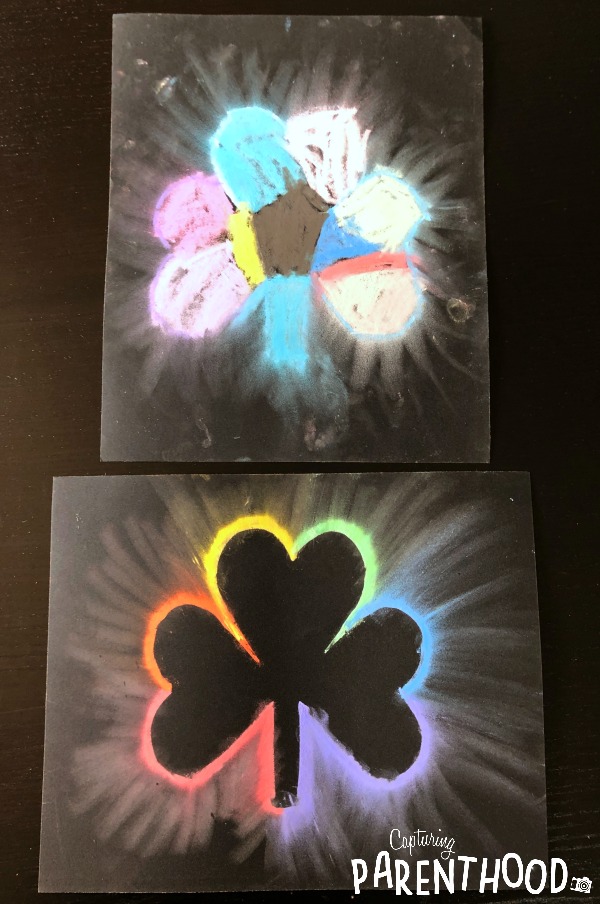
Needless to say, we were both very happy with our shamrock creations!
HAPPY LEPRECHAUN’S DAY! 🙂



You have such a lovely daughter. Did you just wish over the colors to get the effect?
Thank you, Lisa! We think she’s pretty great too. 🙂 To create the chalk effect, we just simply brushed our fingertip over the colors (moving away from the shamrock).