In case you haven’t noticed, it’s getting a little buggy on Capturing Parenthood this week! 🙂 On Tuesday, we shared a super fun Tissue Paper Bugs craft. And today, we are sharing an assortment of adorable Air-Dry Clay Bugs!

Spring always seems like the best time of year to learn all about bugs! In fact, our daughter’s preschool class just released their butterflies (that they watched transform from caterpillars) a few weeks ago. And we’ve started noticing an assortment of bees and butterflies flitting around our backyard. I think that they are just as excited for the warmer weather as we are. So…to celebrate the return of some of our favorite insects…we decided to make a few colorful bugs of our very own!
Air-Dry Clay Bugs
Supplies:
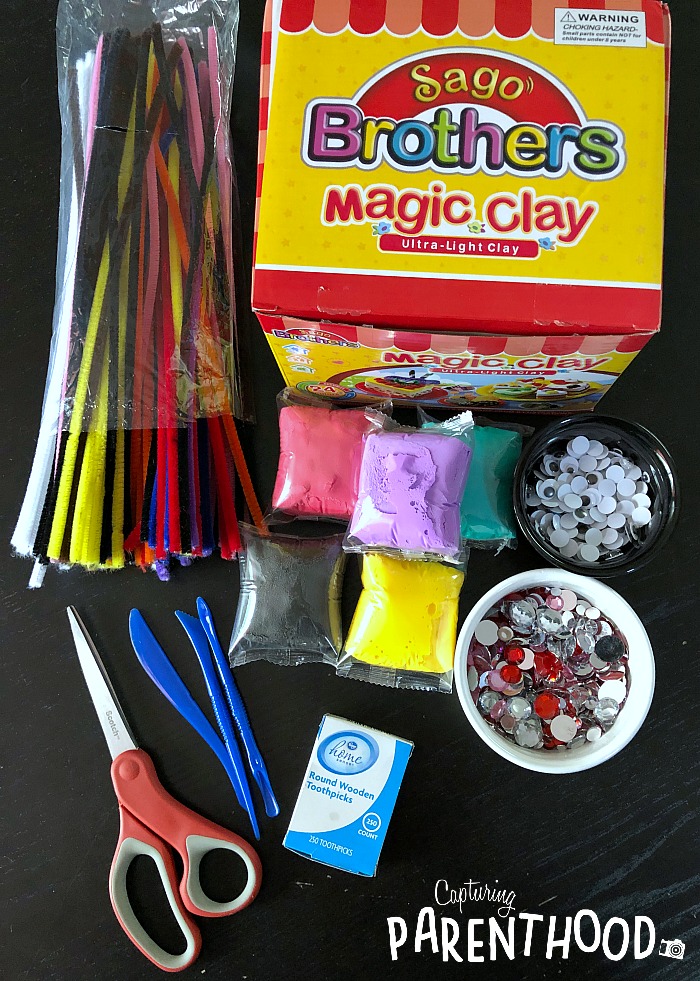
- Air-Dry Clay
- Pipe Cleaners
- Googly Eyes
- Toothpicks (for structural purposes)
- Scissors
- Sparkly Gems (optional)
Instructions:
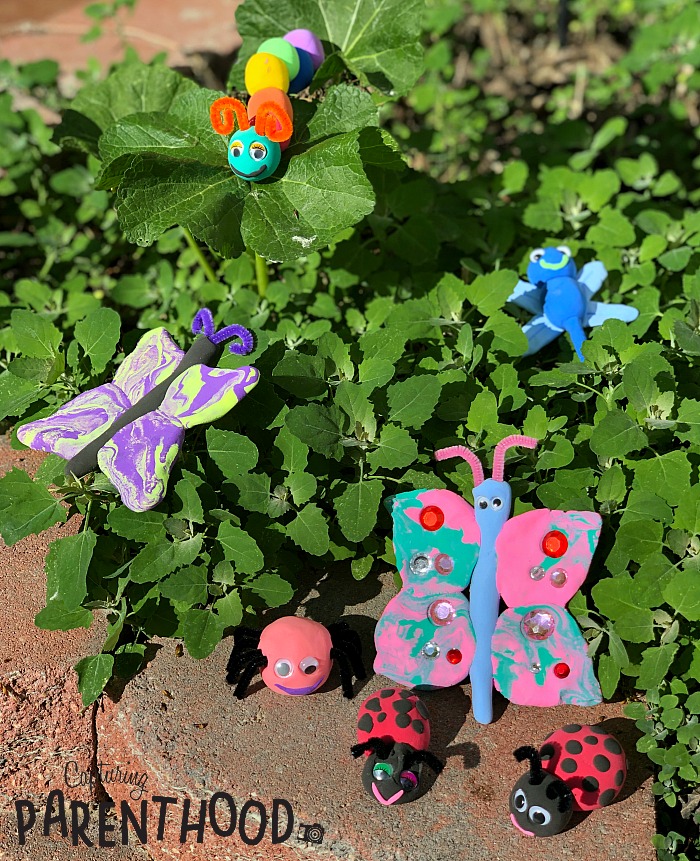
Making air-dry clay bugs is a very open-ended craft that involves lots of rolling and shaping of various colors of clay. You can create any type of bug that you wish…in whatever colors your heart desires. We chose to make butterflies, ladybugs, a caterpillar, a spider, and a dragonfly…but the possibilities are endless! And now, I will quickly take you through the creative process for each one of our clay bugs.
Rainbow Caterpillar
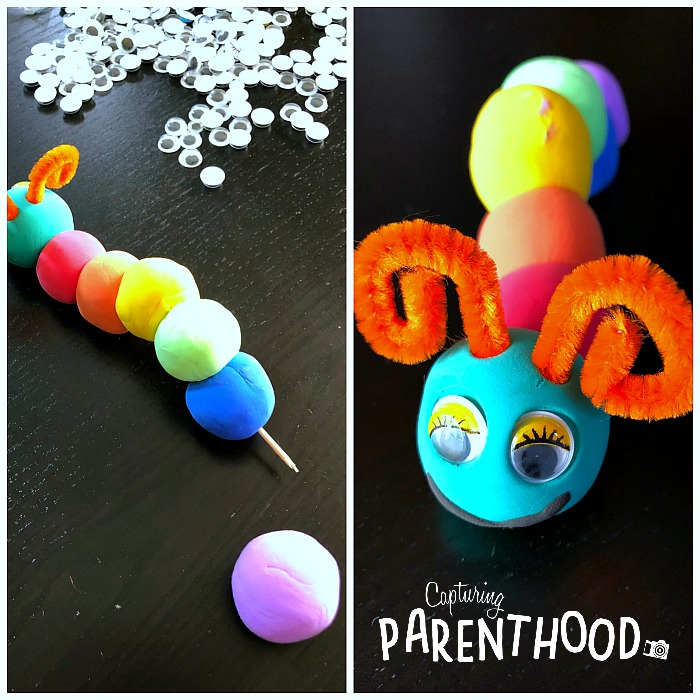
To make a rainbow caterpillar, you will need seven balls of clay (red, orange, yellow, green, blue, purple…and one more color for the head. You will also need a few toothpicks, two googly eyes, and a pipe cleaner (cut into two 2″-3″ pieces and twisted into antennae). Start by rolling a ball in the color that you’ve chosen for the caterpillar’s head. Push two googly eyes into the clay on one side of the ball. Stick the pipe cleaner antennae down into the clay on top of the head. Feel free to grab a very tiny piece of clay (in a different color) and roll it into a tiny snake. Gently press the tiny snake onto the clay ball (under the eyes) to create a smile.
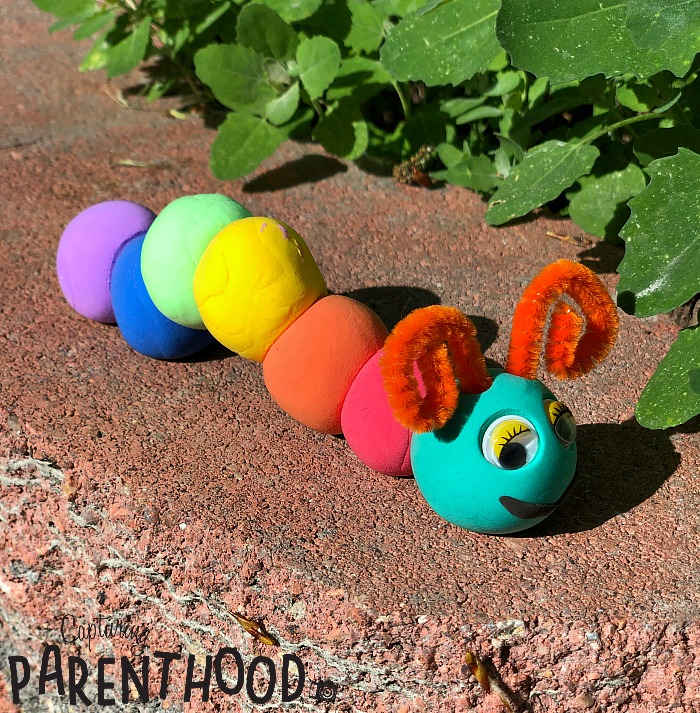
Working with one color at a time, roll a ball of red, orange, yellow, green, blue, and purple clay. We decided to make these particular balls of clay a tad smaller than the caterpillar’s head. Now, you’re ready to assemble your clay caterpillar. Carefully break a toothpick into two (or three) pieces. Slide one piece into the back of the caterpillar’s head (half-way). Slide the red ball of clay onto the other half of the toothpick, and press it down gently into the head of the caterpillar. Repeat this toothpick process, until the rest of the rainbow-colored clay balls have been adhered to the caterpillar. For a bit of fun…you can even elevate a couple of the clay balls – to give the appearance that the caterpillar is on the move! 🙂
Marbled Butterflies
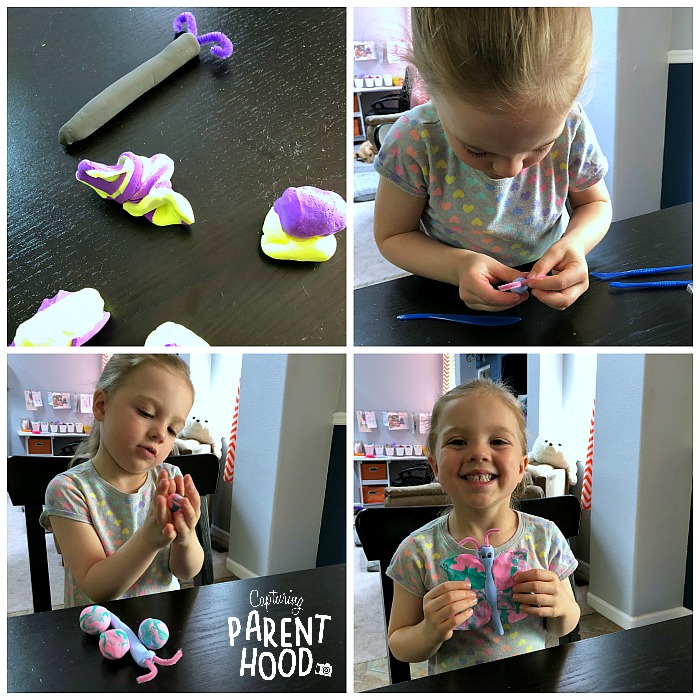
We all know that caterpillars transform into beautiful butterflies…so we obviously had to make a couple of butterflies to add to our clay bug collection. 🙂 A few months ago, we stumbled upon the most gorgeous marbled clay butterflies, that Lauralee (from @2art.chambers) did with her elementary school students. So, when it came time to create our very own butterflies, we knew that we wanted to marble the colors too!
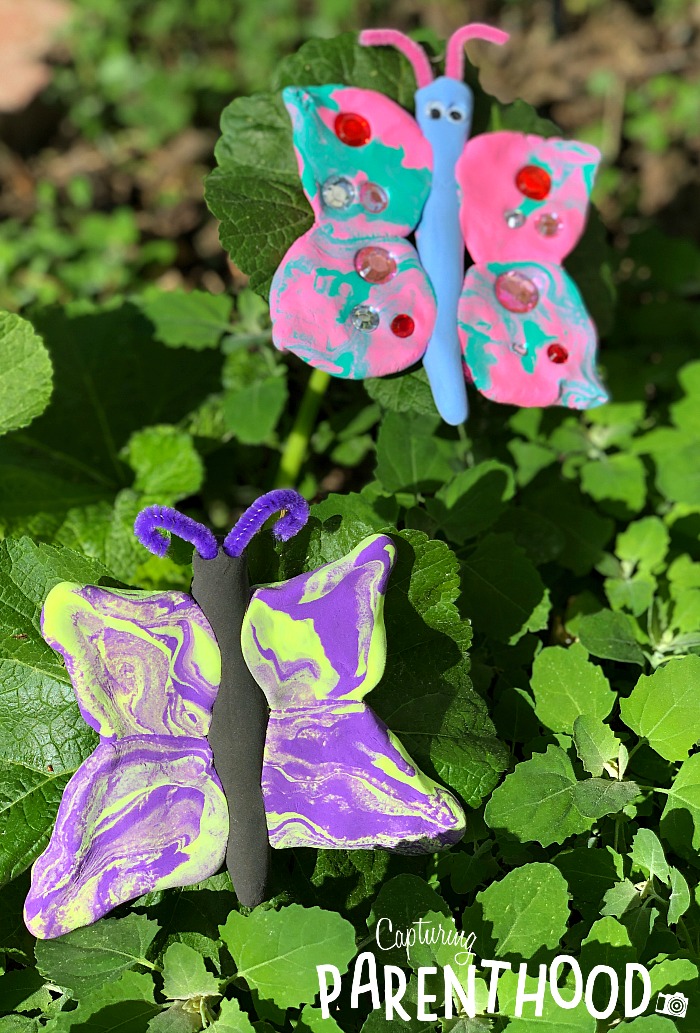
To start, chose three colors of clay that you would like to use (one for the butterfly’s body, and two more for the marbled wings). Roll the body color of clay between your hands to create a short, stubby snake. Cut a pipe cleaner into two 2″-3″ pieces and curl them into antennae. Stick the pipe cleaner antenna down into the top of the butterfly’s body. Feel free to poke a couple of small googly eyes into the clay, below the antennae (if so desired). Now, it’s time to marble the clay for the wings. Create four small(ish) balls of clay in each of the remaining two clay colors (giving you a total of eight balls of clay). Take one ball of each color and twist it, stretch it, and squish it back together…until you create the marbled effect that you’re looking for. Note: You don’t want to mix the two colors of clay too much, because they will start to make one integrated color. Repeat the marbling process with the remaining clay balls, until you have four marbled balls of clay. Place two balls of marbled clay on the left-side of the butterfly’s body, and two balls on the right. Squash each ball down gently, so that it attaches to the butterfly’s body. Shape the flattened clay into wing shapes. Feel free to add some extra sparkle to your butterfly, by pressing a few colorful gems into the wings. Ta Da!
Ladybugs
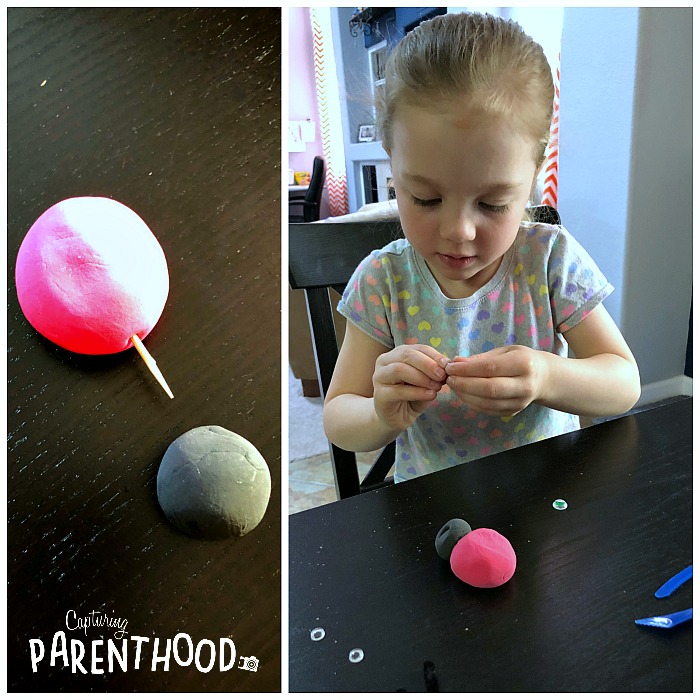
Ladybugs always put a smile on my face, and these clay ladybugs are no exception! If you would like to make a cute clay ladybug too, all you need is some red and black clay, a toothpick, a black pipe cleaner, and a pair of googly eyes. Start by rolling a small ball of black clay (for the ladybug’s head), and a larger ball of red clay (for the body). You will want to press the red ball down very gently, to turn it into more of an oval shape. Carefully break a toothpick into two pieces. Slide one piece halfway into the ladybug’s body. Slide the head onto the remaining (exposed) half of the toothpick, gently pressing the two pieces of clay together.
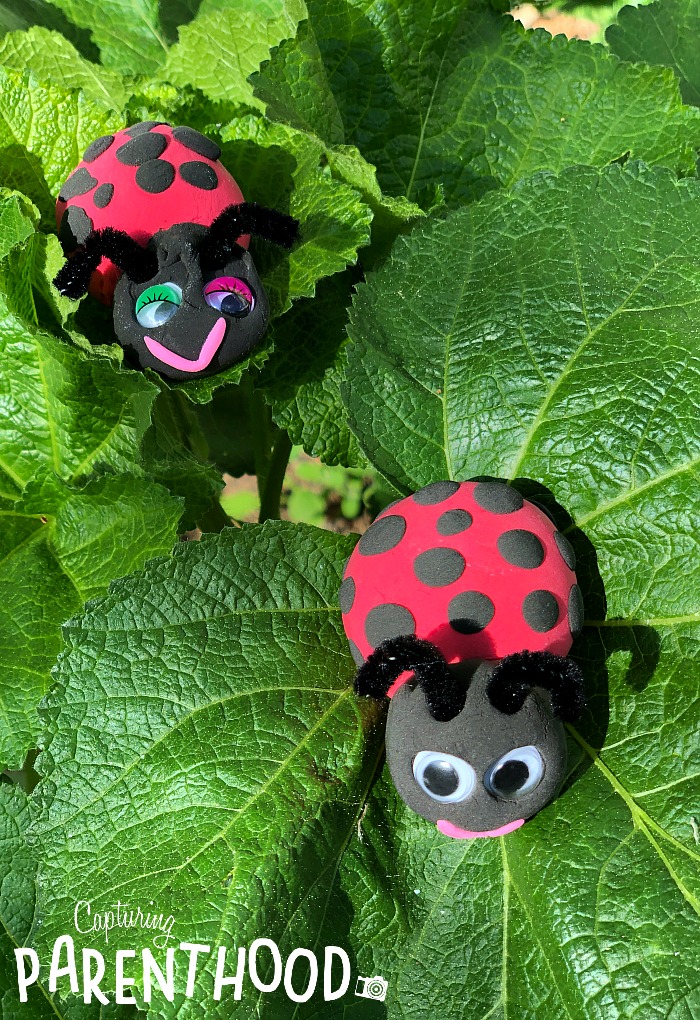
Now, it’s time to give your ladybug some character. Gently press two googly eyes into the front of the ladybug’s head. Cut a black pipe cleaner into two 2″ pieces and curl into antennae. Stick the pipe cleaner antennae down into the top of the ladybug’s head. If you want, you can grab a very tiny piece of clay (in a different color) and roll it into a tiny snake. Gently press the tiny snake onto the clay ball (under the eyes) to create a smile. The only thing left to do, is to give your ladybug its signature spots! We found that the easiest way to do this, was to roll very small balls of black clay, and then press each ball down gently, using a fingertip, onto the ladybug’s back. And that’s it…now you have your very own adorable little ladybug!
Spider
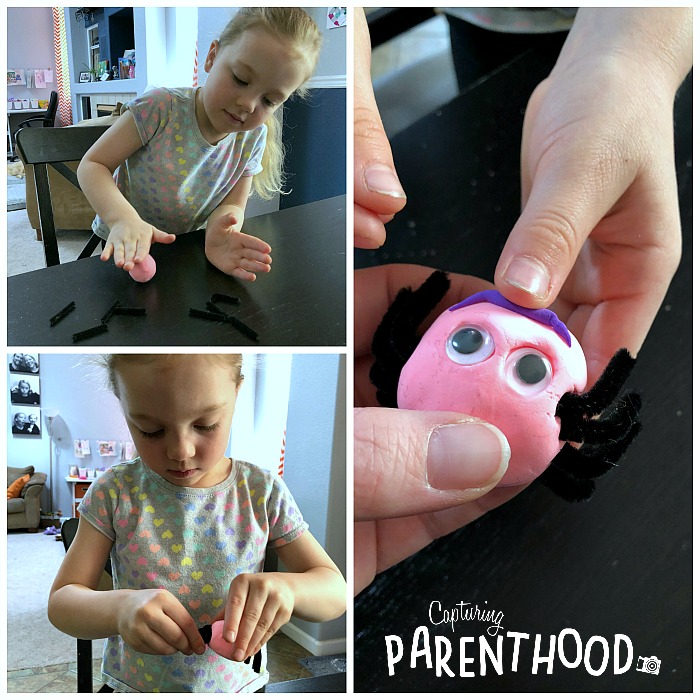
When I asked our little nugget what kind of bugs she would like to make, the very first thing out of her mouth was, “A spider!” So she chose one color of clay, and rolled it into a ball. She gently pressed two googly eyes into the ball of clay, and then she rolled a very tiny piece of clay (in a different color) into a snake shape, to create a goofy spider smile. 🙂
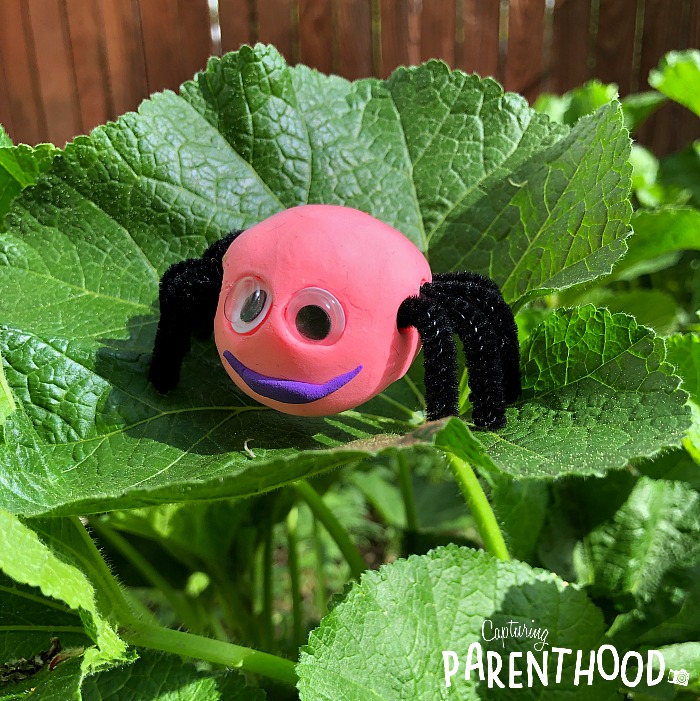
The only thing left to do was add the legs – all eight of them! We cut a black pipe cleaner into eight pieces, and created a slight bend toward the top of each piece. Our little nugget stuck four pipe cleaner legs on one side of the spider…and four more on the other side. Her charming little pink spider was complete!
Dragonfly
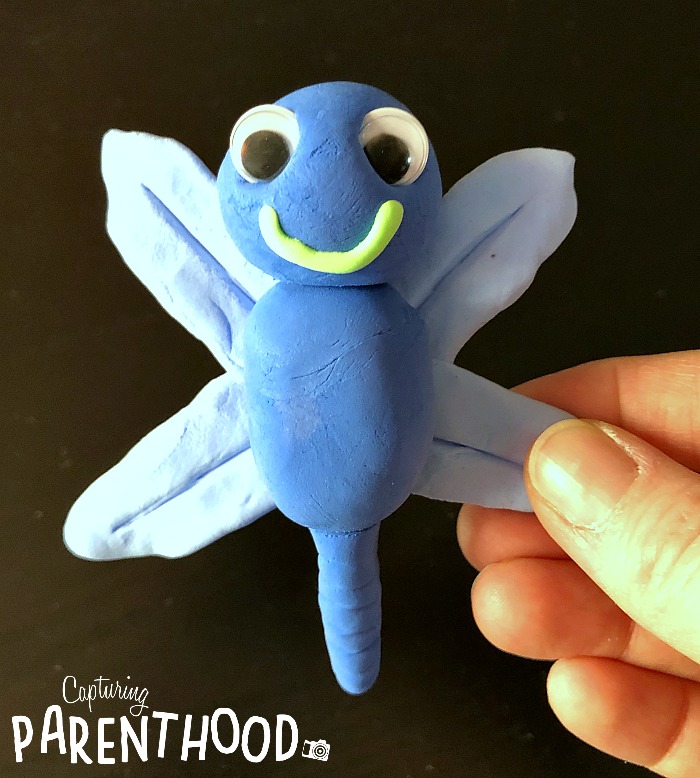
While our daughter worked on her spider, I created this cute little dragonfly! Isn’t he adorable?!? 🙂 I used two different shades of blue air-dry clay, a tiny bit of green clay (for the mouth), two googly eyes, a toothpick, and a small plastic knife.
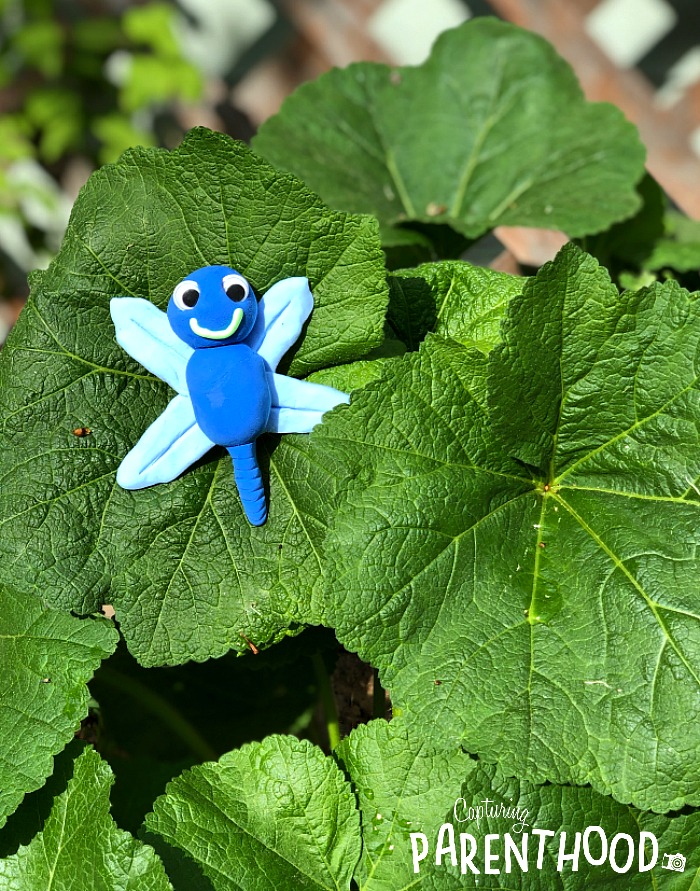
I started by creating four small balls of light blue clay, which I then flattened together and shaped into wings (much like the butterflies above). To add definition to the wings, I used a small plastic knife (a little tool that actually came in our air-dry clay box) and pressed a line down the center of each wing (stopping short of the wing tips). Next, I rolled some dark blue clay into a ball (for the dragonfly’s head), another piece of dark blue clay into an elongated ball (for the dragonfly’s body), and a very short snake-shape (for the tail). I gently pressed two googly eyes into the dragonfly’s head, and added a little green clay smile for some extra cuteness. Then I broke a toothpick into two pieces…and used one piece to connect the head of the dragonfly to the body…and the other piece to connect the dragonfly body to the tail. I took my small plastic knife and gently added several horizontal lines in the dragonfly’s tail. And then I pressed the dragonfly down onto the wings, until the clay stuck together, and my dragonfly was complete!
And there you have it – our cute little clay bug collection! We had so much fun playing and creating with this air-dry clay…and we’ve already started dreaming up all sorts of other fun clay projects!
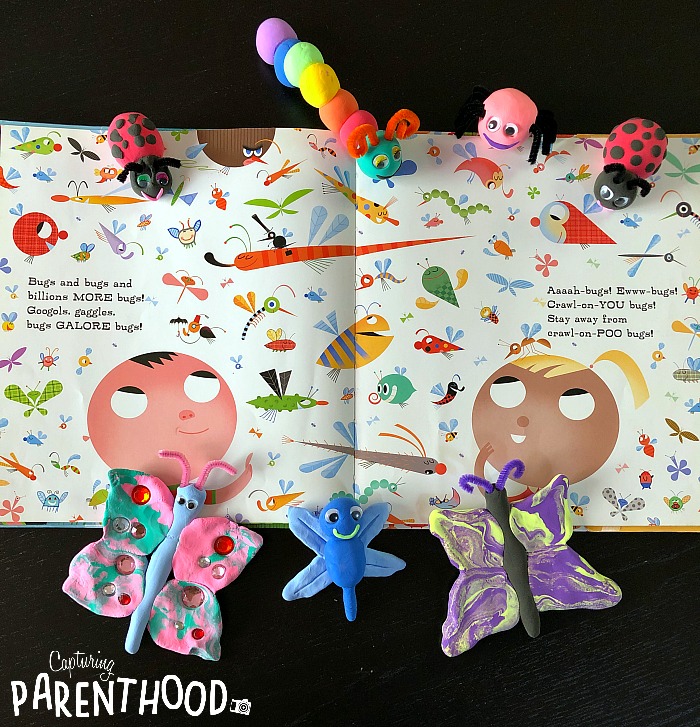
This clay bug project also paired perfectly with the fantastic Bugs Galore book, by Peter Stein – which we also happened to feature in our favorite Spring Books of 2019 post, a few weeks ago. In fact, this cute and colorful rhythmic story provides ample inspiration for all sorts of different clay bug creations!

