It’s officially Week 2 of our Sensory Bottle Extravaganza! And today, we are having some educational fun with this Color-Mixing Sensory Bottle!
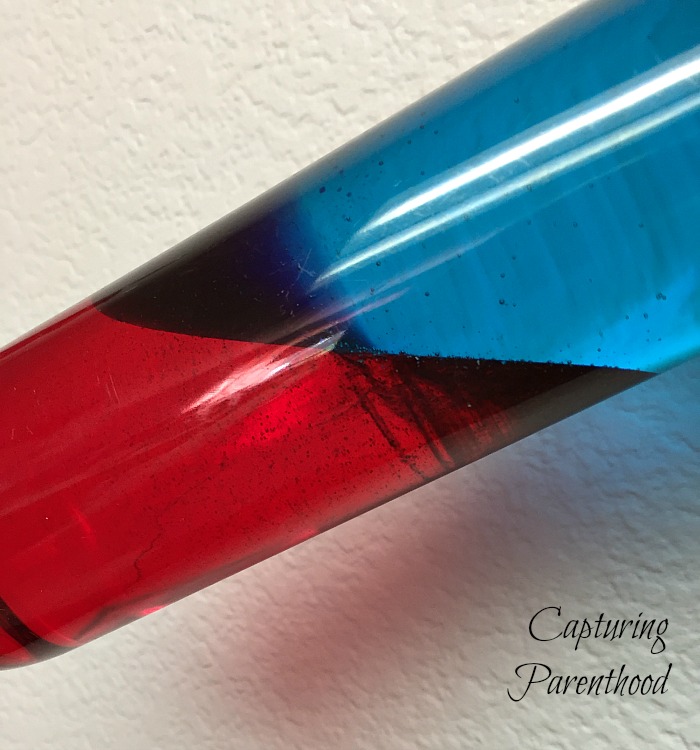
I’m sure you will be shocked to hear that I found this brilliant idea over on Preschool Inspirations. 🙂 Katie details how to make color changing sensory bottles, by combining two primary colors in one bottle (https://preschoolinspirations.com/how-to-make-a-color-changing-sensory-bottle/). While she made a total of three bottles (to create orange, green, and purple), we decided to start with just one.
If you’ve been following along with Capturing Parenthood for a little while, you already know that my little nugget’s favorite color is purple! So naturally, our bottle is made up of red and blue, so that when the two are mixed, we get purple!
Color-Mixing Sensory Bottle
Supplies:
- Plastic Bottle with Wide-Mouth (I love using Voss water bottles)
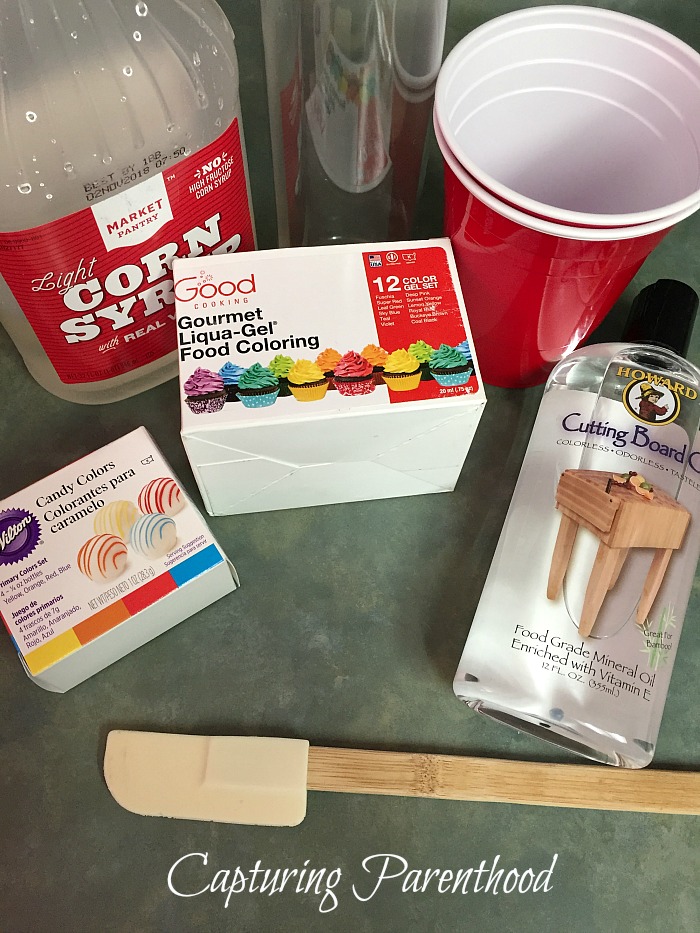
- Clear Corn Syrup
- Mineral Oil
- Food Coloring (I used Good Cooking Gourmet Liqua-Gel Food Coloring)
- Wilton Candy Dye Primary Color Set
- Cups (for mixing)
- Spatula
Instructions:
- Empty the plastic bottle (if it contained a non-water beverage, rinse out the bottle). Remove all labels from the bottle. If you have a hard time getting the sticky residue off, Goo Gone works wonders. I find that if I take my time and peel slowly, I can get the Voss labels off without any fuss.
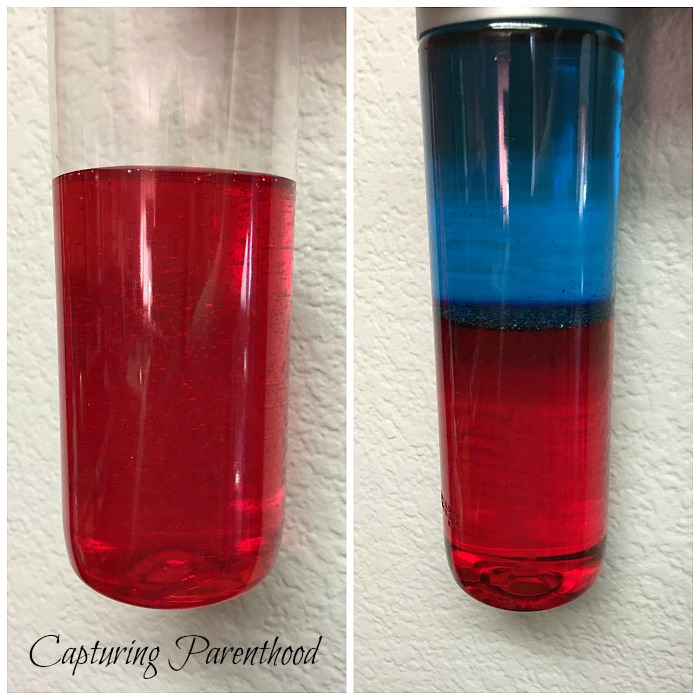
- Pour a hefty amount of the clear corn syrup (you want to be able to fill approximately half of the bottle) into one of the mixing cups. Chose the color of food coloring that you would like to dye the corn syrup with – in our bottle, it was red. Add the food coloring slowly, mixing thoroughly between drops. *Note: Katie used pink and blue to create purple in her bottle. In hindsight, I wish I would have gone that route, or made our red quite a bit lighter.
- Once the corn syrup is the color you desire, carefully pour it into the bottom of the plastic bottle, using the spatula to scrap the sides of the cup.
- Next, it’s time to dye the mineral oil. You will want enough mineral oil to fill (almost all) the rest of the bottle. Pour the mineral oil into a mixing cup first, to color it. Make sure to use the Wilton Candy Colors set to dye the mineral oil (food coloring is water-based, and therefore, will not dye oil). We dyed our mineral oil blue. Again, make sure to add the dye slowly…you want it to be on the lighter side.
- Fill the remainder of the bottle (leaving the little area under the cap empty, so that the liquids can flow more freely) with the colored mineral oil.
- Then, add a dab of hot glue around the inside of the cap, and quickly seal the bottle (you don’t want your child unscrewing a bottle full of colored corn syrup and oil, inside your house). 🙂
While you don’t get the cool bubble effect that you would mixing oil and water together, we still love swirling this bottle around (making waves), and tilting it on its side to see the beautiful purple hue that is created when the red corn syrup mixes with the blue mineral oil.
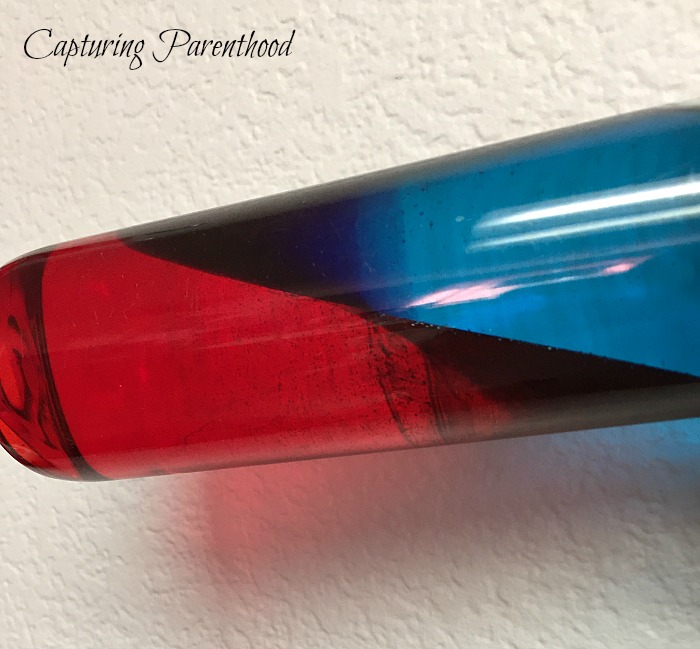
While I’m happy with the end result of this sensory bottle, I still wish I had taken just a little more time (and more of Katie’s advice) when I was mixing my colors. I think the bottle would have turned out even better if our red and blue were a touch lighter in hue. Lesson learned…now I have a bit more insight when it comes to making our red/yellow, and blue/yellow bottles in the future!
Onward and upward…with a brand new sensory bottle to share tomorrow! See you then!
