What better way to decorate your home for the holidays, than to create some awesome Christmas crafts with your toddler? Better yet…you can even use some of them for grandparent gifts!
Our little nugget had so much fun making all of these fun creations! Check out what we’ve been crafting for Christmas this year:
Toilet Paper Roll Christmas Tree
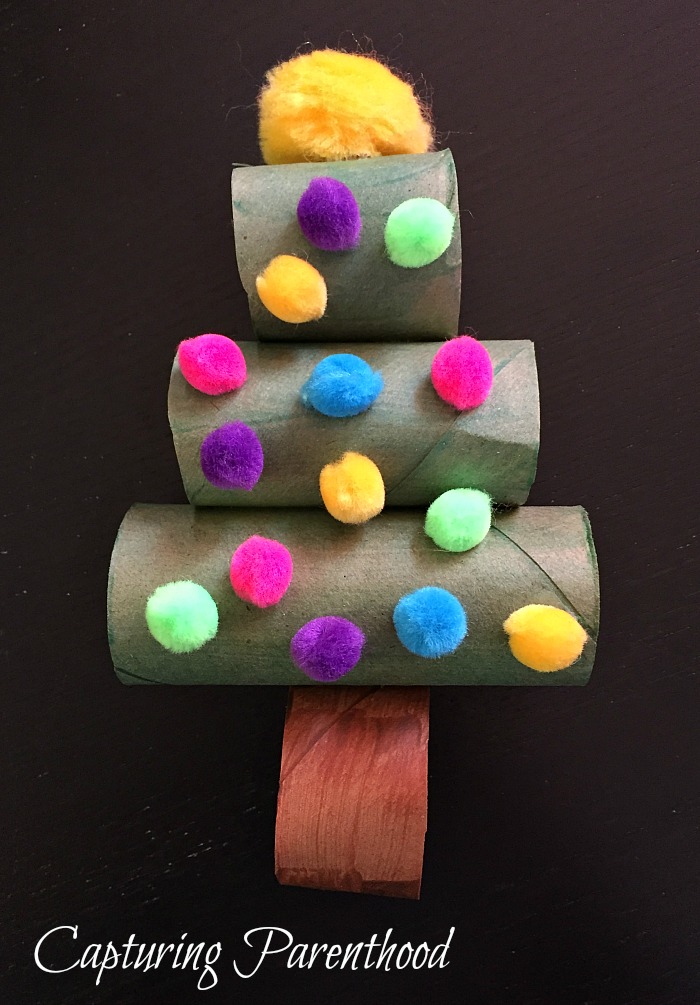
I branched off of an idea that I saw from Kim at The Resourceful Mama (http://www.theresourcefulmama.com/toilet-paper-roll-christmas-tree/).
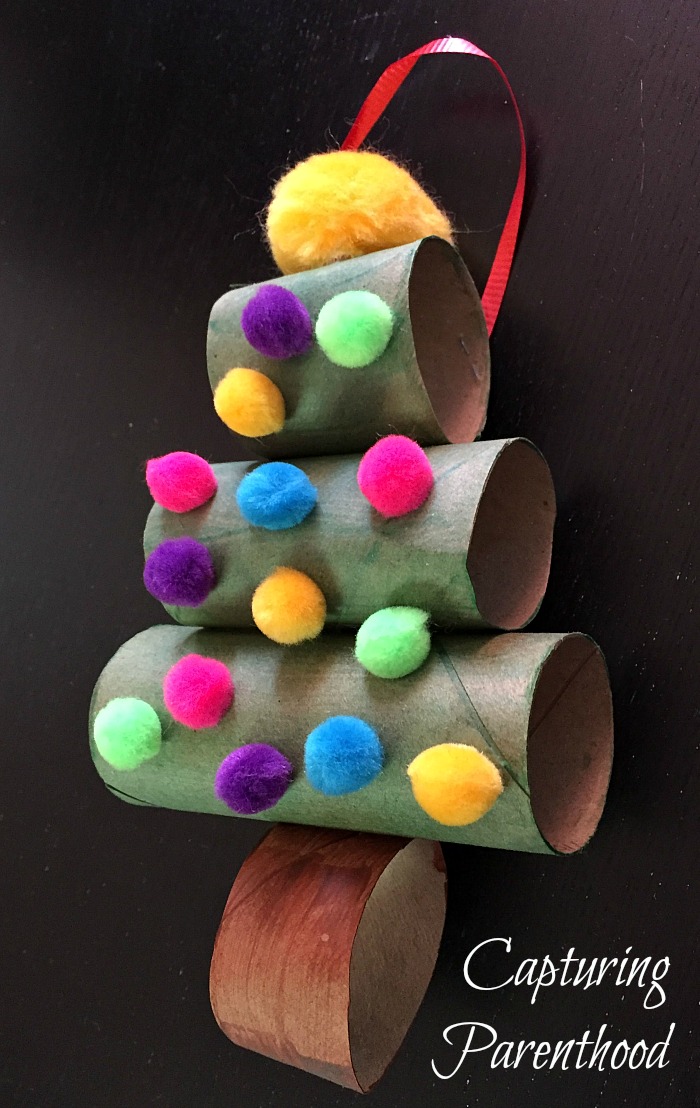
Cut some empty toilet paper rolls (or empty paper towel rolls) into four sections – three in slightly-decreasing size for your tree and one small one for your tree trunk. Have your toddler paint the three tree rolls green, the trunk brown, and set aside to dry. Glue all of your rolls together in the appropriate order. It looks like Kim used some colorful paint for her Christmas tree decorations/ornaments. We happen to have an abundance of colored puff balls/poms (I’m sure most toddler parents do)! So, we decided to use a large yellow puff to represent our star tree-topper, and then my little nugget continued to glue on the rest of the smaller puffs until our little tree was completely decorated. We then decided to add a bit of ribbon so that our tree could be hung up and proudly displayed! You could also just go ahead and hang this colorful craft on your Christmas tree as an ornament itself!
Paper Plate Christmas Ornaments
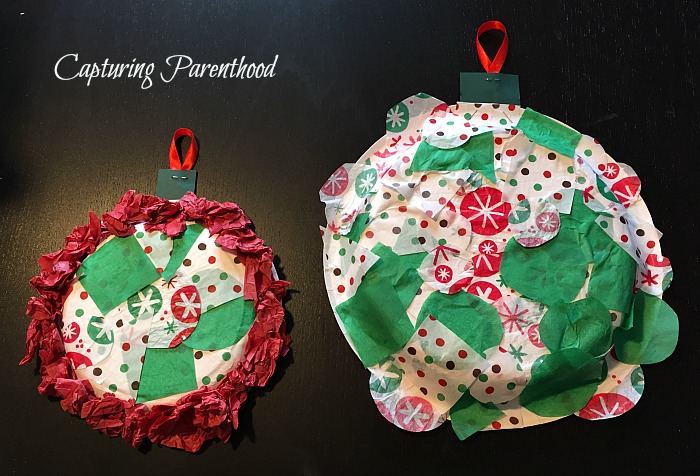
You only need a few items to make this simple ornament craft (most of which you probably already have on hand). I came across this idea from Michelle at Crafty Morning (http://www.craftymorning.com/paper-plate-christmas-ornament-craft-kids/).
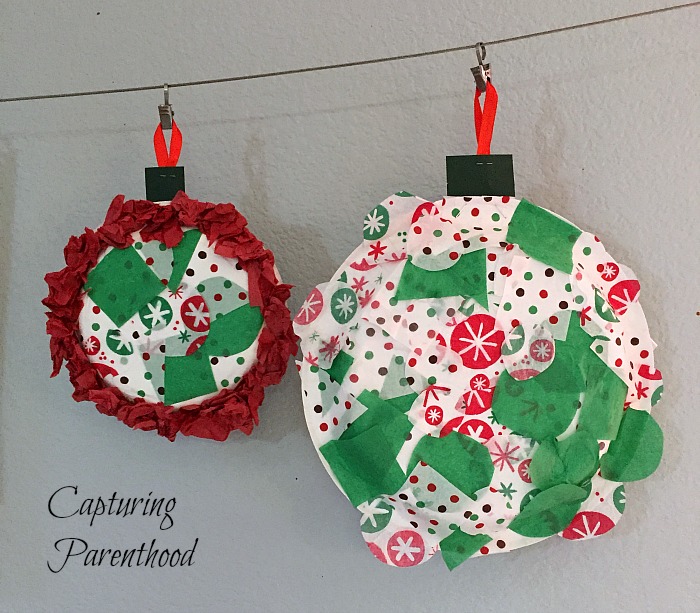
Grab a paper plate, some glue and some holiday tissue paper. Since my little nugget is learning her shapes, I decided to cut our tissue paper into various sizes of circles, squares, and triangles (I’m always looking for learning opportunities)! To make this super toddler-friendly, I just applied my Elmer’s glue to the back of the paper plate and let my toddler go to town, placing the tissue paper shapes wherever she so desired. We also scrunched up a bunch of tissue paper (what toddler doesn’t love to squish up tissue paper?) and applied it to the outer ring of one of our ornaments for an added decorative effect! Once all of the glue had dried, I cut a little square out of construction paper and stapled it onto the top of our plate and then I added a little strip of ribbon so that our ornaments could be hung for all to see!
Jingle Bell Cups
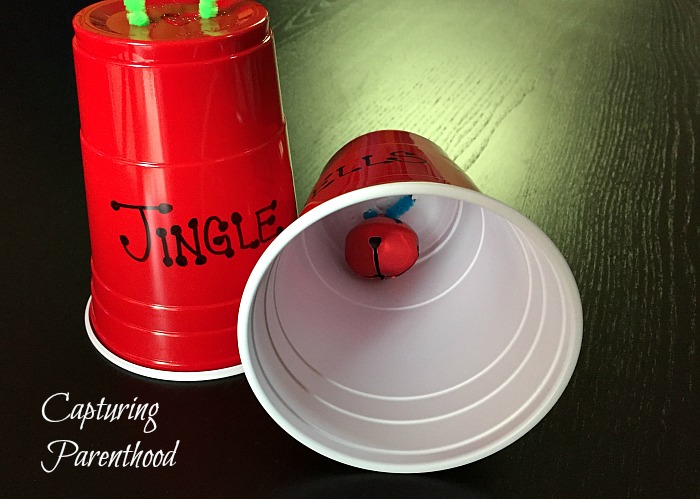
My little girl has been singing “Jingle Bells” at the top of her lungs for days now. So I figured, why not add to all of the noise?!? I discovered this brilliant idea from Kim at The Resourceful Mama (http://www.theresourcefulmama.com/jinglebellschristmascraft/) – she is just full of great craft ideas!
I decided to make a couple of these (so that my daughter had one to hold in each hand as she caroled around our house). Kim used Styrofoam cups that she painted red…I decided to use a couple of red Solo cups, because I had them on-hand, and they were already red! Poke a couple of holes in the top of your cup. Grab a jingle bell and run a pipe cleaner through the top slot of the bell (my toddler enjoyed picking out the pipe cleaner colors)! Once the bell is strung on your pipe cleaner, take the two ends of your pipe cleaner and run them up through the two holes in the top of your cup (run them through from the inside of the cup, so that your bell will be fully-secured in the cup). I tied a small bow with the pipe cleaners, but you could also just twist the pipe cleaners together to create your handle.
And then…”JINGLE ALL THE WAY!”
**Update: These jingle bells only survived a couple of days with our toddler before she decided to step on the cups, which resulted in cracked and broken Solo cups. But, if I’m being honest…I’m totally fine with certain things not lasting a long time – we have too many toys around the house as it is. These provided just the right amount of entertainment and then they were gone!**
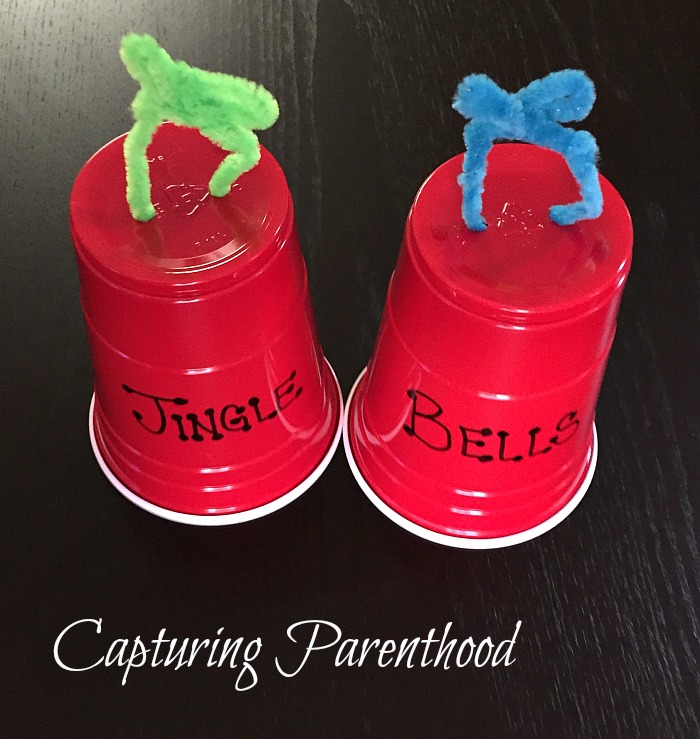
Footprint Snowmen
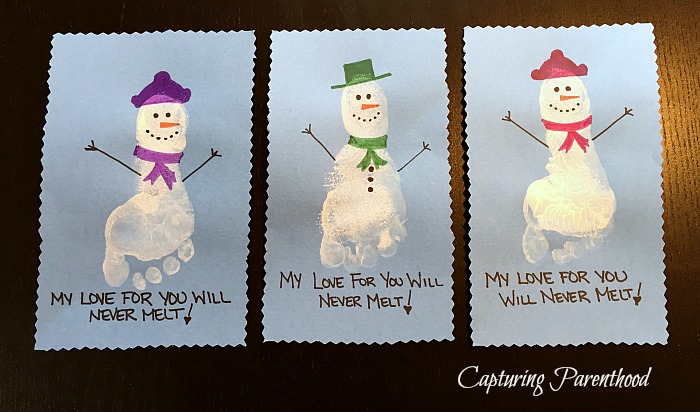
I came across a picture of these cute little footprint snowmen on Pinterest. I only needed the picture for inspiration, but if you’re interested in the link, here it is: http://fluxdecor.com/stunning-christmas-canvas-paintings/.
But, shhh…these are my little girl’s gifts to her grandparents this Christmas. We created footprint reindeer for the grandparents last year, so I figured this would be a great way to carry on the theme. Plus, then they can see how much she has grown (or at least how much her feet have grown) over the course of a year.
All you need for this craft is a piece of paper, some white paint, your toddler’s foot, and some colored Sharpie markers to add on the hats, scarves, eyes, carrot noses, smiles, and the adorable message to each loved one.
A helpful tip: I find that I get excellent foot-print (and hand-print) paintings if I use a circular sponge stamper brush (as opposed to your standard paint brush).
Stamped Santa Painting
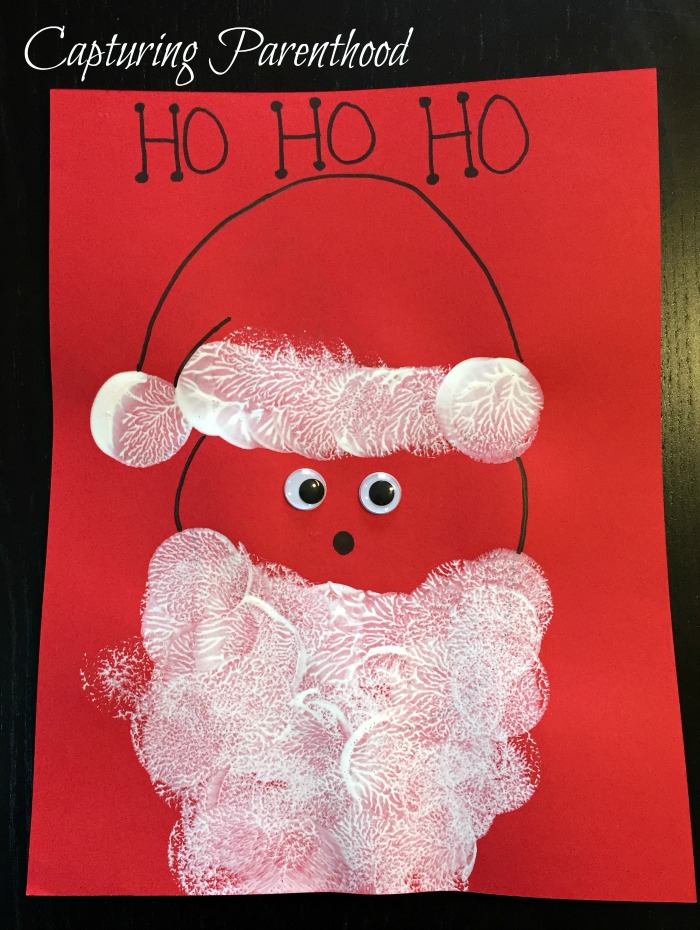
My little nugget is always excited to create quick and fun paintings. Keeping with the Christmas theme, I decided to outline a Santa face, and hat, on a piece of red construction paper. We then got out some white paint and our aforementioned circular sponge stamper brush and my toddler added the white puff on Santa’a hat. She then turned her attention to Santa’s beard. Once the paint had dried, I outlined the remaining components of Santa’s face and hat with a black Sharpie, my little nugget added some googly-eye stickers, and we drew on his nose to complete the look. HO HO HO! Merry Christmas!
What kind of Christmas and holiday crafts are you and your kids creating this year?


I’m curious, what are the ornaments hanging from (the little wire and clips)?
I have an IKEA Dignitet Curtain Wire (paired with the Riktig Curtain Hooks) that we sized and hung on a wall in our dining room. We wanted an additional space to display our toddler’s arts + crafts (other than our already full refrigerator) and this was the absolute perfect answer! We love it!