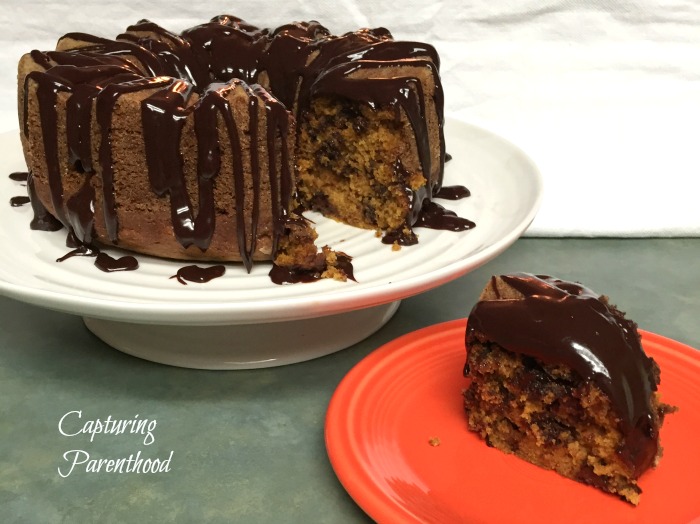
Nothing says fall like baking with pumpkin! I came across this Pumpkin Chocolate Chip Bundt Cake with Chocolate Ganache from Averie Cooks at http://www.averiecooks.com/2012/10/pumpkin-chocolate-chip-bundt-cake-with-chocolate-ganache.html and I couldn’t wait to try it! I mean, really…how can you go wrong with combining pumpkin and chocolate in a cake? The results? A deliciously moist cake with pops of chocolate and loads of fall flavors, topped with a silky-smooth chocolate ganache that melts in your mouth. Yum!
This cake was everything my fall taste buds had been yearning for. And to top it off, Avery created a completely homemade, from-scratch, super simple recipe to follow! I must admit that I decided to tweak this recipe in the slightest way. After following the recipe to a “T” the first go-round, something kept telling me that there was just one flavor that was not quite right…it was the cloves. And so I have decided to omit the cloves from the recipe I am sharing with you below. Enjoy!
Double-Chocolate Pumpkin Bundt Cake
Cake:
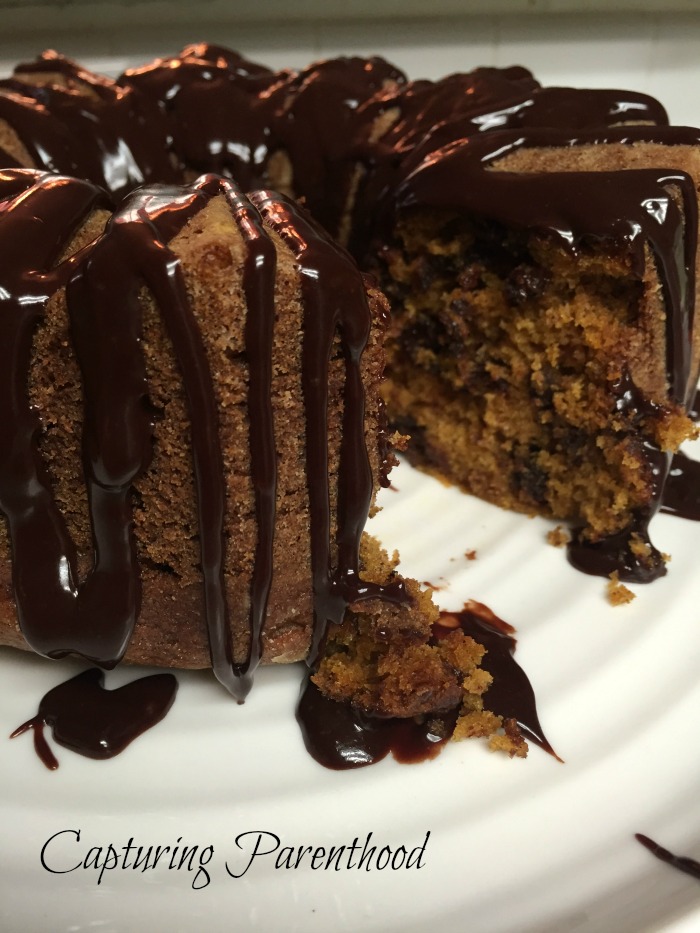
- 2 Eggs
- 1 Cup Canned Pumpkin Puree (not the canned pumpkin pie mix)
- 1 Cup Sugar
- 1/2 Cup Vegetable Oil
- 1/4 Cup Sour Cream
- 1 tsp. Vanilla
- 1/4 tsp. Cinnamon
- 1/4 tsp. Pumpkin Pie Spice
- 1/4 tsp. Allspice
- 1-1/2 Cups All-Purpose Flour
- 1 tsp. Baking Soda
- 1 Pinch of Salt
- 1 Cup Semi-Sweet Chocolate Chips
- Preheat the oven to 350 degrees.
- Grease and flour a 12-cup bundt pan and set aside.
- In the bowl of your stand mixer, combine the eggs, pumpkin, sugar, oil, sour cream and vanilla. Mix until all ingredients are thoroughly combined.
- In a separate bowl,
 combine the cinnamon, pumpkin pie spice, allspice, flour, baking soda, and salt. With your mixer turned to the slowest setting, gradually add the flour mixture and mix until just combined. Stir in the chocolate chips.
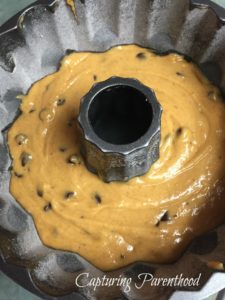
 - Pour the cake batter into your prepared bundt pan and tap on the counter until the batter is even in all areas of the pan.
- Bake for 40-45 minutes, or until the top has set (if you gently press your fingertip into the top of the cake and release, the cake should spring back and fill the subtle indentation). You can also use the toothpick, or knife, method – just remember there are chocolate chips in the cake, so your tester will likely come out covered in melted chocolate.
- Allow the cake to cool in the pan for approximately 15 minutes before turning it over and gently releasing the cake on to a cooling rack, to cool completely.
- While the cake cools, make the chocolate ganache.
Chocolate Ganache:
- 2/3 Cup Semi-Sweet Chocolate Chips
- 1/4 Cup Heavy Cream
- 1/2 tsp. Vanilla
- Place the chocolate chips in a medium microwave-safe bowl and heat on high power for 1 minute, set aside.
- In a small microwave-safe bowl, heat the heavy cream on high power until it just begins to bubble and shows signs of boiling, approximately 45-60 seconds.
- Pour the hot cream over the chocolate and let stand for a minute, then stir the mixture until the chocolate has melted and appears smooth and silky.
- Add the vanilla and stir to combine.
- Set the bowl aside for approximately 5 minutes to allow the ganache to thicken.
- Stir the mixture once more and then drizzle it on top of the cake.
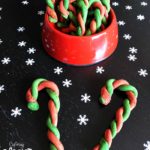
The final step: cut a slice, grab a glass of milk, and enjoy! The baker always has to test their creations first to make sure they are not poisonous, right?!?
This cake will last for several days if stored in an airtight container, or if covered securely with plastic wrap.