Two of my favorite things to do during the holiday season are: to spend time with my family, and bake a bunch of delicious Christmas goodies! So, I figured I would combine the two, and make some fun and festive Gingerbread Cookies with my little nugget!

I don’t know about your kiddos, but our daughter loves using cookie cutters! Cutting out the cookies always comes a close second to actually frosting and decorating (and taste-testing) the finished product. 🙂 These gingerbread cookies provided the perfect holiday afternoon activity, for us to share together!
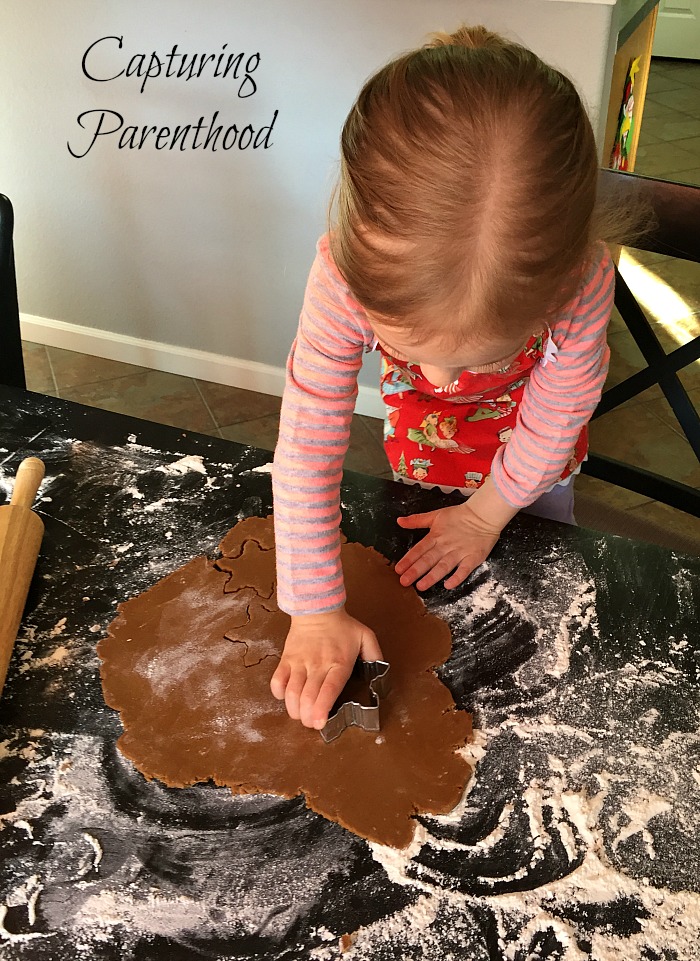
A few weeks ago, our daughter’s weekly music class switched over to their holiday-themed songs. Our little nugget has been happily singing about Santa, Rudolph, lighting candles on the menorah, and gingerbread men, ever since. I hear her little gingerbread man song on a daily basis, so I knew that this Soft Gingerbread Cookies recipe, from Melissa (over at Bless This Mess) would be a big hit! Note: Feel free to follow the link to get the recipe…you can also find it below, if you keep scrolling.

Since the recipe calls for a refrigerated rest period for the cookie dough, I decided to prep our dough a day in advance (when my little nugget was at school). Because who am I kidding, we’re really just in it for the decorating (and tasting) component. And decorate we did! We had the best time getting creative with our favorite Christmas cookie shapes!

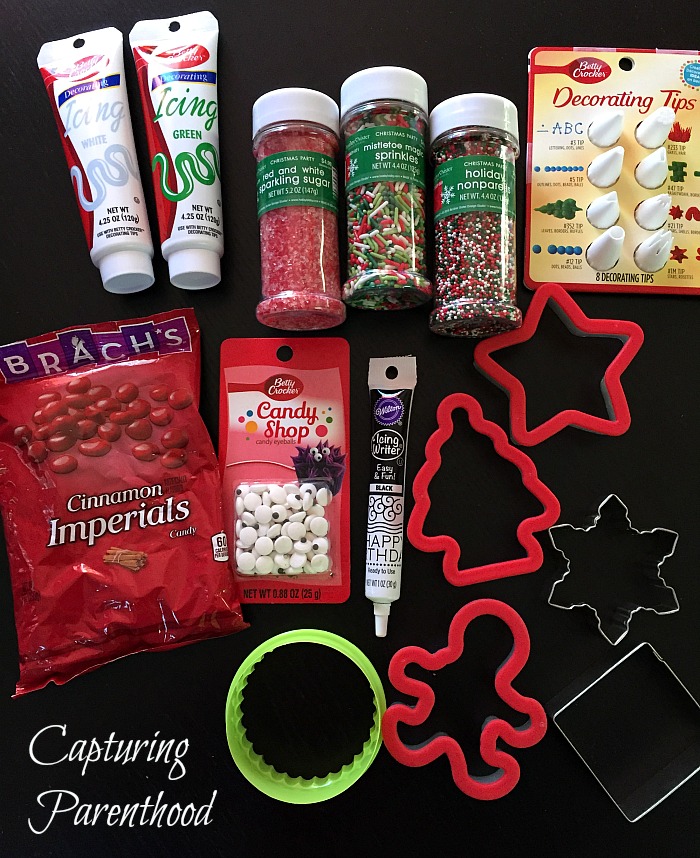
We started out by creating some super simple Rudolph cookies! To create these, we used the following: a round cookie cutter, candy eyes, cinnamon imperials (i.e. Red Hots), and a black icing pen. Using the black icing pen, dab a small dot of icing in the lower/center of the cookie, and place a Red Hot on top. Dab two more dots of icing above the red nose, and adhere the candy eyes. Finally, draw on two antlers (also using the icing pen).

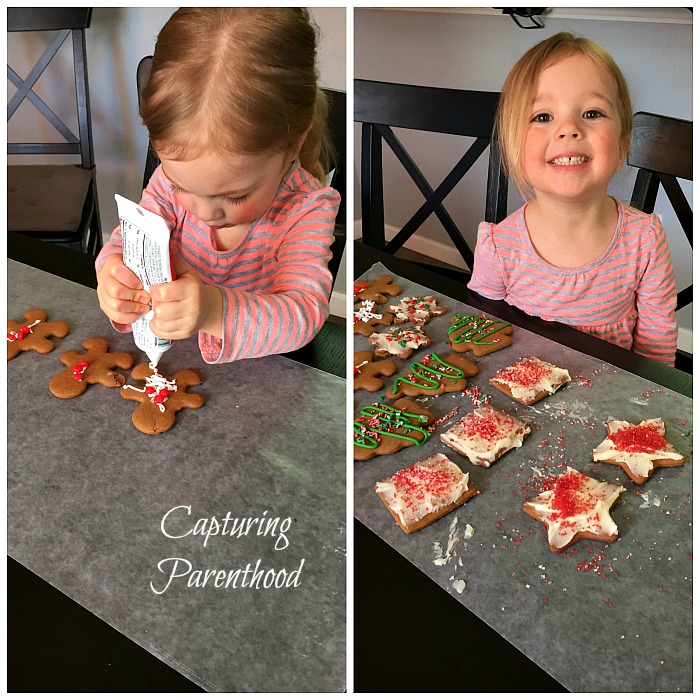
We saved some of our cinnamon imperials to use as buttons for our gingerbread men (adhered to the cookies using a white icing pen). We used the same white icing pen to draw all of the other features onto our happy little ginger-people.
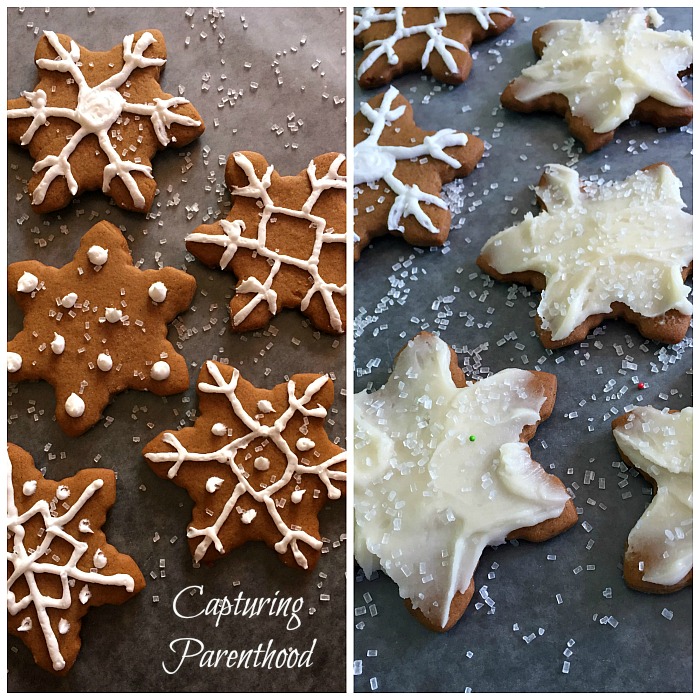
It just so happened that it snowed (for the first time in two months) the morning we made these delectable cookies, so naturally, we had to incorporate a few snowflakes into the mix. We drew a few designs onto a handful of the snowflake cookies (with our aforementioned white icing pen), and then we topped the rest with a white buttercream frosting and white sugar-crystal sprinkles!

It wouldn’t be Christmas without a few Christmas trees. We kept these pretty simple, with a few squiggles from our green icing pen, and a variety of different Christmas-colored sprinkles!
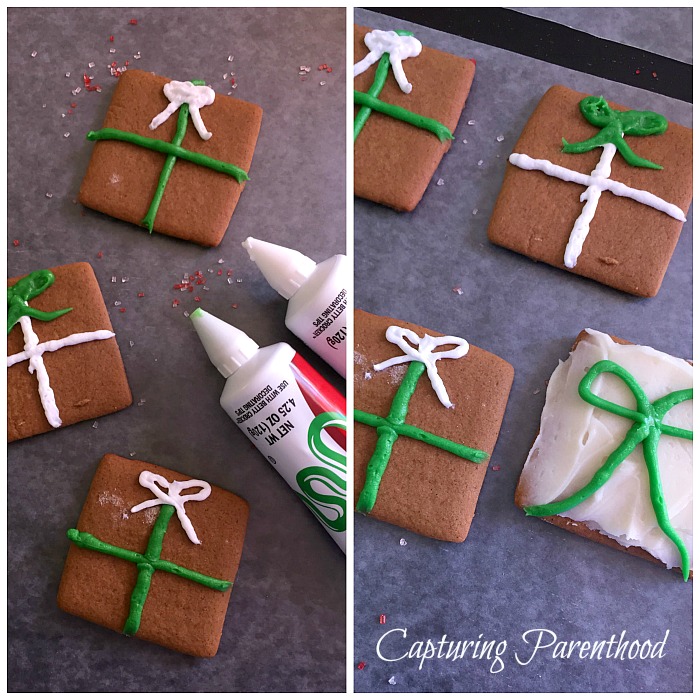 Of course, there has to be a few wrapped presents to place under the Christmas tree, so we made a few square-shaped cookies, and added some ribbon and bows (using our icing pens)!

With our presents all under the trees, we needed to create a few stars to adorn the tops of our trees! We decided that our stars also deserved a dollop of our buttercream frosting…and a dash of our red and white sugar-crystal sprinkles too!
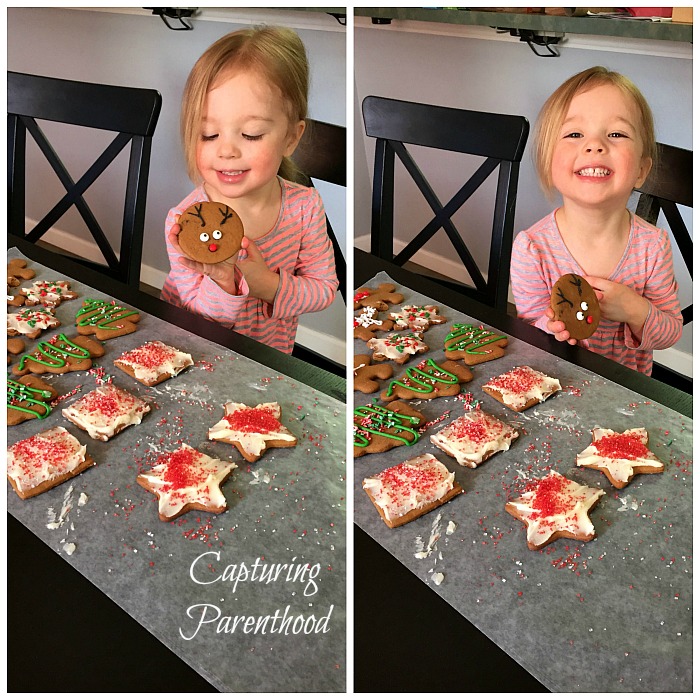
If you’re looking for a fun and engaging holiday activity to do with your little ones, I highly recommend making a batch of these gingerbread cookies. We had so much fun decorating together! And my little nugget thoroughly enjoyed the cookies that she got to decorate completely on her own! 🙂
And now for the recipe…
Note: The following recipe belongs to Melissa, at Bless This Mess, and is by no means my own personal recipe.
Gingerbread Cookies
Ingredients:
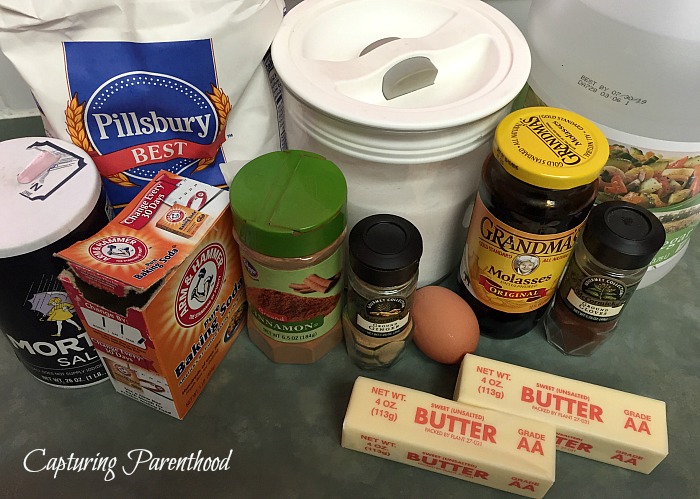
- 5 Cups All-Purpose Flour
- 1-1/2 tsp. Baking Soda
- 1/2 tsp. Salt
- 2 tsp. Ground Ginger
- 1 tsp. Ground Cinnamon
- 1 tsp. Ground Cloves
- 1 Cup Butter (2 sticks), At Room Temperature
- 1 Cup Sugar
- 1 Egg
- 1 Cup Molasses
- 2 Tbsp. White Vinegar
Instructions:
- Sift all of the dry ingredients into a large bowl, and set aside.
- Using a stand mixer (or handheld mixer) cream the butter on high speed, until it’s light and fluffy (1-3 minutes).
- Gradually add the sugar and continue to beat on high speed for an additional 2-3 minutes.
- Add the egg, molasses, and vinegar. Beat until all ingredients are fully incorporated.
- On low speed, gradually add the dry ingredients to the wet ingredients. Mix until all ingredients are combined, and the dough has formed.
- Divide the dough into two equal pieces, wrapping each piece in plastic wrap.
- Refrigerate for at least 30-90 minutes. (You can refrigerate overnight like I did, as well).
- When the dough is chilled, and you’re ready to bake, preheat the oven to 350° F. I recommend taking the dough out of the fridge 15-30 minutes prior to rolling, because it will make it easier to work with.
- Place a section of dough onto a lightly floured surface, and roll to approximately 1/2″ thickness. Cut out your favorite shapes (using cookie cutters) and place them on a baking sheet lined with parchment paper.
- Bake for 9-11 minutes. Remove from the oven, and let the cookies cool on the pan for about 5 minutes, before moving them to a cooling rack.
- Repeat this process with the remaining dough, until you’ve used up every morsel.
- Once the cookies have cooled completely, start decorating! If you need some fun decorating ideas…scroll up!
- Store the cookies in an airtight container.
This recipe yielded 5-6 dozen medium-sized gingerbread cookies.
If you’re looking for some more holiday baking inspiration…check out our Simple + Scrumptious Christmas Sweets post from last year. The list includes some of our family’s absolute favorite holiday treats…that we make each and every year!

Do you enjoy holiday baking? Do you ever invite your kiddos to join in on the fun? What are your favorite holiday goodies to make? Which treats do your family members love the most? Feel free to share in the comments below – I love hearing from you!
Happy baking…and…HAPPY HOLIDAYS!


