Halloween is near! So, it must be time to make an abundance of Halloween crafts to help decorate our home for the holiday. During last year’s festivities, we made a pumpkin suncatcher out of tissue paper. We loved it so much, that we decided to create an entire assortment of Halloween Suncatchers this year!
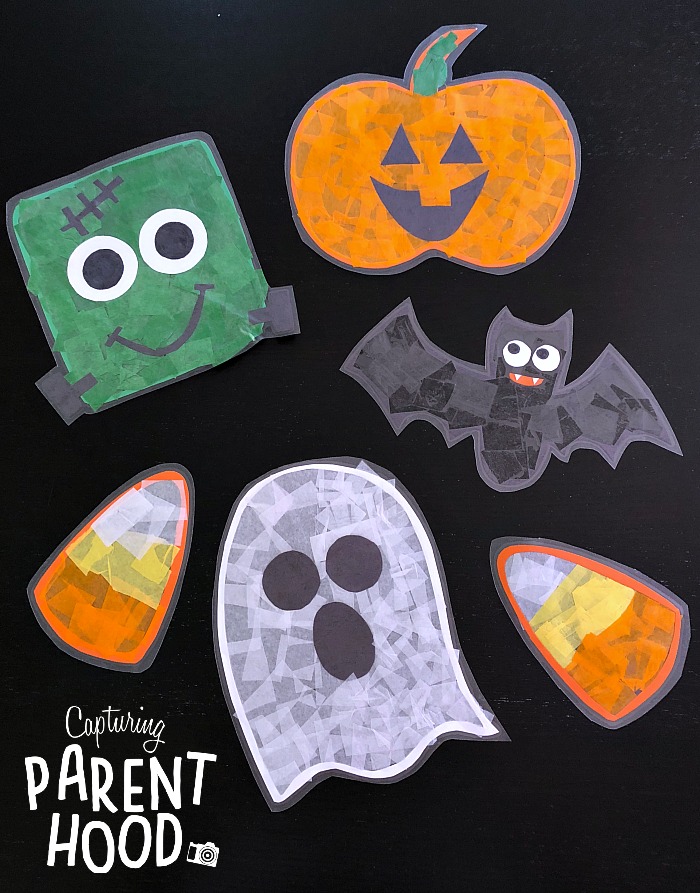
Our little nugget has developed a slight obsession with Frankenstein this year, after reading about him in several Halloween books. She even proudly proclaimed that she will be dressing up as the big green monster for Halloween 2019 (she could not bare to forgo her mermaid costume this year). 🙂 Needless to say, a friendly Frankenstein was a must-make for our spooky suncatcher creations.
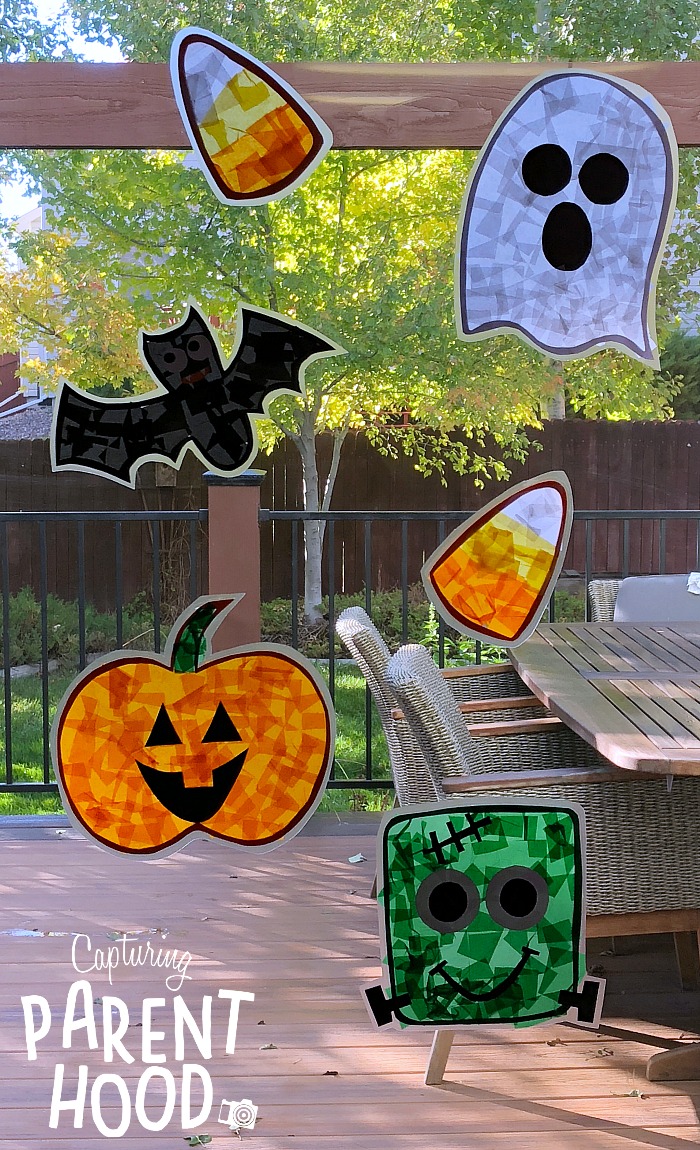
The other Halloween characters that made the cut include: a ghoulish ghost, a blood-sucking bat, and a petrified pumpkin. We rounded out our array of crazy characters with two cute candy corns!
Halloween Suncatchers
Supplies:
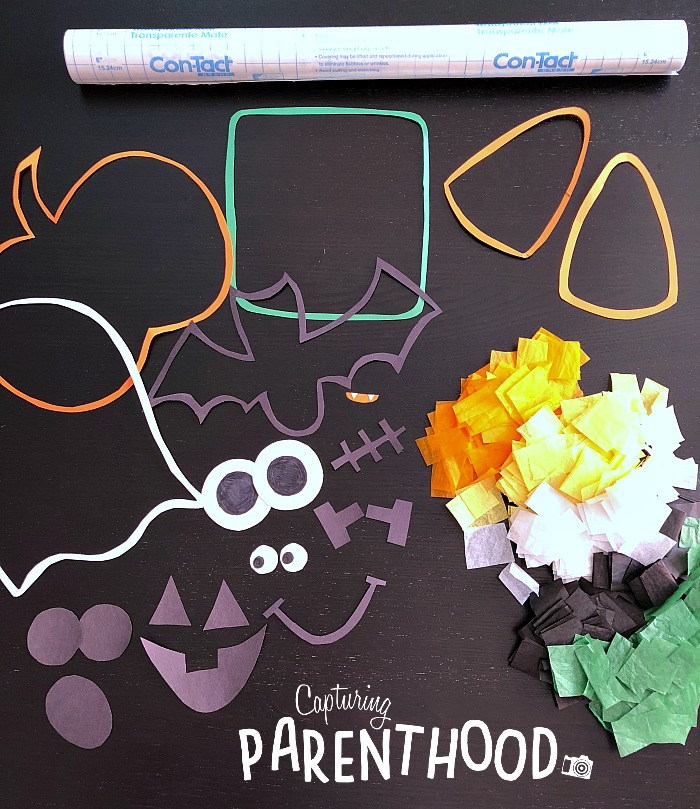
- Contact Paper (Clear)
- Colored Construction Paper or Card Stock (Black, White, Green, Orange)
- Colored Tissue Paper (Black, White, Green, Orange, Yellow)
- Black Marker
- Scissors
- Glue Stick
Instructions:
- Start by cutting a thin outline of each Halloween character from the colored construction paper or card stock. We cut out an orange border for our pumpkin and candy corns, a green border for our Frankenstein, a black border for our bat, and a white border for our ghost.
- While cutting from the paper, go ahead and cut out any accessories that you need for your suncatchers (i.e. eyes, mouths, scars, bolts, etc.). We cut out white circles for our Frankenstein and bat eyes, and then used our black marker to fill in the eyeballs.
- Next, it’s time to cut (or tear up) the colored tissue paper. You’re kiddos will love helping out with this part! 🙂
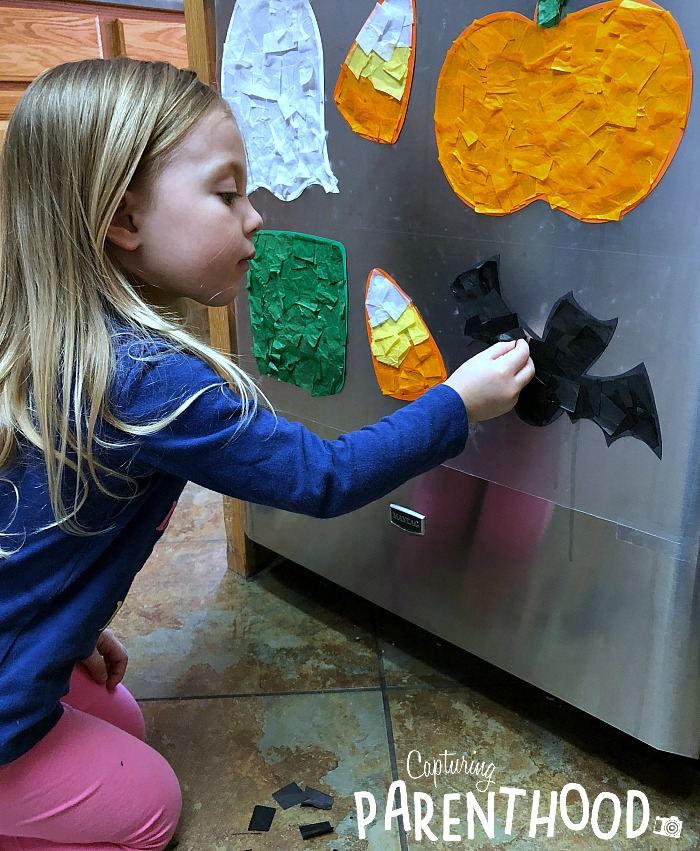
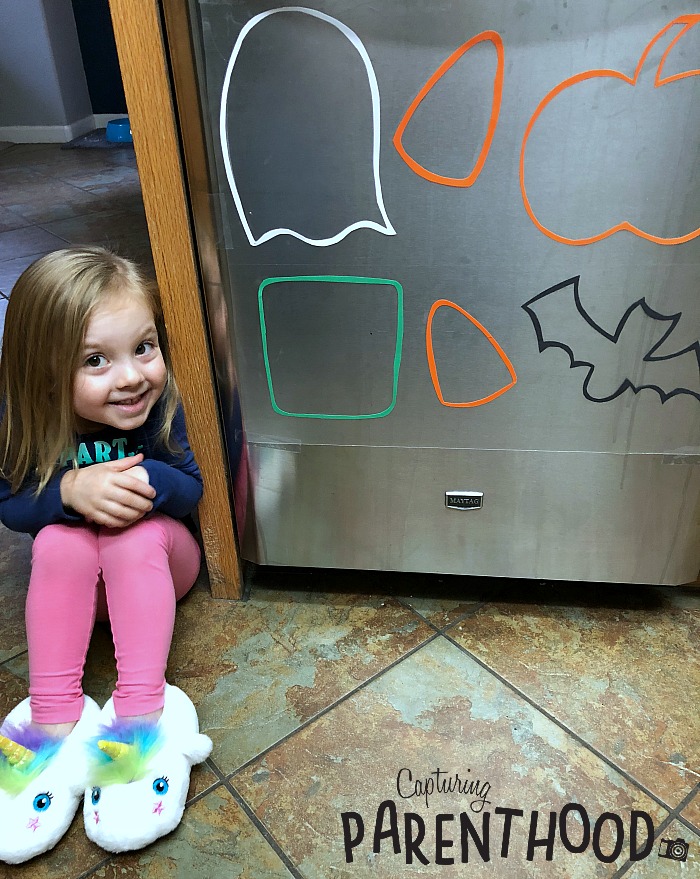
- Once all of your paper components are ready, roll out a sheet of contact paper and adhere it (sticky-side up) to a flat surface. We like to tape ours to the front of our dishwasher.
- Place the thin paper border of each Halloween character onto the contact paper.
- Fill in each character with the appropriate color(s) of tissue paper.
- Now it’s time to grab a glue stick and adhere all of the eyes, mouths, and other accessories.
- When your Halloween characters are complete, unroll another sheet of contact paper (roughly the same size as the first, so it covers all of your characters). Peel off the paper backing and carefully place it on top of your original sheet of contact paper (sticky-side down), to secure everything in place. Run your hand over the top to remove any air bubbles.
- Remove the sheet of Halloween characters from the flat surface. Using a pair of scissors, cut out each character (making sure to leave a small border of contact paper around each one).
- Tape them up to a glass window or door…and…your Halloween suncatchers are complete!
Our Halloween suncatchers add the perfect amount of festive fun to our Halloween decor. When the sun is shining through our sliding glass door, our dining room comes to life!
For more fun Halloween art projects, make sure to check out our Paper Plate Halloween Crafts!
