♫ “Rudolph, the Red-Nosed Reindeer, had a very shiny nose. And if you ever saw it, you would even say it glows.” ♫
– Johnny Marks
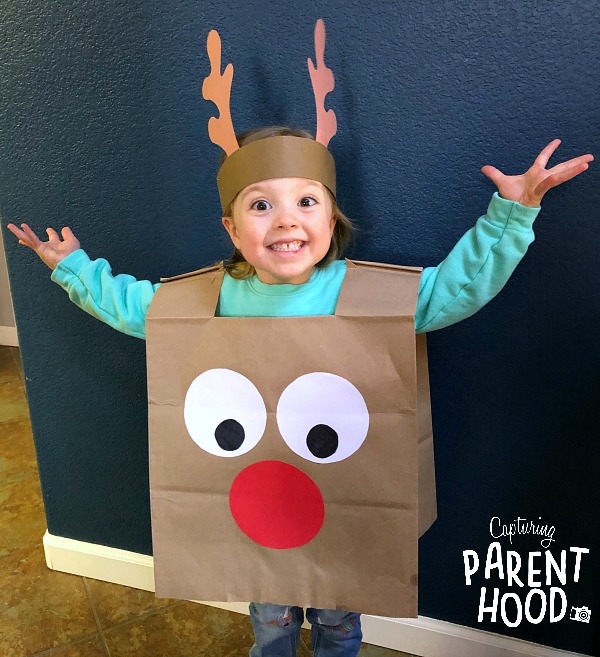
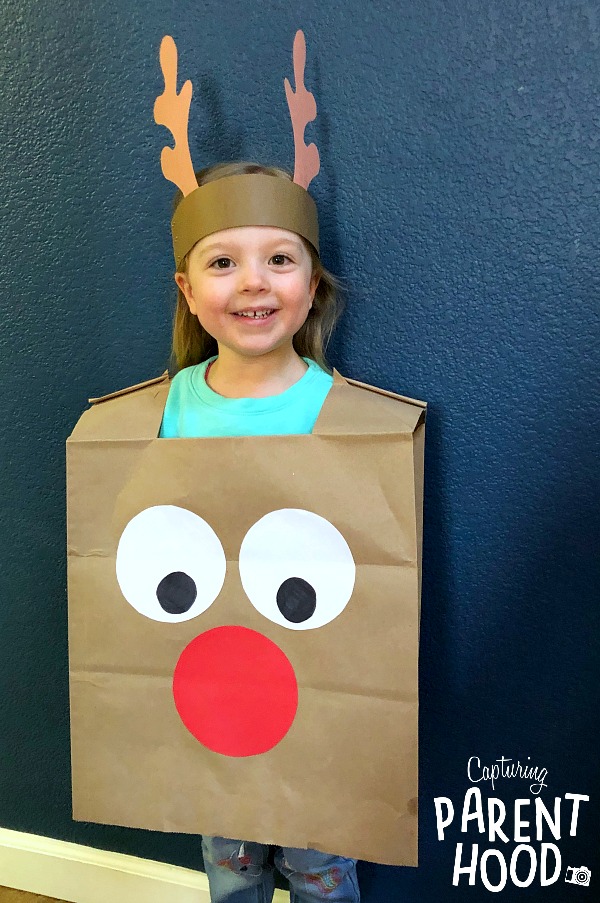
Thanksgiving may be over, but don’t throw away those Paper Bag Turkey Crafts just yet – they can easily be transformed into this cute Paper Bag Reindeer Craft!

And if you didn’t have time to make a paper bag turkey this year…don’t worry…this holiday reindeer craft is still super quick and easy (even when starting from scratch). In just minutes, you can transform your kiddos into adorable red-nosed reindeer, and send them off to guide Santa’s sleigh! Though I must warn you, this craft may result in the increased frequency of your children singing the popular holiday song, “Rudolph, the Red-Nosed Reindeer.” 🙂
Paper Bag Reindeer Craft
Supplies:
*Note: If you’re using the leftover paper bag and headband from the Paper Bag Turkey Craft, simply remove the beak and gobbler from the paper bag (leaving the eyes), and remove the colorful feathers from the headband.
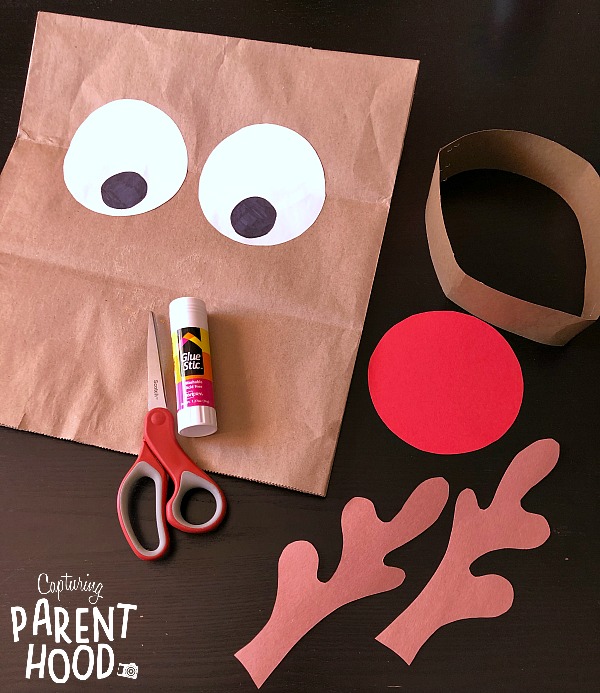
- Large Brown Paper Bag
- Construction Paper or Card Stock (Red, White, and Brown)
- Black Marker
- Pencil
- Glue Stick
- Scissors
- Stapler
Instructions:
*Note: If you previously made our Paper Bag Turkey Craft, and have decided to reuse/re-purpose it to make a reindeer, skip down to Step #6.
- Start by cutting out the triangles from the bottom/sides of the paper bag – these will become the arm holes.
- Cut a hole in the bottom/center of the paper bag – make sure it is large enough for your child’s head to fit through.
- Next, using your white construction paper, or card stock, cut out two white circles for the eyes.
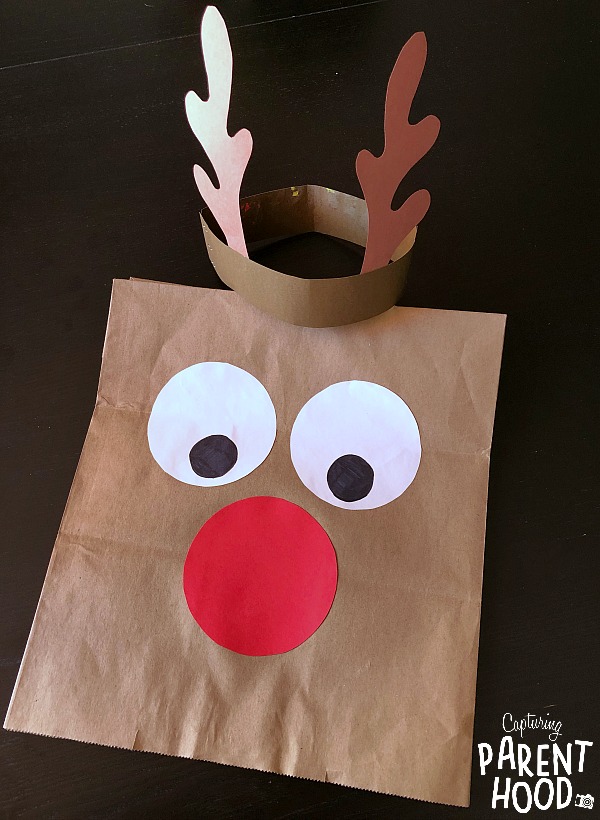
- Using the black marker, transform the two white circles into eyeballs. Glue the eyeballs to the front of the brown paper bag.
- Cut two strips of brown paper, to use as the reindeer antler headband. Grab your stapler and staple one brown strip to the other (only on one end). Place the strips around your child’s head, and bring the two open ends of the strips together again. Using a finger, mark the best place to apply the second set of staples, so that the headband will fit your child securely. Remove the headband from your child’s head and add the final staple(s).
- Cut a circle out of red construction paper, or card stock, to create Rudolph’s nose. Glue the nose onto the paper bag, below the eyes. If you want to create one of the other reindeer in Santa’s herd, you could cut the nose out of black paper instead.
- With the paper bag portion of this craft complete, it’s time to move on to the headband. Grab another sheet of brown paper and fold it in half. Using a pencil, lightly draw a reindeer antler onto the folded paper. Cut the antler out…and since you folded the paper…you should now have two reindeer antlers!
- Glue one antler onto each side (toward the front) of the headband.
- Help your little one place the paper bag carefully over their head, so that it rests on their shoulders. Place the antler headband on their head and…Ta Da! Your child has magically tranformed into an adorable reindeer…free to gallop and fly around the house. You’re welcome! 🙂
We love creating lots of holiday-themed crafts and the simplest ones always turn out to be our favorites! Who knew that you could have so much fun with a paper bag?!?

If you’re looking for some more fun holiday craft ideas, make sure to check out our Jingle Bell Christmas Crafts; our Christmas Tree Arts + Crafts for Kids; and our Creative Toddler Christmas Crafts!
HAPPY HOLIDAYS!


