Thanksgiving is in two weeks. Exactly two weeks from today. TWO WEEKS!! I can’t believe it. Time is just flying right on by, but I guess that’s what normally happens at this time of year. Everyone always has jam-packed schedules during the holiday season. People are traveling to see family, preparing holiday cards to drop in the mail, cooking delicious feasts, and baking delectable goodies and desserts. Then there’s the holiday parties, holiday shopping, and holiday happenings (town tree lighting ceremonies, parades, and let’s not forget visiting Santa Claus). Sometimes it all goes by so fast – if you blink, you miss it. Despite our busier-than-usual schedule during this time of year, we still carve out time to create some fabulously fun holiday crafts. And for Thanksgiving, we are loving this incredibly simple (yet totally adorable) Paper Bag Turkey Craft!
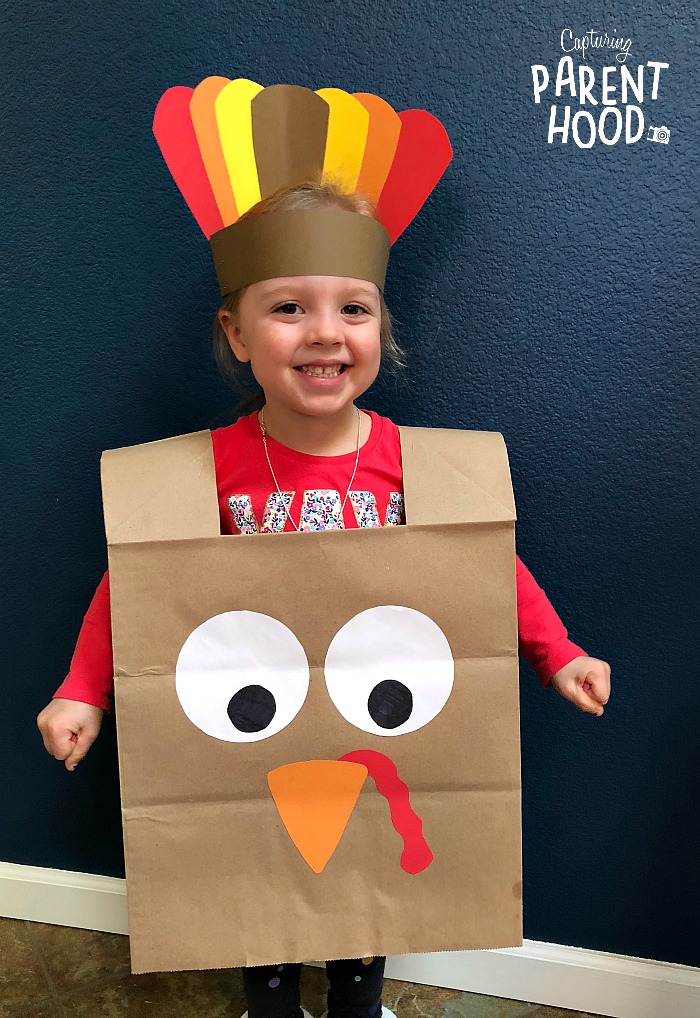
This little turkey costume is so easy to make. We completed ours in a matter of minutes, but it’s provided hours of entertainment. And let’s be honest…giving kids another costume to wear (after their inevitable post-Halloween depression) just might make you Parent-of-the-Year! 🙂
Paper Bag Turkey Craft
Supplies:
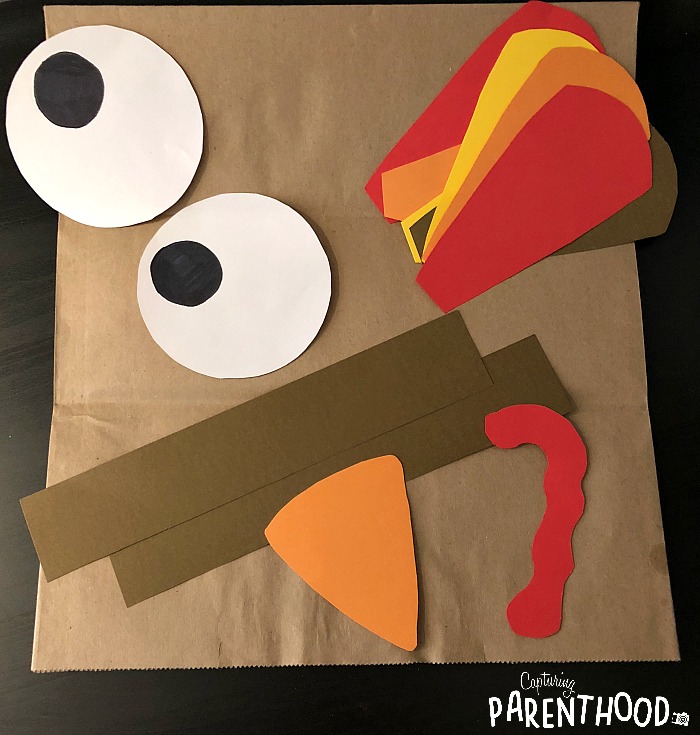
- Large Brown Paper Bag
- Construction Paper or Card Stock (Red, Orange, Yellow, Brown, and White)
- Black Marker
- Glue Stick
- Scissors
- Stapler
Instructions:
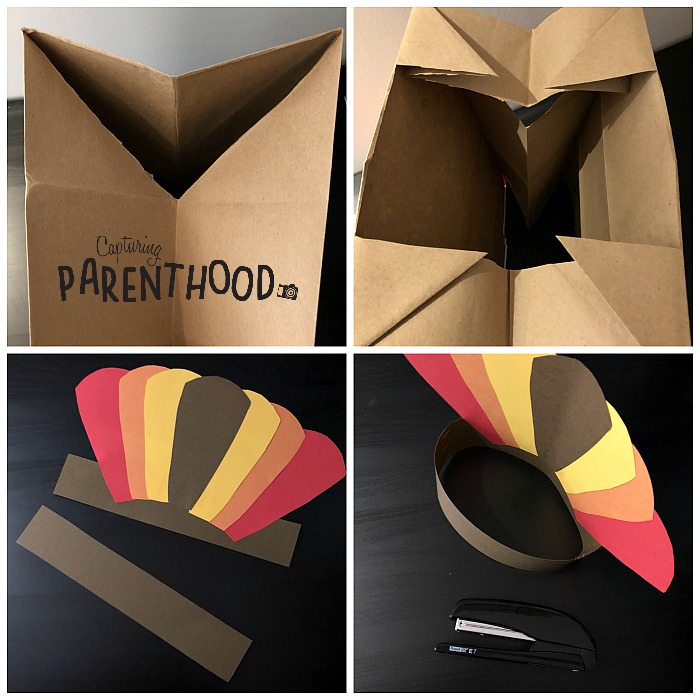
- Start by cutting out the triangles from the bottom/sides of the paper bag – these will be the arm holes.
- Cut a hole in the bottom/center of the paper bag – make sure it is large enough for your child’s head to fit through.
- Next it’s time to cut out all of the necessary turkey components (eyes, beak, dangling gobbler, and feathers) from the various colors of construction paper/card stock. We cut out the following: two white circles for the eyes, an orange beak, red gobbler, and red, orange, yellow, and brown feathers. We also cut two strips of brown paper to use as our headband.
- Using the black marker, transform the two white circles into eyeballs. Glue the eyeballs to the front of the brown paper bag. Next, glue on the red gobbler and orange beak. The paper bag portion of this craft is now complete.
- Moving on to the feathered headband. Glue the paper feathers onto one of the two strips of brown paper…in whatever pattern your heart desires.
- Once the feathers are complete, grab your stapler and staple one side of the feathered strip of brown paper to one side of the blank strip of brown paper.
- Place the feathered strip at the back of your child’s head and wrap the free end of the blank strip around their forehead. Bring the two strips together again in the back, and using a finger, mark the best place to apply the second set of staples, so that the headband will fit your child securely.
- Remove the headband from your child’s head and add the final staple(s).
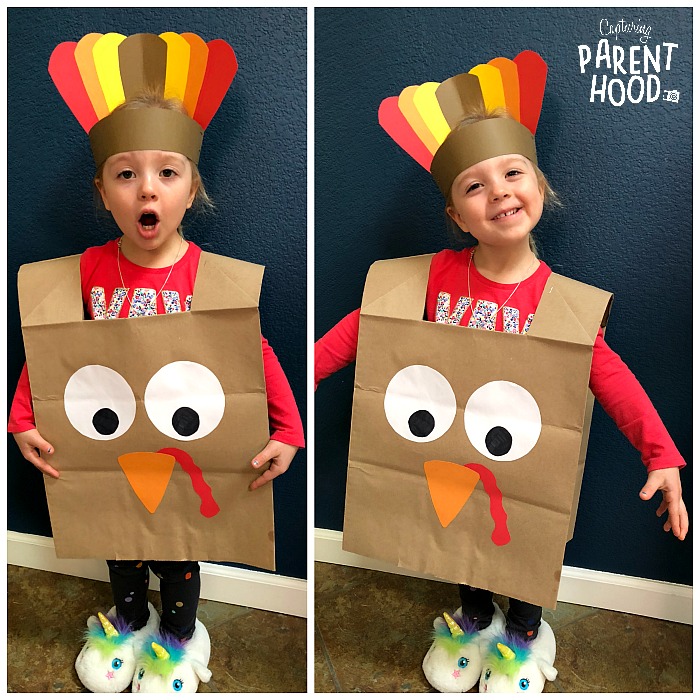
- Help your little one put the paper bag on over their head, so that it rests on their shoulders. Place the feathers on their head and…Ta Da! You now have an adorable little turkey gobbling around your house. You’re welcome! 🙂
Our little nugget proudly donned her turkey costume and gobbled her way around all three floors of our house…with a huge grin on her face! We love creating lots of holiday-themed crafts and the simplest ones always turn out to be our favorites. Who knew that you could have so much fun with a paper bag?
If you’re looking for more colorful and creative Thanksgiving-themed craft ideas, make sure to check out our Toddler Turkey Crafts post!
GOBBLE! GOBBLE!



Where dos you hey the paper bags
Hi Rebeca –
The paper bag that we used to create our turkey was actually just a plain paper bag that we received containing a take-out order of food from a restaurant. It was slightly wider than a standard paper bag that you get from the grocery store…although, depending on your child’s size, the paper bags from the grocery store should work too! If the bag has a store name/brand/image on one side, just make sure to put it on the back. 🙂