One of our favorite ways to rid ourselves of cabin fever during the winter months, is to roll out a sheet of tinfoil, plop some colorful paint down on top, and create amazing (and messy) finger-painting masterpieces. There’s just something magical about the paint oozing through your fingers…and sliding around so effortlessly on the tinfoil. You can create a scenic picture, or practice writing letters and numbers, or bring hundreds of smiley faces to life – the possibilities are endless. Once you create something, you can easily mix the paint back up again and start from scratch. One afternoon, while I was pulling the tinfoil from the drawer, the box of plastic wrap caught my eye…and I thought…we could probably create a cool painting with that too. And thus, our love for Plastic Wrap Painting was born!
We always enjoy a good process art activity! And if you’re not familiar with the terminology – process art places the emphasis on the actual process of creating art, as opposed to the finished product. The art of creating is more important than the end result. Process art is extremely important for young children, because it promotes social and emotional development. When children are allowed the freedom of self-expression through art, they become more relaxed and focused. The simple process of creating boosts self-esteem and emotional sharing – and it provides a fail-proof way for children to express themselves, because with process art, there is no wrong way.
Process art does not have to resemble something that is familiar to you – it does not have to be recognizable. It’s a completely open-ended, free-flowing opportunity to create. The only requirement is that you’re having fun creating something…anything! So, let your creativity run wild! Relax and enjoy the process. And who knows…when the process is complete…you might be looking at something truly magical.
Plastic Wrap Painting – Process Art
Supplies:
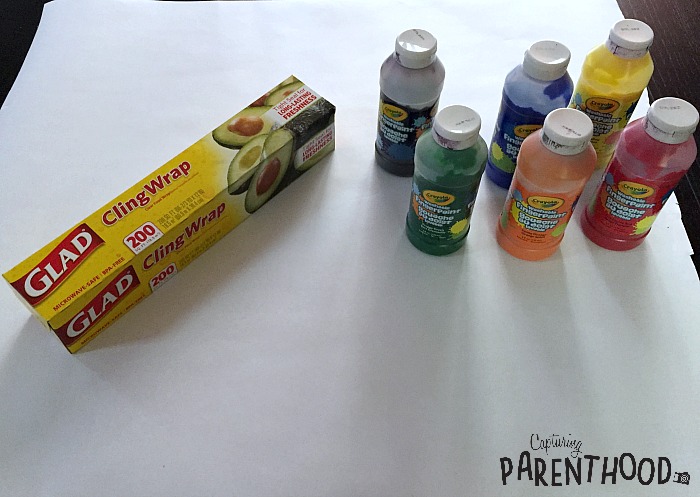
- Large Sheet of White Craft Paper
- Plastic Wrap
- Various Colors of Paint (we used Crayola Washable Finger Paints)
Instructions:
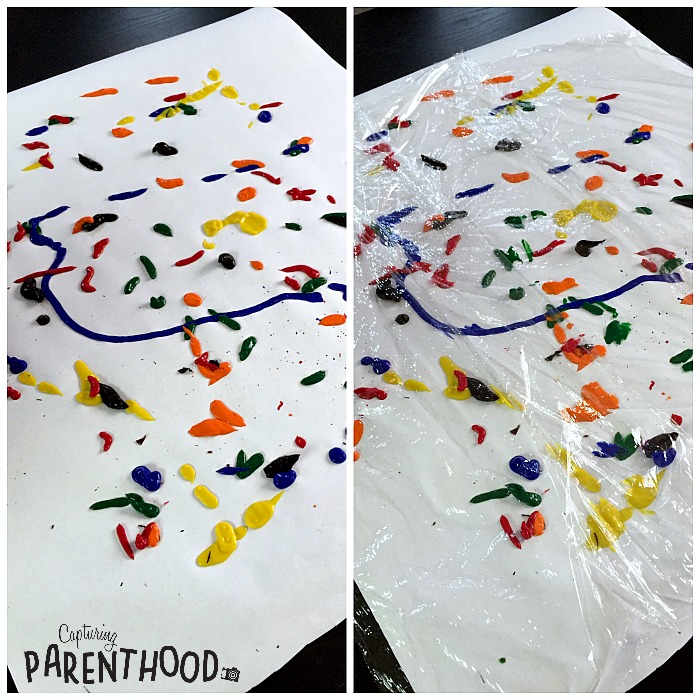
- Place a large sheet of white craft paper on a flat surface.
- Drip various colors of paint all over the sheet of craft paper. If you do not want paint oozing out from the sides of the paper, give yourself a decent-sized border while squirting the paint on.
- Cover the paint and craft paper with plastic wrap.
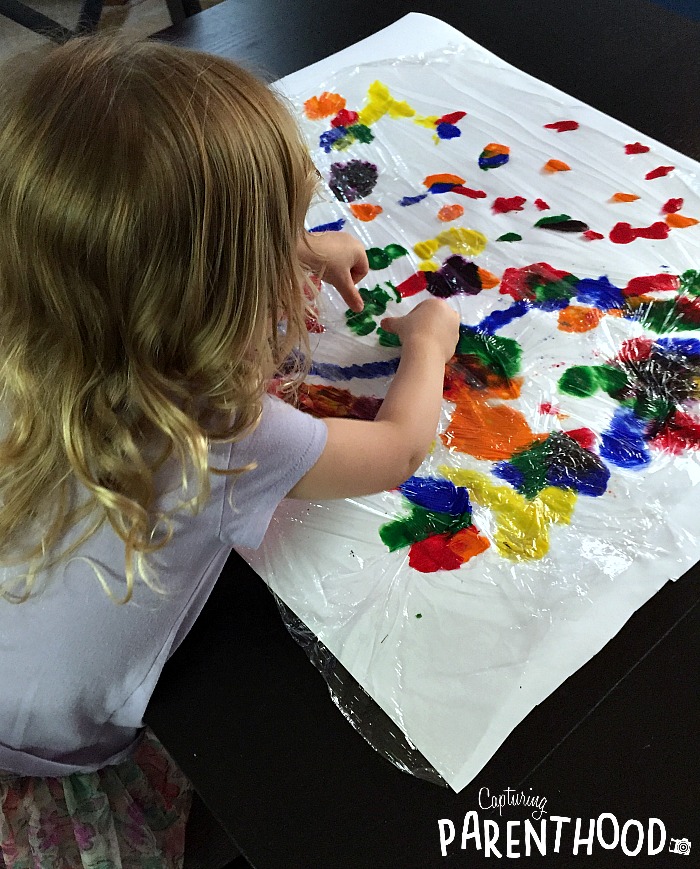
- Let your kiddos go nuts – squishing and spreading the paint all around underneath the plastic wrap!
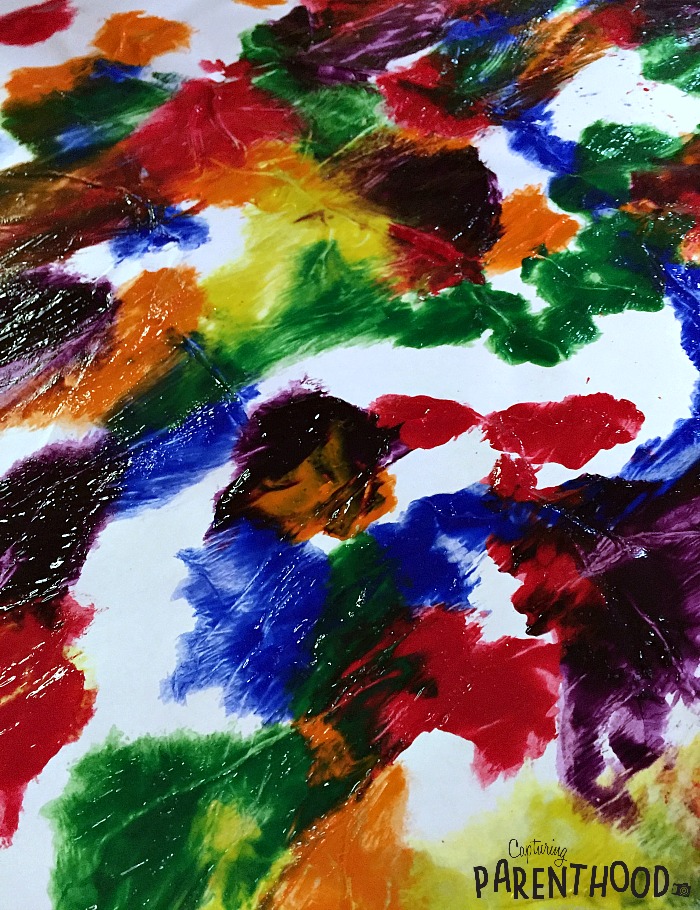
- When they are completely satisfied with their masterpiece, remove and dispose of the plastic wrap. Set the painting aside to dry completely.
- Once dry, you can hang the entire painting up on display…or cut out some fun shapes or characters to exhibit.
Our little nugget will never pass up an opportunity to squish paint around with her hands. It’s a sensory experience that most kiddos enjoy. And the best part about this specific process art activity…if you happen to have little ones who are not very keen on getting their hands dirty, the plastic wrap allows for a completely mess-free painting venture. Which is an added bonus for parents too – as there is much less to clean-up! 🙂
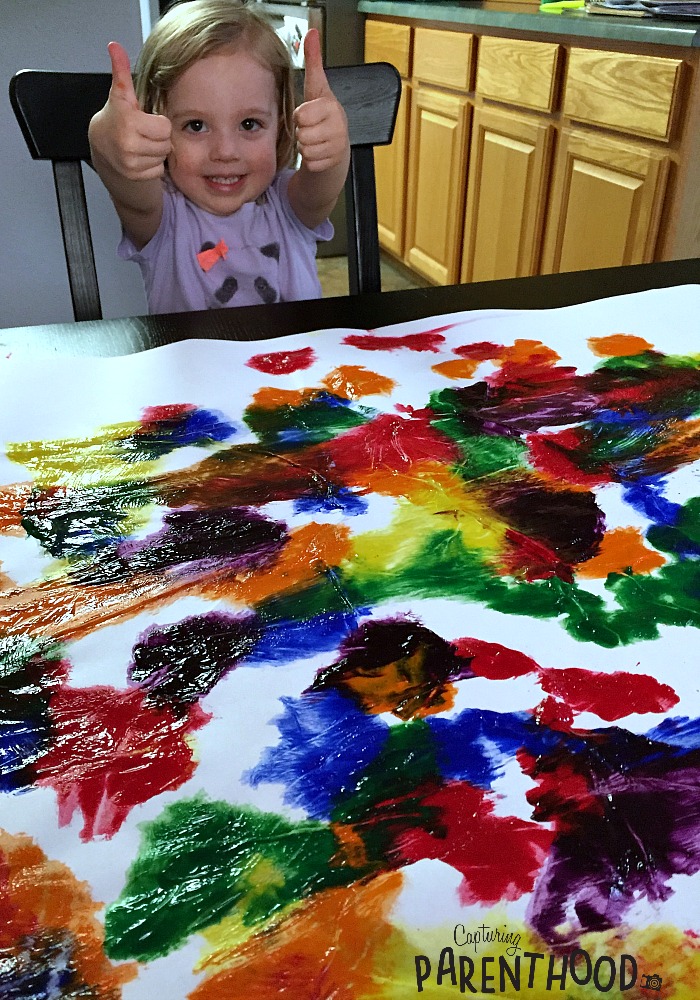
Our daughter gives plastic wrap painting two thumbs up! It’s fun to get creative with paint, without having a particular end result in mind. That’s the magic of process art!
If you’re looking for some other fun process art ideas, make sure to check out our Fourth of July Blow Painting Process Art post, and our all-time favorite Bubble Wrap Painting post!
That’s a wrap! 🙂


