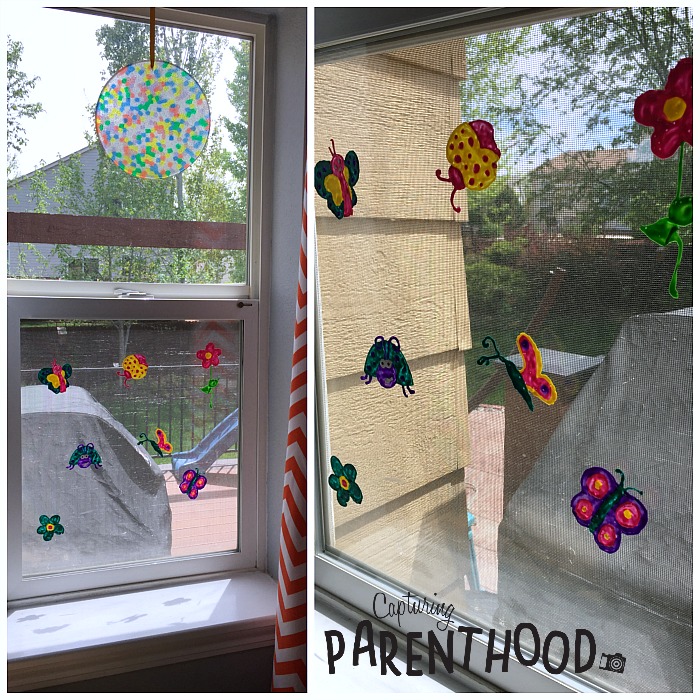
We were feeling a little sad when we removed our beautiful coffee filter flowers (Paper Flowers for Spring) from our living room windows. They were so vibrant and colorful, and they added an extra touch of playfulness to the room. But they had to come down, in order to make room for these amazingly fun (and equally colorful) Puffy Paint Window Clings!
We are once again in love with our living room window decor. The bright hues of the flowers, ladybugs, and butterflies are perfect for Spring and Summer.
During this past holiday season I came across these adorable Holiday Minion Window Clings (over on One Little Project) and I was smitten. I had no idea that you could create such marvelous window art with puffy paint. As it turns out, Debbie is pretty much a DIY window cling expert! She also shares this DIY Ladybug Window Clings post on her amazing blog.
I was recently scrolling through pictures of my must-try art projects, when I came across Debbie’s window clings once again. While I love the holiday-clad Minions (we will definitely be making a few of them come Christmas-time) the ladybugs and flowers seemed more appropriate for this time of year.
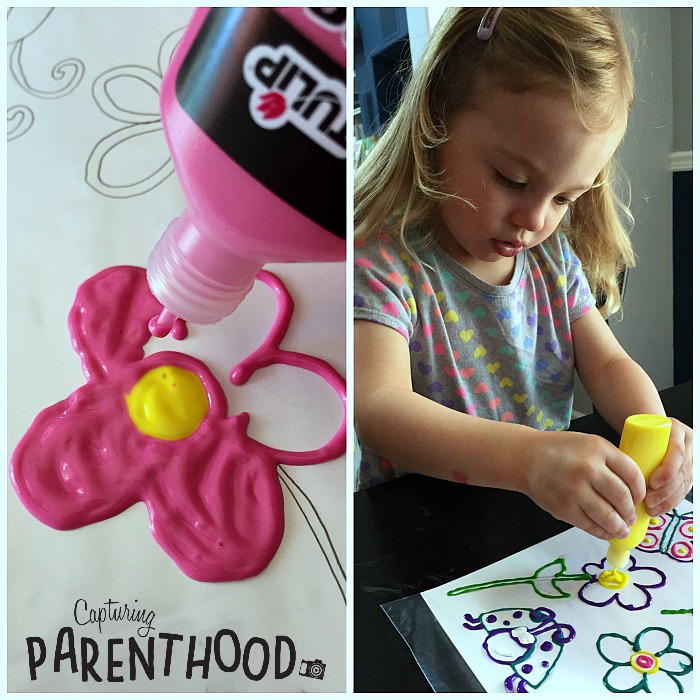
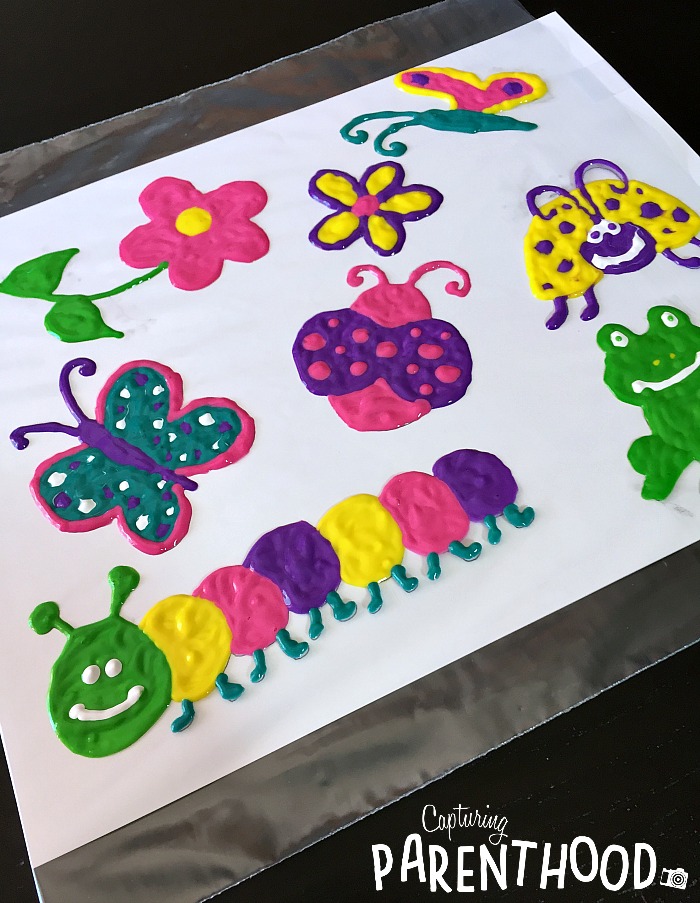
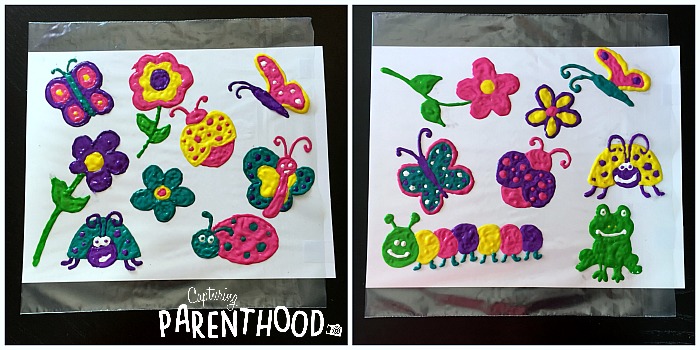
I loved the cute little ladybugs that Debbie created, so of course we had to make a few of our own (with a few flowers too). Then we decided to add some butterflies, a frog, and a colorful caterpillar. I’m sad to say that the caterpillar did not survive the peeling process (I think if I had made his paint a bit thicker, it would have worked better), but he was fun to look at while he lasted. 🙂
Puffy Paint Window Clings
Supplies:
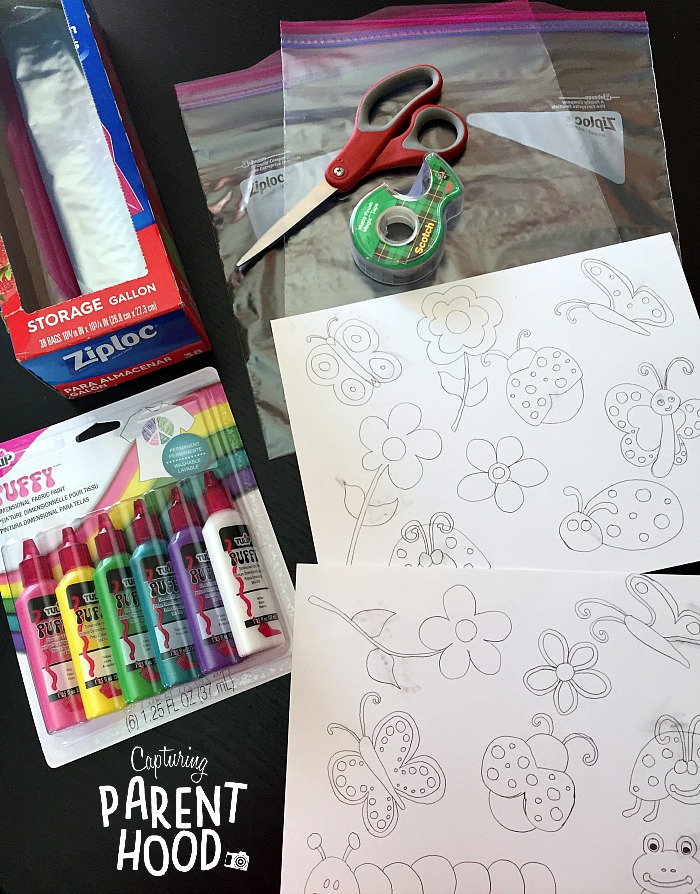
- Tulip Puffy Paint
- Ziploc Storage Bags
- Scissors
- Tape
- White Paper or Card Stock (or Debbie shares a printable template in her ladybug post, if you’re interested)
- Pencil (if you’re not using the printable template)
Instructions:
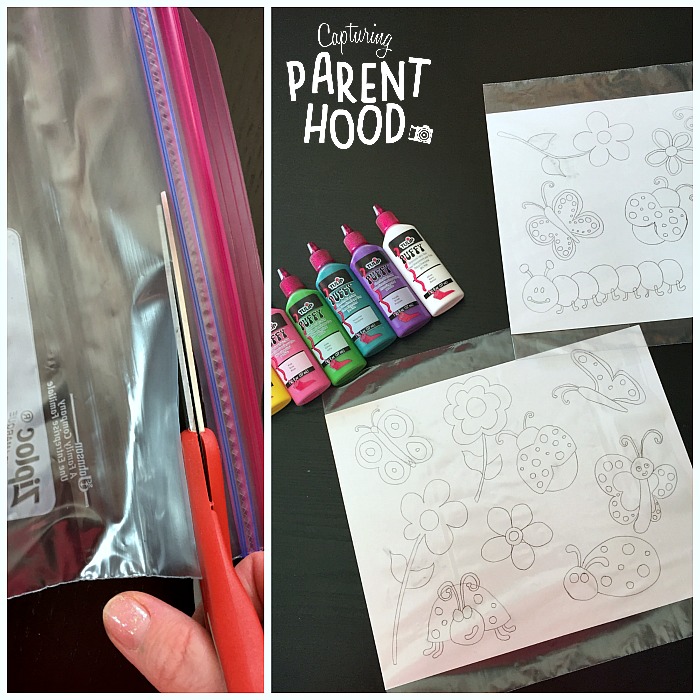
- Using the pencil, draw the designs of your choice on the white paper or card stock.
- Cut the zipper seal off of the top of a Ziploc storage bag. Slide the sheet of paper containing your designs into the plastic bag (a small strip of paper may stick out the end, which is of no concern, as long as all of your designs are covered by the plastic).
- Secure the paper in the plastic bag with a couple pieces of tape.
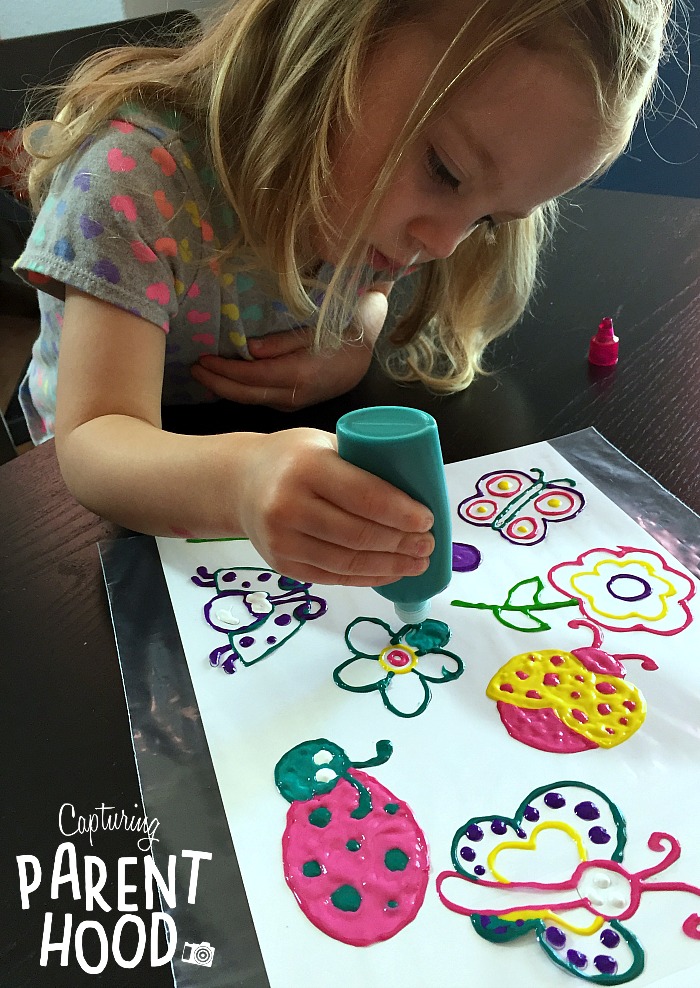
- Now, you’re ready to paint! If you are doing this arts + crafts activity with little ones, I highly recommend outlining all of the elements with puffy paint first. Then the kiddos can go back over them, filling in all of the blank space. It just makes the process a bit easier for them to complete. You also want to make sure to use a generous amount of puffy paint…it will make them noticeably easier to peel from the plastic, once they are dry.
- When you’re satisfied with your work, set everything aside to dry. The puffy paint will require at least 24 hours to dry completely.
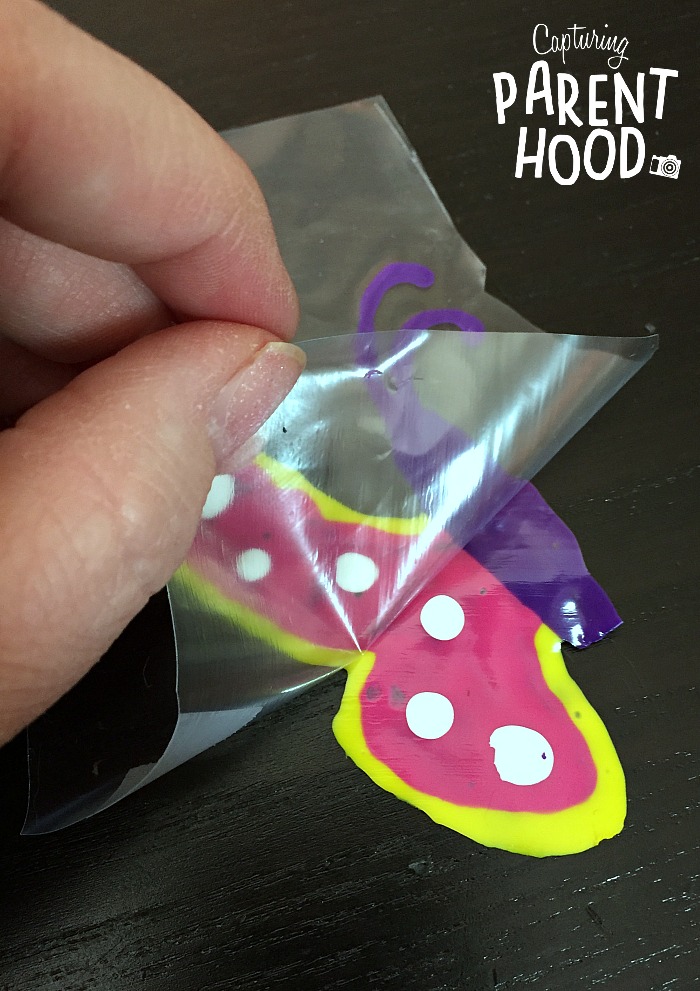
- Then comes the slightly tricky part (and a part that I recommend be completed by an adult…if you want your designs to survive and make it to the window in one piece). 🙂 It’s time to peel your puffy paint window clings from the plastic. I found that the easiest way to accomplish this task, is to cut a circle around each element (leaving a ring of the plastic) so that you only work with one design element at a time. Flip the puffy paint element over on a flat surface (the top will also be slightly sticky, so it will stick a bit to the flat surface, making it easier for you to peel away the plastic on the bottom. You will likely need to use a fingernail to gently start the peeling process, but once started, they become relatively easy to peel off. That being said…make sure to be extra cautious of any tiny legs or antennae.
- Once your colorful design elements have been peeled off of the plastic, transfer them to their new window display.
- Stand back and admire your beautiful work!
- When you are ready to take them down, simply peel them off of the window.
Our little nugget gets so excited every time she enters the living room and sees the beautiful butterflies, flowers, and ladybugs that she helped create. She loved the puffy painting process. And I can’t wait to create more puffy paint window clings, to help us celebrate other seasons and holidays throughout the year. I might be slightly addicted! 🙂
What kind of fun window clings would you create throughout the year? I would love to hear your thoughts and ideas in the comments below.

