Ok…we’ve got one more colorful St. Patrick’s Day craft to share with you this year…and this one is guaranteed to give you heart eyes for days! We made these super simple Shamrock Suncatchers a couple of weeks ago, and they have seriously added so much color, fun, and whimsy to our dining room (where we also happen to do all of our daughter’s virtual school lessons). Needless to say…these suncatchers have brightened up a lot of our snowy March days!

They make us smile every morning, when we walk into the room for breakfast. It’s the perfect way to start the day! And we often find ourselves gazing at them periodically throughout the day. They just draw you right in with all of those vibrant colors…and the pretty designs and patterns that the overlapping tissue paper creates.
Do you want to know the best part? They are remarkably easy to make…and only require three materials (construction paper, tissue paper, and contact paper).
Shamrock Suncatchers
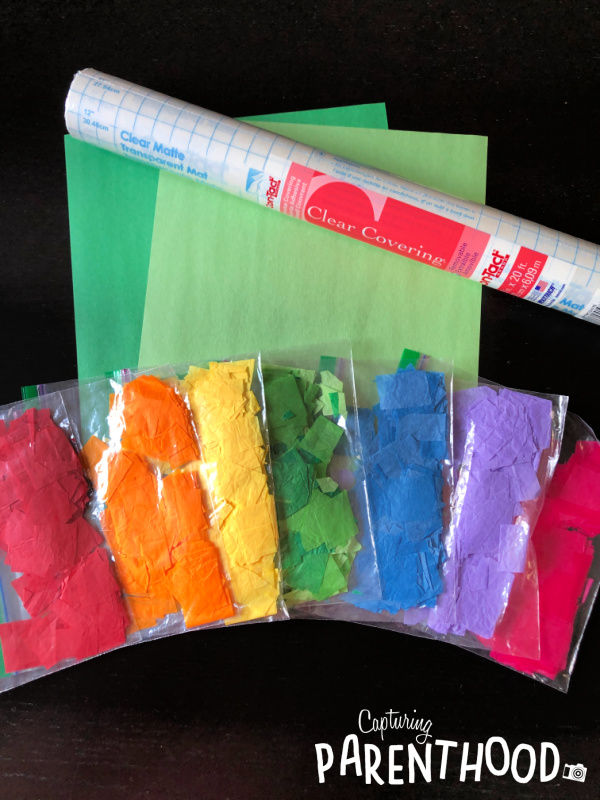
Supplies:

- Green Construction Paper
- Tissue Paper (in a variety of colors)
- Clear Contact Paper
- Scissors
- Scotch Tape
Instructions:

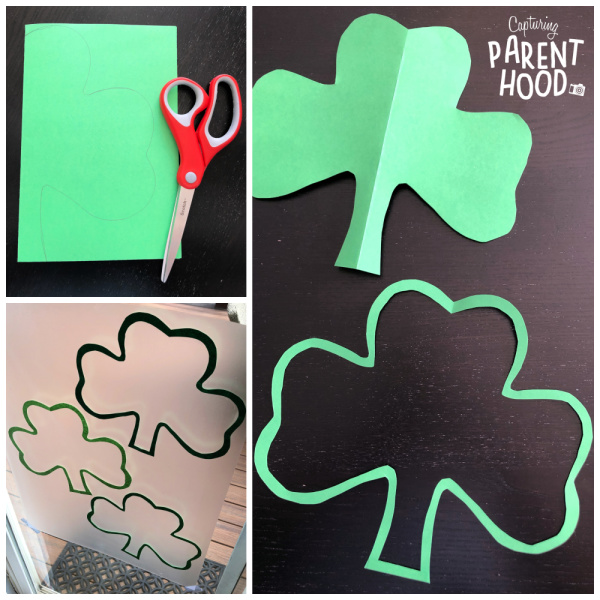
- Start by cutting a shamrock out of green construction paper. You want it to take up most of the paper, so that you have plenty of room to showcase all of the gorgeous tissue paper pieces.
- Cut a thin, exterior border out of the shamrock. You can save the interior shamrock for another craft, or simply hang it up as a St. Patrick’s Day decoration.
- Repeat the above steps, until you have the number of shamrocks that you would like to transform into beautiful suncatchers.
- Now, it’s time for your kiddos to hone their scissor skills. Ask them to cut small squares (or pieces) of various colors of tissue paper. Ripping and tearing the tissue paper is also an option…although, we found that flat, uncrumpled pieces of tissue paper work the best for these suncatchers. For reference, our tissue pieces are roughly 1″ x 1″ squares.
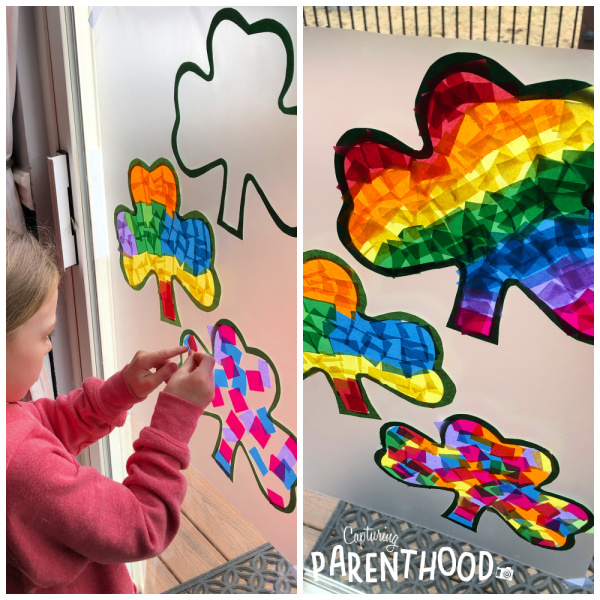
- Once you have an adequate supply of tissue paper pieces, it’s time to roll out the contact paper. Cut a piece large enough to fit all of your shamrocks, and tape it onto a flat surface (with the sticky side facing toward you). We like to tape our contact paper right onto our sliding glass door.
- Stick your shamrock outlines onto the contact paper. And then let the tissue paper fly! Well…not literally. 🙂 Ask your kiddos to stick tissue paper pieces on the insides of the shamrocks, in whatever designs or patterns their heart’s desire. Encourage them to cover every little bit with colorful tissue paper – it looks really neat as it starts to overlap!
- When the shamrocks are bursting with color, it’s time to add another sheet of contact paper (the same size as the first). This time, slowly adhere the sticky side of the contact paper to the exposed shamrocks. You basically want to trap the shamrocks in between the two sheets of contact paper. I like to start at the top (working with a little bit at a time) and press down firmly…to remove any air bubbles, and to create a nice seal.
- Once fully sealed, carefully remove the sheets of contact paper from the flat surface.
- Cut out each shamrock…making sure to leave a thin border of sealed contact paper around the edges (so that the shamrocks do not peel apart).
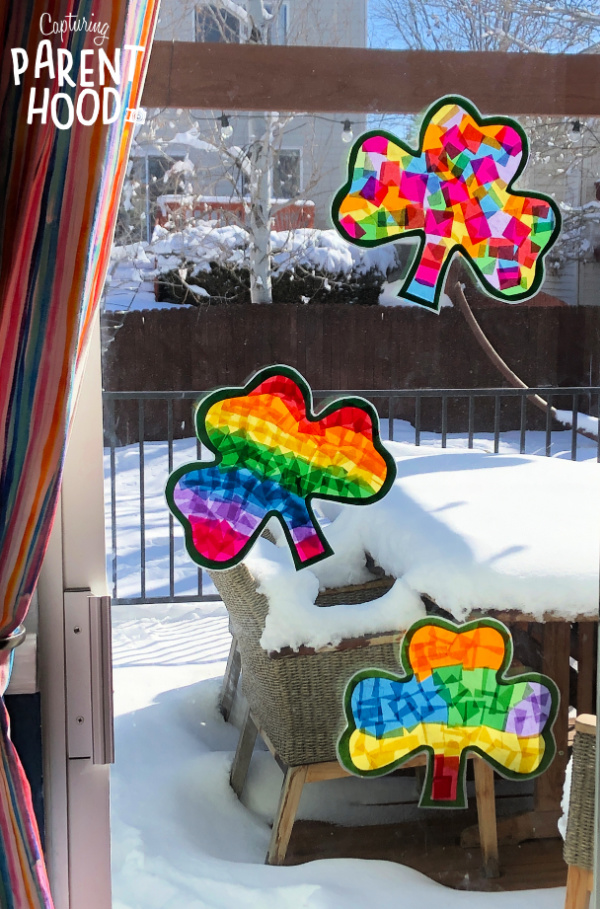
- Tape your beautiful shamrock suncatchers to a glass window or door…and stand back to marvel, as the sun shines through and brings them all to life!

We are thrilled with how these shamrock suncatchers turned out – so vibrant, bold, and beautiful! Something tells me that these beauties will still be adding sparkle to our sliding glass door a month from now. Rainbow shamrocks totally count as Easter decorations, right? 🙂

If you’re looking for some more suncatcher inspiration…make sure to check out our Melted Craft Bead Suncatchers, or our Painted Glue Suncatchers. And if shamrock crafts are more your jam these days…you won’t want to miss out on our Rainbow Chalk Shamrocks, or our personal favorite, Shape Shamrocks!
HAPPY ST. PATRICK’S DAY!


