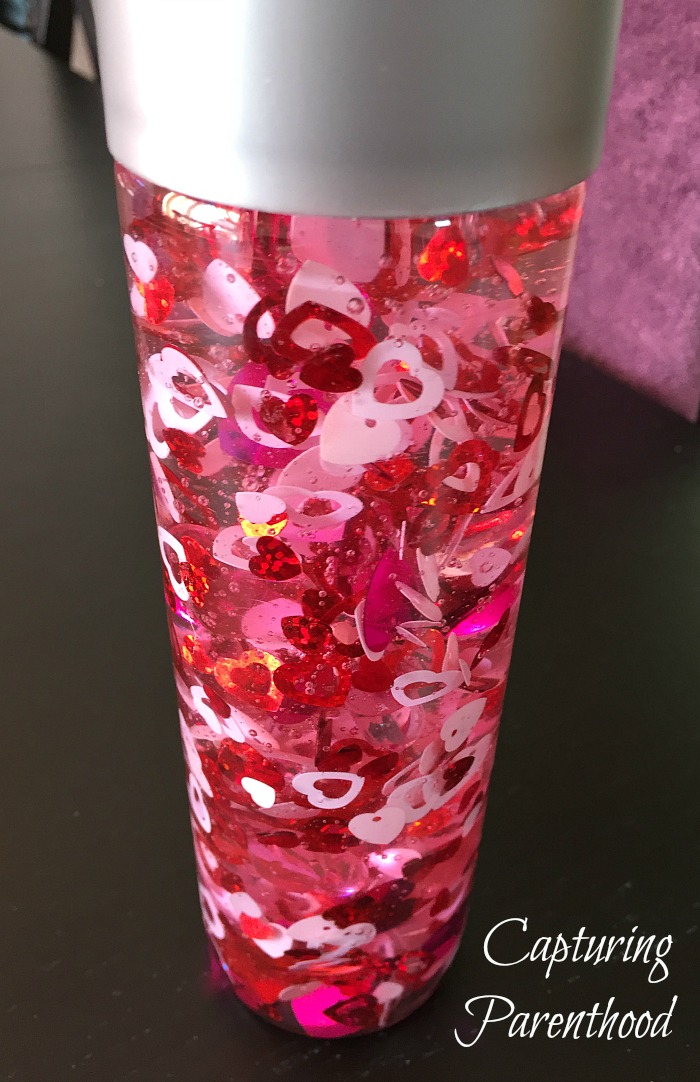
It’s officially Day 5 of our Sensory Bottle Extravaganza! And today, it’s all about LOVE…with our Share the Love Sensory Bottle!
Our world can always use more love. And when I think about spreading love, one of my favorite quotes from Martin Luther King Jr., always comes to mind:
“Darkness cannot drive out darkness: only light can do that. Hate cannot drive out hate: only love can do that.”
If nothing else, I want my little nugget to know the great importance of love – love for herself, love for all humankind, love for all animals, and love for our planet. And creating one of these heart-filled sensory bottles, is a great place to start the conversation.
After trying my hand at making a sensory bottle using Elmer’s Washable Clear Glue (the Glittering Shamrocks Sensory Bottle – Day 1), I figured I would give another glue a try – based on a method that Katie shared on Preschool Inspirations (https://preschoolinspirations.com/6-ways-to-make-a-calm-down-jar/). Our Share the Love Sensory Bottle is made using clear Tacky Glue.
Share the Love Sensory Bottle
Supplies:
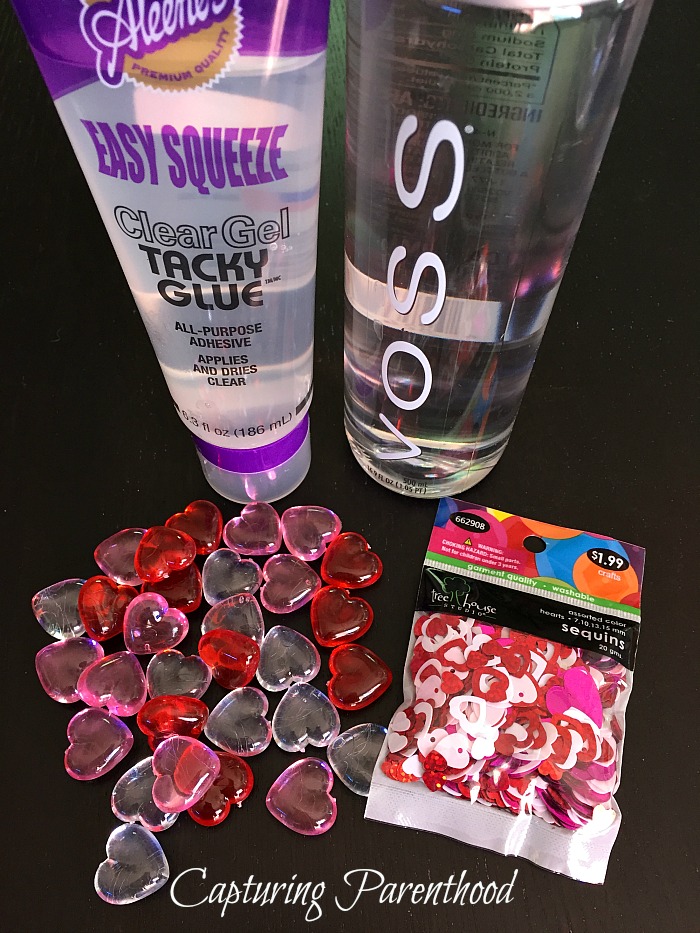
- Plastic Bottle with Wide-Mouth (I love using Voss water bottles)
- Clear Tacky Glue
- Hot Water (the hottest water from your tap)
- Heart Confetti
- Plastic Heart Gems (optional)
Instructions:
- Empty the plastic bottle (if it contained a non-water beverage, rinse out the bottle). Remove all labels from the bottle. If you have a hard time getting the sticky residue off, Goo Gone works wonders. I find that if I take my time and peel slowly, I can get the Voss labels off without any fuss.
- Fill the bottom 1/4 of the bottle with the clear tacky glue. Toss in some heart confetti, and the plastic heart gems (if desired).
- Next, add the hot water. Do not fill the bottle all the way up, at this point in time. Give yourself a decent amount of space to assess whether you want to add more tacky glue (to make things move slower), more confetti/gems, or more water (to make things flow faster).
- Cap the bottle and shake vigorously, until all of the ingredients are thoroughly mixed. Take a minute to watch how the bottle behaves, before deciding how to fill the remainder of the bottle.
- Fill the last bit of the bottle with your ingredient of choice (I typically like to fill my bottles to the brim). Cap it and give it another vigorous shake.
- If you’re happy with the results, let the bottle sit (uncapped) until the contents reach room temperature. Then, add a dab of hot glue around the inside of the cap, and quickly seal the bottle (you don’t want your child unscrewing a bottle full of glue and confetti, inside your house). 🙂
This sensory bottle makes me feel all warm and fuzzy inside. The beautiful colors, the slow-moving confetti. It’s a perfect way to allow yourself to stop and think about the truly important things in your life.
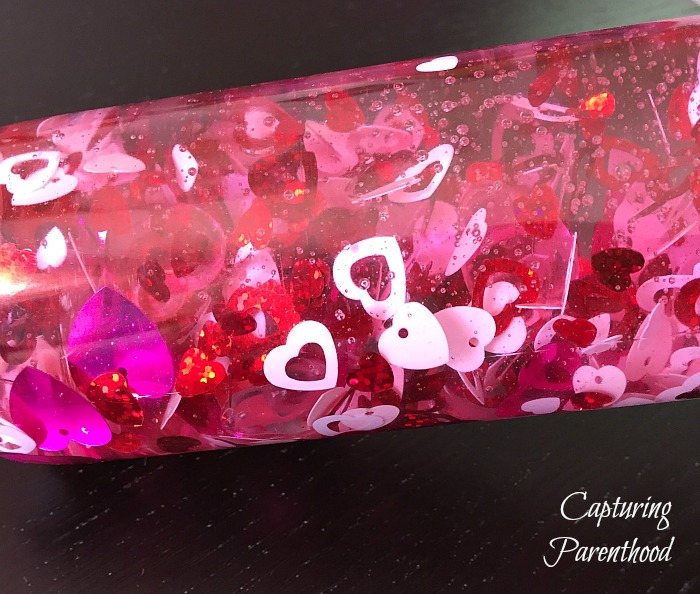
Creating one of these Share the Love Sensory Bottles, would also be a great Valentine’s Day activity to do with your kiddos!
Get out there and share the love today (and everyday)…and then, we will see you back here tomorrow, with a brand new sensory bottle!
