If you caught our blog post on Tuesday, you already know that we celebrated our daughter’s third birthday with an art party! It really was a fun party…one for the memory books. Since the party was art-themed, quite a few guests gifted our little nugget with various art supplies and activities…including an awesome 4-in-1 Spin & Splash machine. I’m sad to say that when I was cleaning up after the party, the art spinner was absentmindedly stashed in the back of our art closet and forgotten for several months. The contraption caught my eye when I was cleaning out the closet a couple of weeks ago, and we happily decided to break it out and create some fantastic spin art!
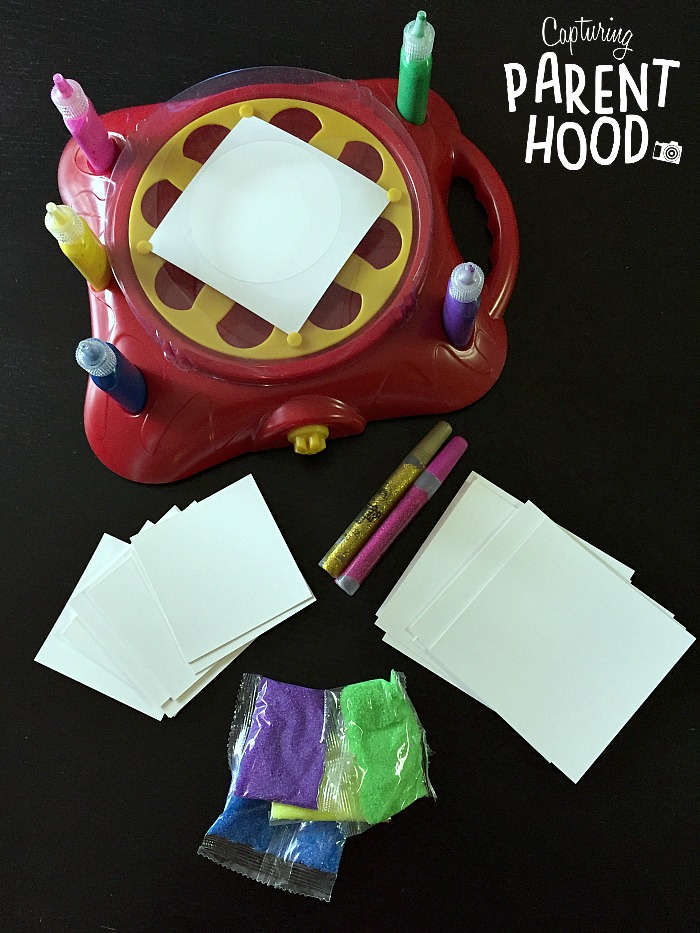
The art spinner set that she received is incredible. It came with two different sizes of square paper, five colors of paint, four colors of sand, two glitter glue pens, and two blank ceramic tiles.
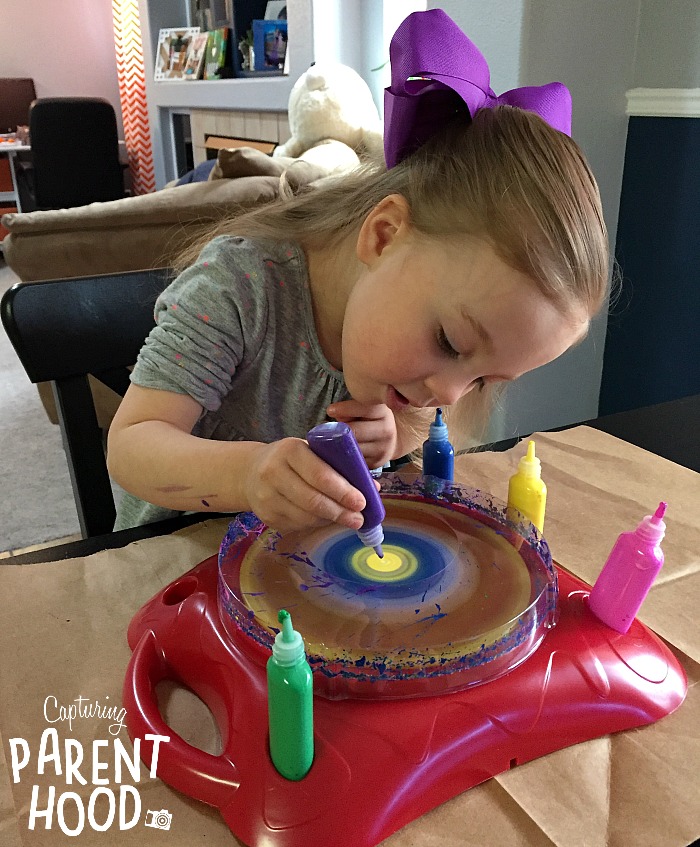
Our little nugget literally spent all afternoon in the creative zone, turning out one spin art masterpiece after another. She loved the process, and she loved the results! The art spinner is actually rated for kids 8-and-up, but I found our 3-1/2 year-old to be perfectly qualified for this artistic task, with a little bit of adult supervision, of course.
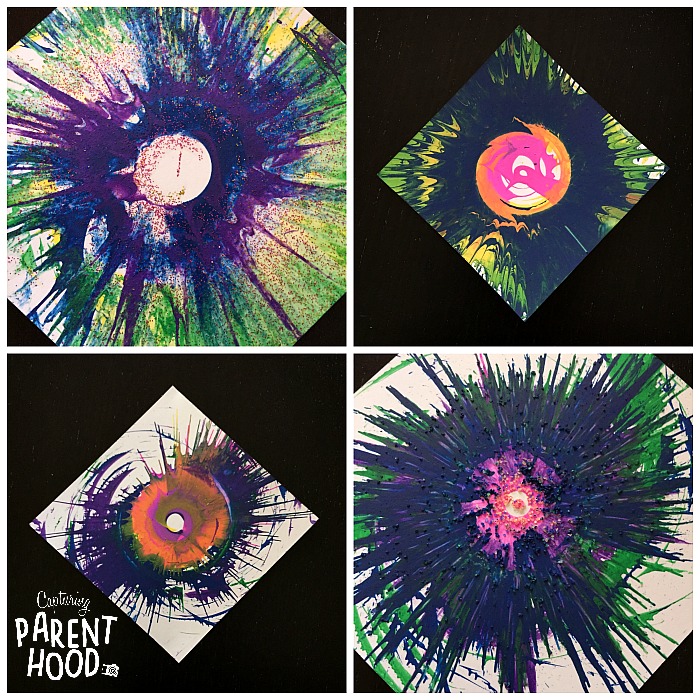
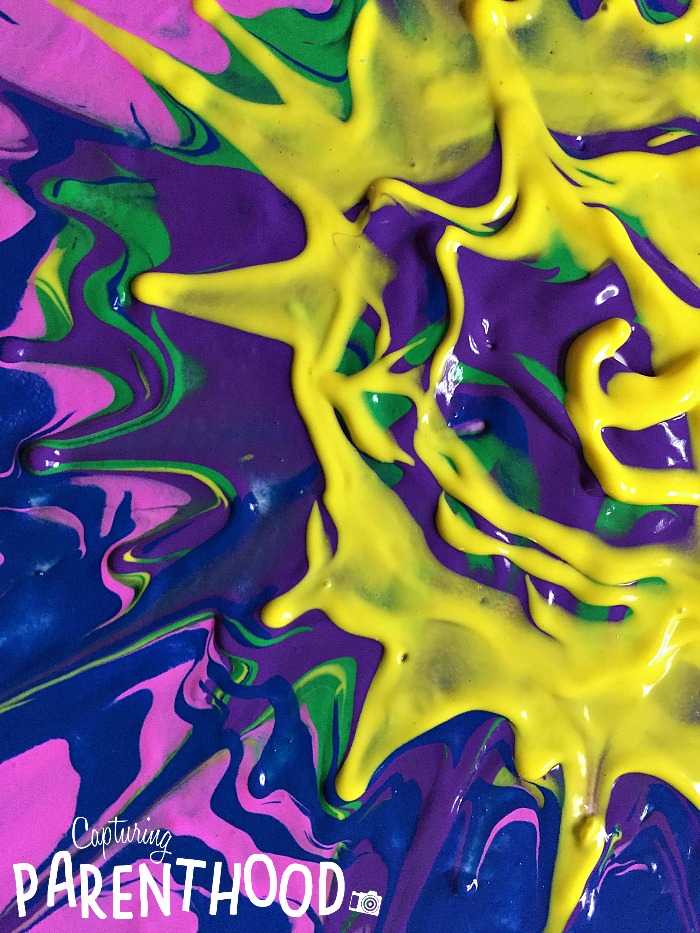
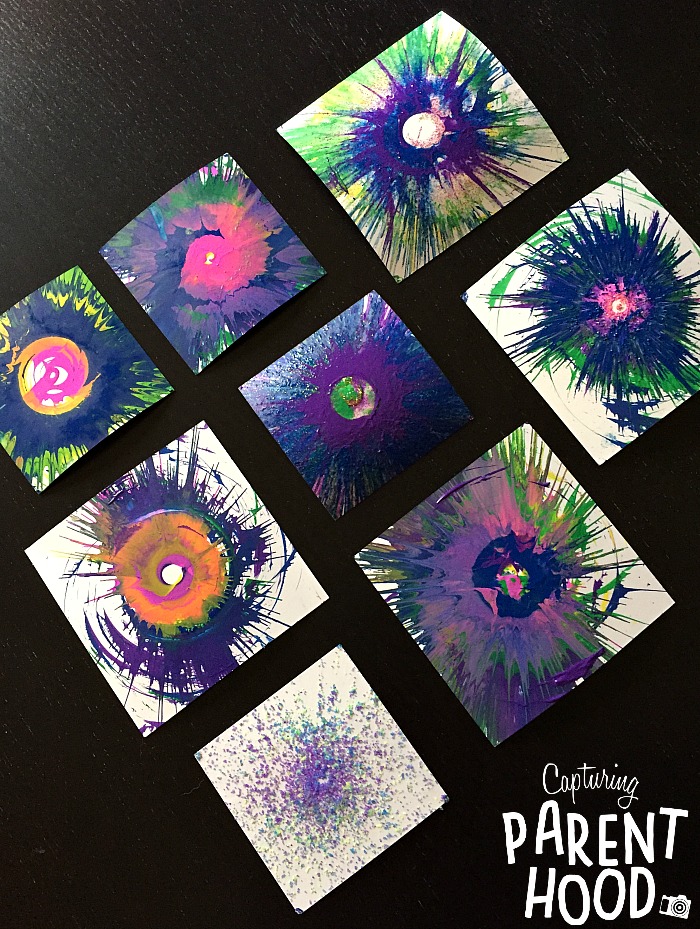
We started our spin art process by creating a handful of different paper masterpieces, utilizing the various colors of paint. Then it was time to add a little bit of sparkle, with a few squeezes of pink and gold glitter glue! We always used the glitter glue in addition to the paint. The sparkly works of art were our little nugget’s favorite. Shocking, I know! 🙂
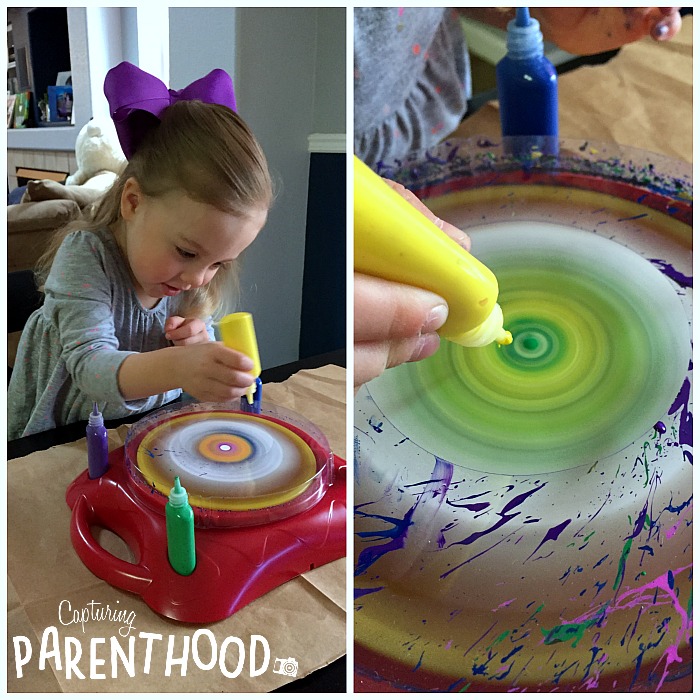
Then it was time to try our hand at some sand painting. We turned the spinner on, added a couple of colors of paint, and then poured in a tiny bit of colored sand. My one disappointment with the art spinner was that the majority of the sand ended up flying up and out of the plastic splash shield, and all over our dining room. A very small amount of sand actually stuck to the paper, but the granules that did adhere certainly added a nice textural element to the paintings.
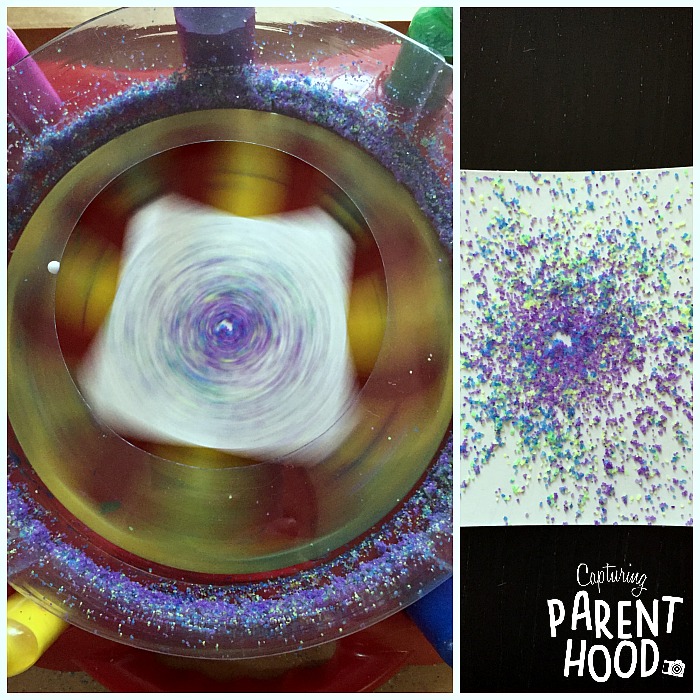
Since we already had sand everywhere in our dining room, I figured we should try creating a sand painting using a bit of Elmer’s glue. I thought the sand would stick to the glue more than the paint…but, we just ended up making a bigger mess. Oh well…the process was still fun, and the sound of the sand in the spinner provided an additional sensory experience.
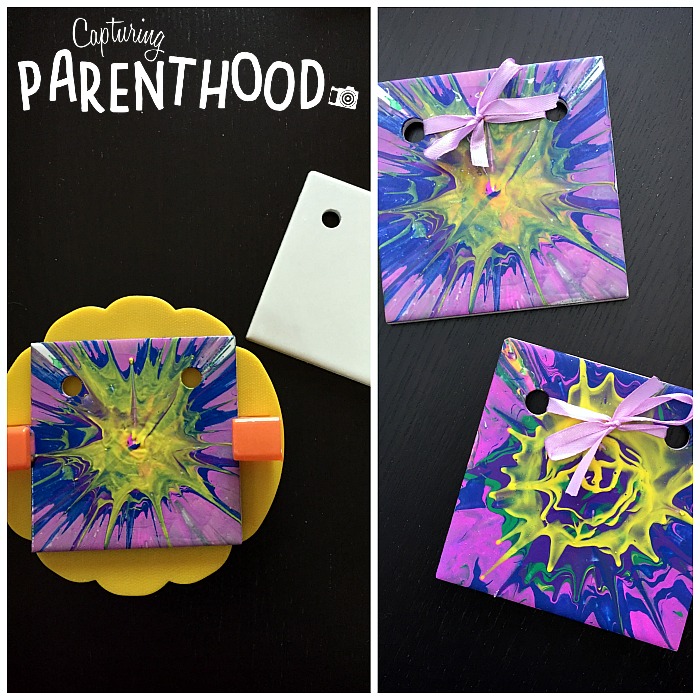
Once our sand painting was complete, we wiped out the art spinner, and moved on to ceramics! We decided to stick with paint for our ceramic tiles, and we couldn’t be happier with how they turned out! Even though spin art is very much a process art activity, the end results are usually quite magnificent. Our little nugget thought that her grandmothers would love the ceramic tiles that she created, so she wrote her name on the backs, and we added a purple ribbon to each. I’m happy to report that both grandmas were surprised and elated with their homemade spin art gifts!
We will most definitely be breaking the art spinner out of the closet again real soon. Our daughter loved the creative outlet, and I loved watching her creative process!
There are a multitude of art spinner sets to be found online, but you can also use a good ole’ salad spinner – just make sure to get one with a pour spout in the lid (to make it easier to add paint)!
Do you and your kiddos have a favorite spin art method or machine? I would love to hear about it in the comments below.


