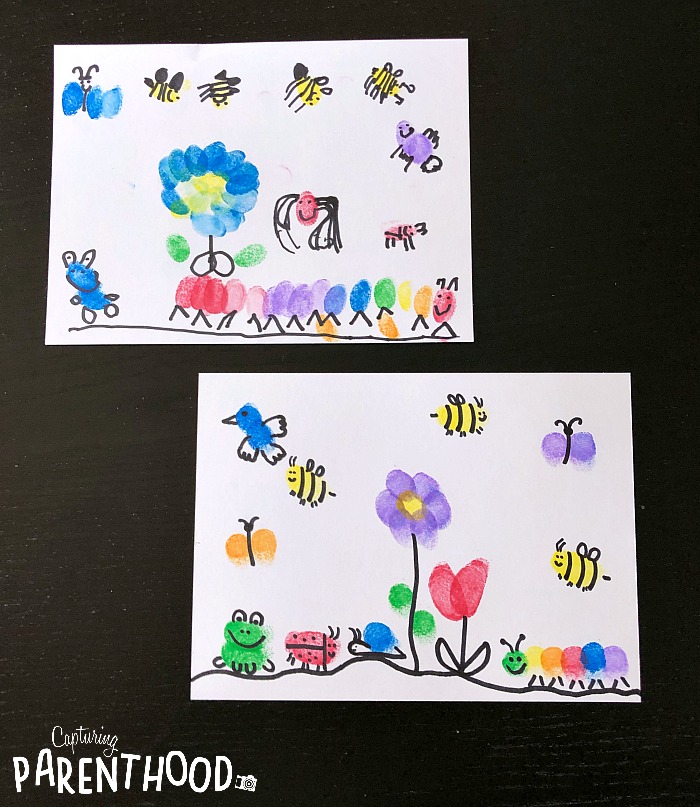
Have you ever created fingerprint art with your kiddos?!? We’ve done lots of hand-print and foot-print crafts over the years, but very little fingerprint art. In fact, the only project that I can remember is our cute little Bunny & Chicks Fingerprint Craft, from Easter of 2017. Needless to say, it was high time that we got creative with fingerprints again. And the end result was this incredibly fun and colorful Spring-Themed Fingerprint Art Project!
Inspiration for this project struck after we purchased Ed Emberley’s Complete Funprint Drawing Book. This book…complete with 80-pages of whimsical drawings…is a true gem! And if you don’t already have a copy, you seriously need to get one. Trust me, you won’t regret it. 🙂 This book makes the creative drawing process so simple and enjoyable – for kids and adults alike! I mean, who knew that it would be so easy to bring plants and animals to life with just a few fingerprints and some little black squiggles?
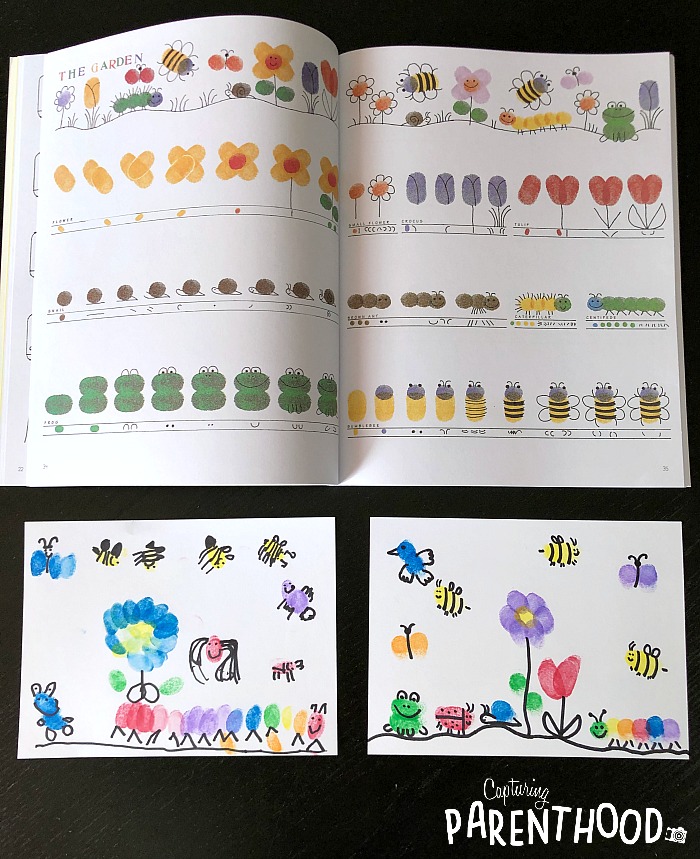
If you have little ones who get easily frustrated or discouraged by the drawing process…because they think that their drawings don’t look exactly right…this book is the perfect tool! In all honesty, I’m not a very confident artist myself, so I really enjoyed having all of the simple, step-by-step drawing guides right in front of me. And I know that our daughter loved having a reference to glance at every now and then.
Spring-Themed Fingerprint Art Project
Supplies:
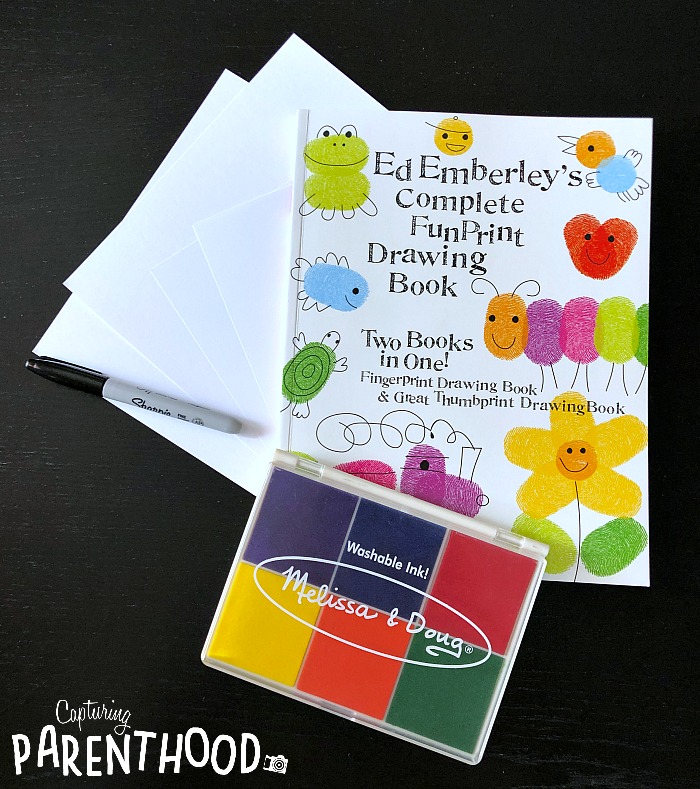
- White Card Stock
- Washable Ink Stamp Pad
- Wet Wipes (or wet paper towels)
- Black Marker
- Ed Emberley’s Complete Funprint Drawing Book
Instructions:
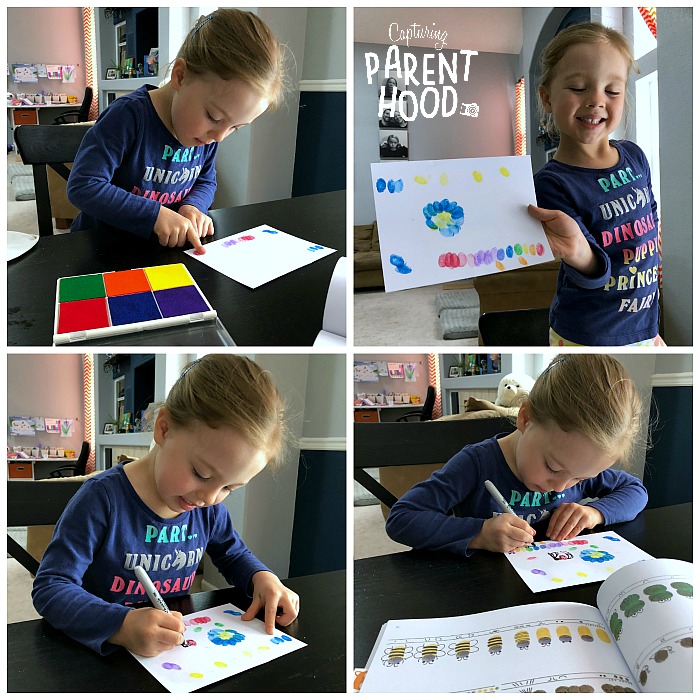
- Let your kiddos flip through Ed Emberley’s book to select all of the Spring-themed plants and/or animals that they would like to include in their fingerprint art project. We went with flowers, butterflies, bumblebees, birds, frogs, caterpillars, spiders, snails, and beetles!
- Grab a sheet of white card stock, select a color of ink on the stamp pad, and press your finger (or thumb) into the ink pad. Now, press your finger down firmly on the card stock to make a colored fingerprint.
- Continue this process until you’ve created all of the finger/thumb prints that are required to bring your Spring creations to life! Note: It is incredibly easy to mix colors on the ink pads, if your finger is covered in one color of ink and you place it on another color, before cleaning it off. We didn’t want to contaminate our colors, so we made sure to wipe our fingers off with a wet wipe, each and every time we changed colors.
- Once you are satisfied with all of the colorful fingerprints on your paper, it’s time to add the fun details to each print. Grab a black marker and start adding eyes, legs, wings, antennae, etc. This is where Ed Emberley’s book comes in incredibly handy…because he shares a very easy-to-follow, step-by-step drawing guide for each and every fingerprint creation in his book!
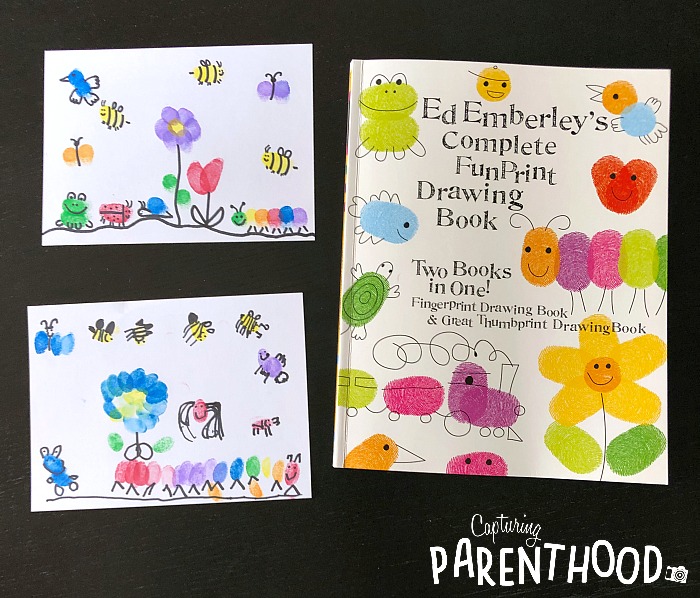
- Once you’ve added all of the details that your heart desires, your Spring-themed fingerprint masterpiece is complete! Feel free to hang it up on display…to add an extra-special touch of Springtime to your home.
We had so much fun with this Spring-themed Fingerprint Art Project! Our dining room was filled with smiles and giggles during the entire creative process. 🙂 Since we wanted to create little Spring scenes, we stuck to “The Garden” pages (for the most part), but the book itself is chock-full of fantastic ideas: people (activities, emotions), tons of adorable animals, transportation vehicles, holiday-themed creations, and so much more!
We can’t wait to create more colorful fingerprint art in the future! The only question is…what theme should we do next?
