Coloring and decorating eggs is one of our all-time favorite Easter activities! It’s a family tradition that I have fond memories of as a child, and one that I definitely want to continue for our daughter. Over the past couple of years, we’ve colored Easter eggs using rice and food coloring, we’ve marbled eggs in Cool Whip, and we’ve created the most gorgeous rubber cement Easter eggs that you ever did see. We used standard hard-boiled eggs for each of these techniques, but this year we wanted to branch out and try something new. And this Tissue Paper Easter Egg Craft is pure egg-cellence! 🙂
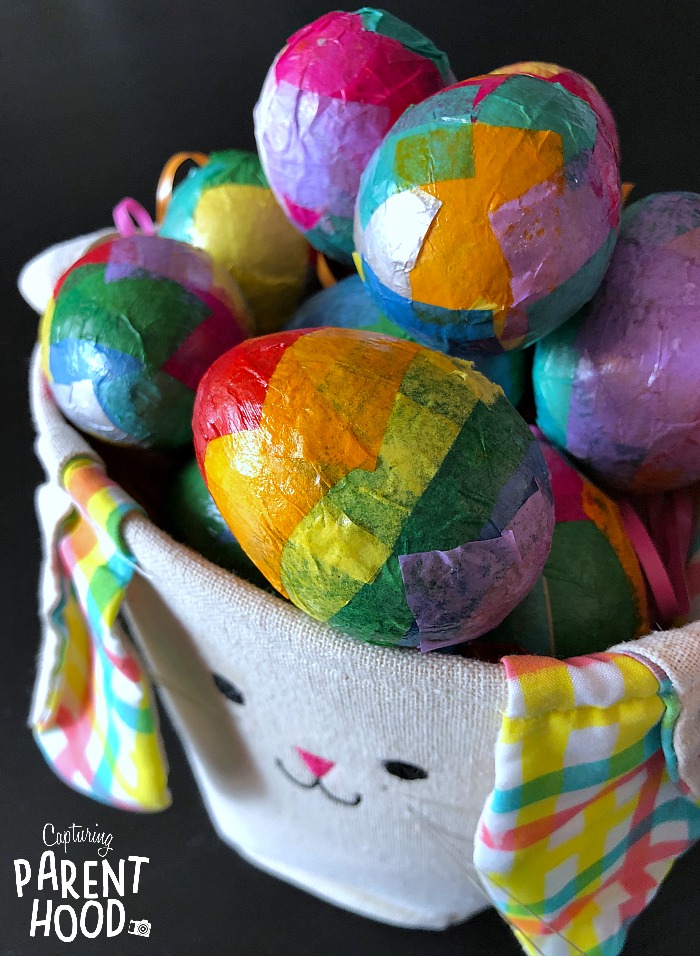
I stumbled across a basket of dazzling Tissue Paper Eggs, over on Fireflies + Mud Pies, and I never looked back. I couldn’t get over the stunning colors on each egg. I showed our little nugget a picture and she squealed with delight. Tissue Paper Easter Eggs were officially on our Easter to-do list!
I gathered up all of our tissue paper squares – we always have some at the ready…you just never know when you’ll get the urge to create an impromptu suncatcher. 🙂 We popped over to Hobby Lobby to grab some paper mache eggs and Mod Podge…and we were all set!
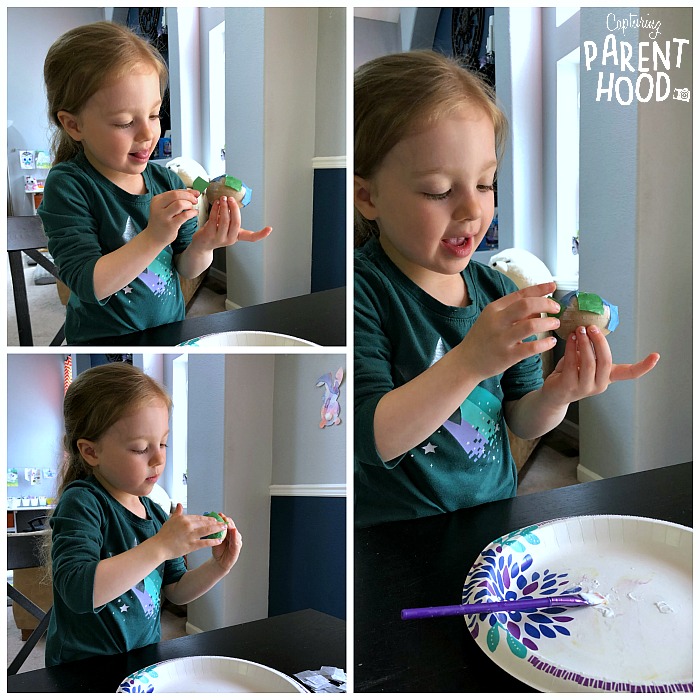
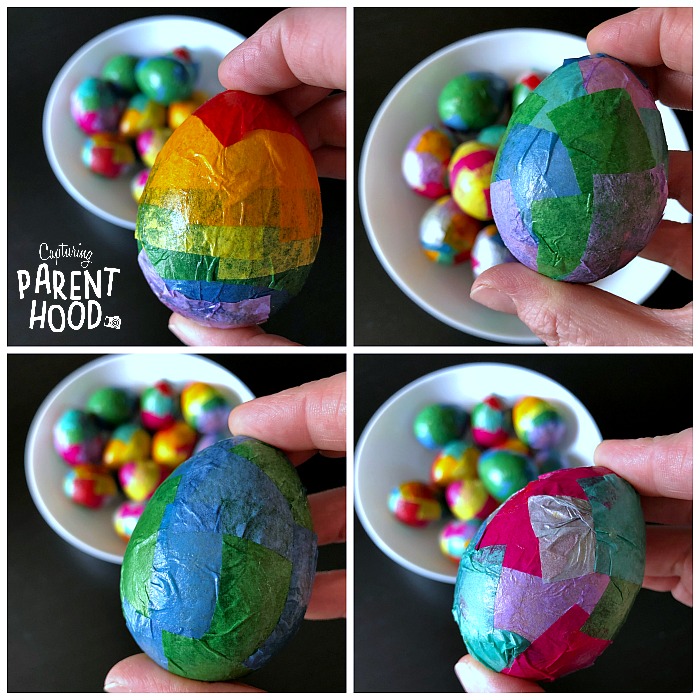
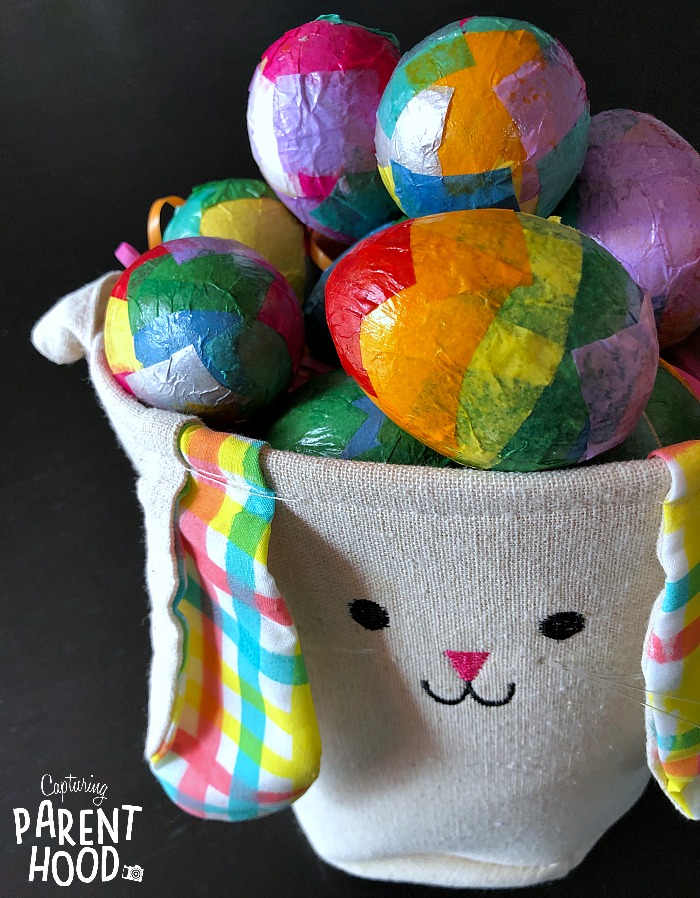
Once our little nugget got over the initial distaste of having Mod Podge all over her hands, her creativity burst forth. We created a few rainbow eggs…because we create rainbows every chance we get. We obviously had to create some Earth-inspired eggs, since Earth Day is the day after Easter this year. And we made sure to add a bit of sparkle to a few eggs with some shiny silver tissue paper!
Tissue Paper Easter Egg Craft
Supplies:
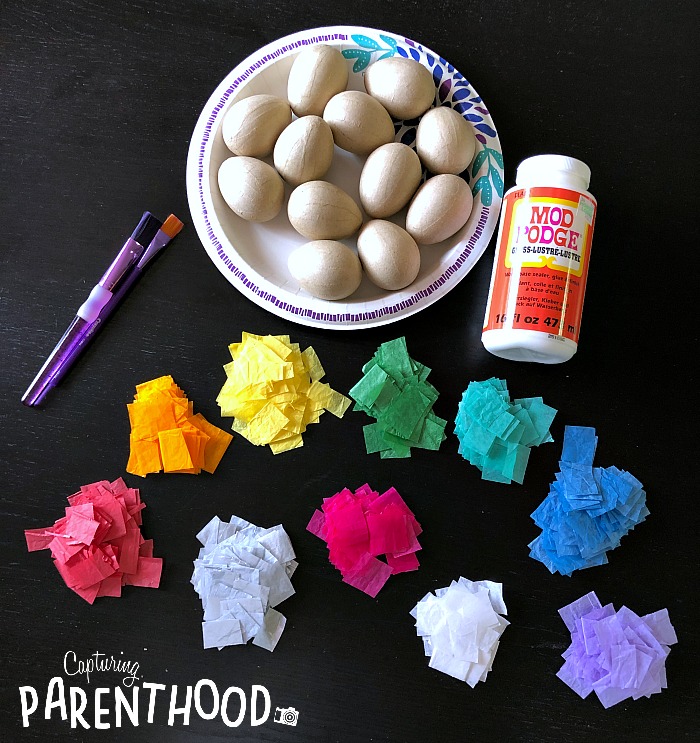
- Paper Mache Eggs (we found ours at Hobby Lobby)
- Squares of Tissue Paper (in a variety of colors)
- Mod Podge
- Paintbrush
- Paper Plate/Tray/Messy Mat (optional)
Instructions:
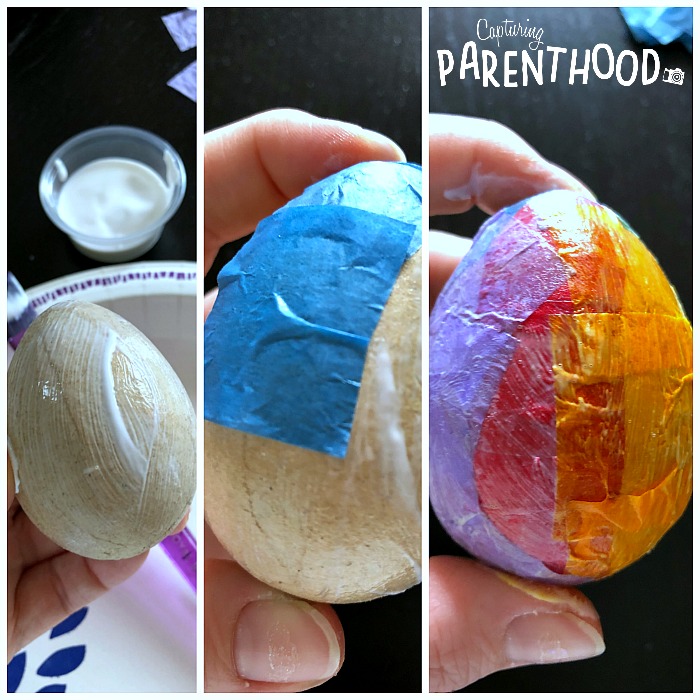
- Using a paintbrush, apply a thin layer of Mod Podge to a paper mache egg. Place squares of tissue paper (in whatever colors your heart desires) on top of the Mod Podge. If you would like to keep building layers of tissue paper, just add more Mod Podge…this will insure that the tissue paper continues to stick down onto the egg.
- Once you’re satisfied with the look of your egg, take a paintbrush, and coat the entire egg with Mod Podge, one more time.
- Set the egg on a paper plate (or tray) to dry completely.
- Repeat the above process for each paper mache egg. Get creative with your tissue paper designs/colors!
- Once all of your beautiful eggs are dry, pop them into an Easter basket, and put them on display!
We are head-over-heels in love with our Tissue Paper Easter Eggs! Each and every one turned out better than we could have ever dreamed, and we are looking forward to using them for our annual Easter egg hunt!
Make sure to check out our Rubber Cement Easter Eggs, as mentioned above. And if you’re interested in the rice-colored eggs, or the Cool Whip marbled eggs, hop on over to our Easter Eggs Two Ways post!
HAPPY EASTER!
