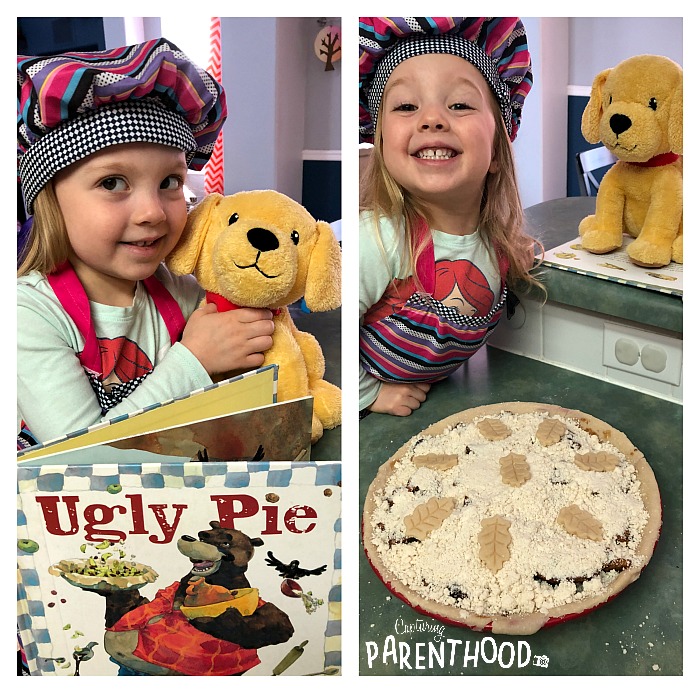
“My-oh-my-oh-my! Do I smell Ugly Pie?” If you caught our Favorite Thanksgiving Books post on Tuesday, you already know how fond we are of Ol’ Bear…the main character in the charming story, Ugly Pie by Lisa Wheeler. Bear wakes up one morning with a hankering for Ugly Pie…but the only ugly thing in his kitchen is some sweet molasses. So, Bear takes a stroll through the neighborhood, where he finds that his family and friends have all made pies of their own…a pleasing pumpkin pie, a righteous rhubarb pie, and a heavenly honey pie. But no Ugly Pie. And Ol’ Bear is “just itchin’ – truly itchin’ – for some Ugly Pie.” After acquiring various ugly items (wrinkled red raisins, sour green apples, and bumpy brown walnuts) from each of his neighbors, Bear returns home and sets out to make the pie that he’s been dreaming about all day.
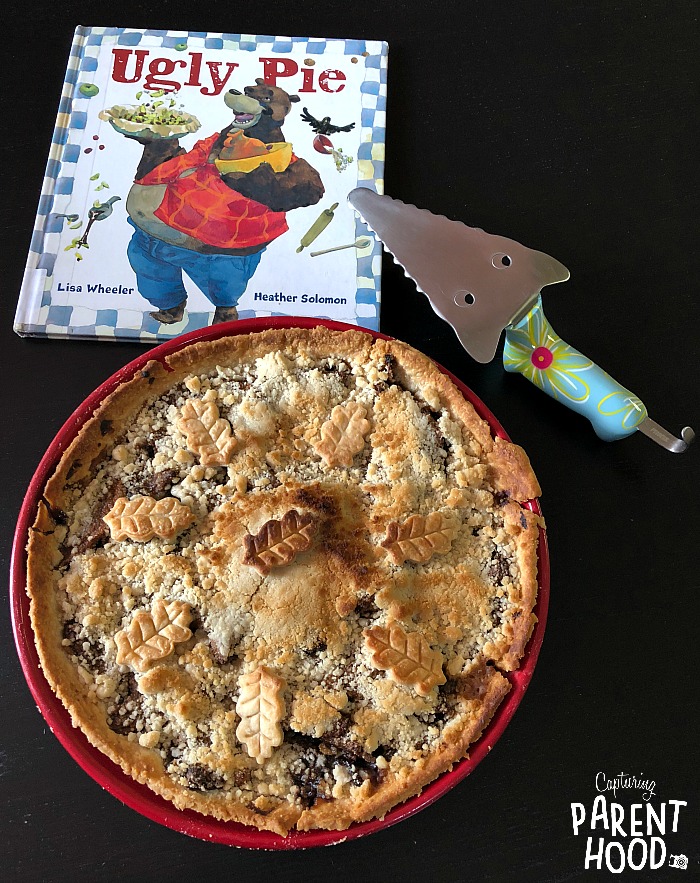
After reading this delightful story numerous times, my little nugget and I started getting our own hankering for Ugly Pie. Luckily, Bear shares his delicious recipe in the back of the book.
We gathered our ugly ingredients, donned our aprons, and embarked on a baking adventure!
Ugly Pie
**Note: The following recipe appears in the book, Ugly Pie by Lisa Wheeler, and is by no means my own personal recipe.**
Ingredients:
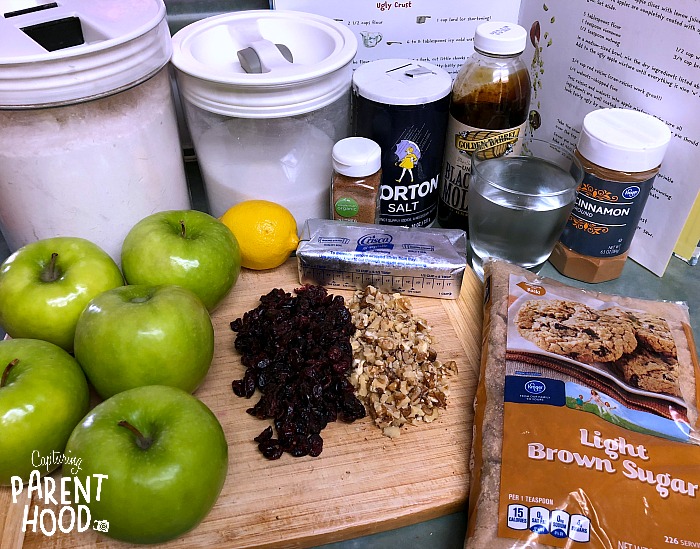
For the Crust:
- 2-1/2 Cups All-Purpose Flour
- 1 Cup Shortening
- 1/2 tsp. Salt
- 6-8 Tbsp. Icy Cold Water
For the Filling:
- 6 Cups Granny Smith Apples, Peeled & Sliced
- 1/4 Cup Molasses
- 1 tsp. Lemon Juice
- 5 Tbsp. All-Purpose Flour
- 1 tsp. Cinnamon
- 1/2 tsp. Nutmeg
- 1/2 Cup Sugar
- 3/4 Cup Brown Sugar
- 3/4 Cup Dried Cranberries
- 1/4 Cup Walnuts, Chopped
Instructions:
Preheat the oven to 400° F. Spray a 9-inch deep-dish pie plate with cooking spray, and set aside.
For the Crust:
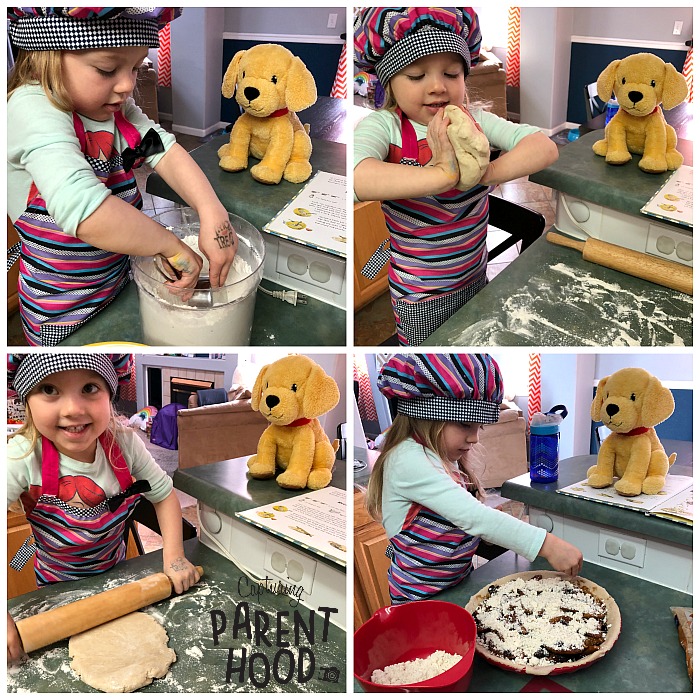
- Combine the flour and salt in a large bowl. Using a fork, cut small squares of shortening into the flour mixture, until the mixture turns into pea-sized balls. Measure out half of the mixture and set aside for later (it will become the pie topping).
- Next, add 1 tablespoon of the icy cold water to the remaining flour mixture. Toss with a fork. Continue adding icy cold water by the tablespoon, until the flour mixture forms into a ball of dough. Knead the dough with your hands.
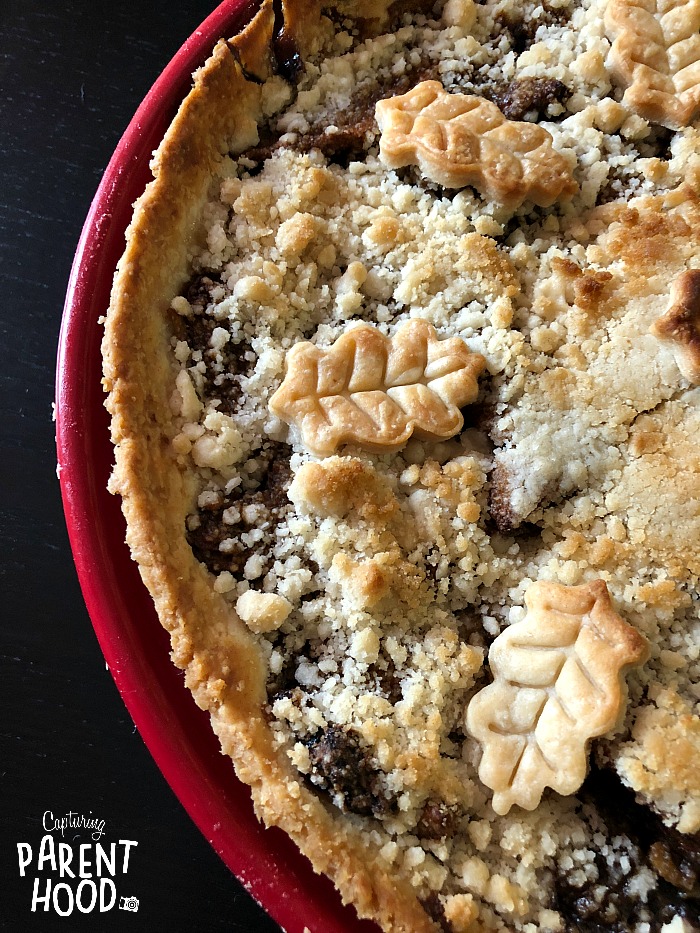
- Sprinkle some flour onto a flat surface. Roll the dough out evenly, until you have a large enough sheet of dough to fill your pie dish. Carefully place the dough into the pie dish and press firmly on the bottom and sides. Cut off any over-flowing dough with a knife. Feel free to create some decorative pie toppers with any extra dough. We used a leaf-shaped pie crust stamper to add a little more pizzazz to our pie.
- Set the crust aside and start working on the pie filling.
For the Filling:
- In a large bowl, toss the sliced apples with the lemon juice. Pour in the molasses and mix until the apple slices are thoroughly coated. Set aside.
- In another bowl, combine the flour, cinnamon, nutmeg, sugar, and brown sugar.
- Add the dry ingredients to the apple mixture and mix until thoroughly combined.
- Stir in the dried cranberries and walnuts.
- Pour the filling into the pie crust.
- Sprinkle the remaining flour/shortening mixture (that you set aside earlier, while making the crust) on top of the pie. Add any decorative pie toppers you may have created.
- Place the pie on a baking sheet and tent with aluminum foil.
- Bake at 400° F for 40 minutes. Remove the foil and bake an additional 20 minutes. If you want the top to be more golden in color, place it under the broiler (set to low) for just a couple of minutes.
- Remove from the oven and place on a wire cooling rack. Let cool, prior to serving.
- Place a warm slice on a plate and top with a scoop of vanilla ice cream (if so desired). Enjoy!
I always associate the holidays with pie-baking season. My mom bakes an apple pie and pumpkin pie for both Thanksgiving and Christmas. And the occasional peach cobbler for my birthday (because it’s my favorite)! I’ve only made a few homemade pies in my lifetime…I usually stick with cakes…pies just seem so time-consuming and temperamental (those crusts can be tricky)! And I’m not very skilled at making them look pretty. But an Ugly Pie…a pie that doesn’t have to look perfect…sign me up! 🙂
I had so much fun in the kitchen with my little nugget as we prepared our ugly crust and ugly filling. And we had another special helper (as you may have noticed in some of the photos). Biscuit (the dog) is the class pet in my daughter’s Pre-K class, and he was joining us for a few days. He was more than happy to help with our baking project. Scout and Max (our family dogs) were a bit jealous that Biscuit got to sit on the kitchen counter, and enjoy an entire piece of pie all to himself. I’m happy to report that our Ugly Pie received Biscuit’s (and our entire family’s) stamp of approval – two paws up!
I bet it would also be a lot of fun to make a non-edible Ugly Pie. Let your kiddo’s imagination run wild with all things ugly – mud, dirt, worms, dead leaves and grass. I think this might be next on our agenda. 🙂 I can only imagine the recipe that our little nugget might concoct. Isn’t it fun to sit back and watch their creativity spring to life?



Thank you so much for sharing the entire recipe! We own the book but I can’t find it and we want to make Ugly Pie for our Memorial Day cookout dinner! We’ve made it in the past when we first got the book and my girls were little. I always LOVED the book and the recipe!
Hi Karen! I’m so happy that I could help! I hope that your Ugly Pie turned out great, and that you and your family had a wonderful Memorial Day!