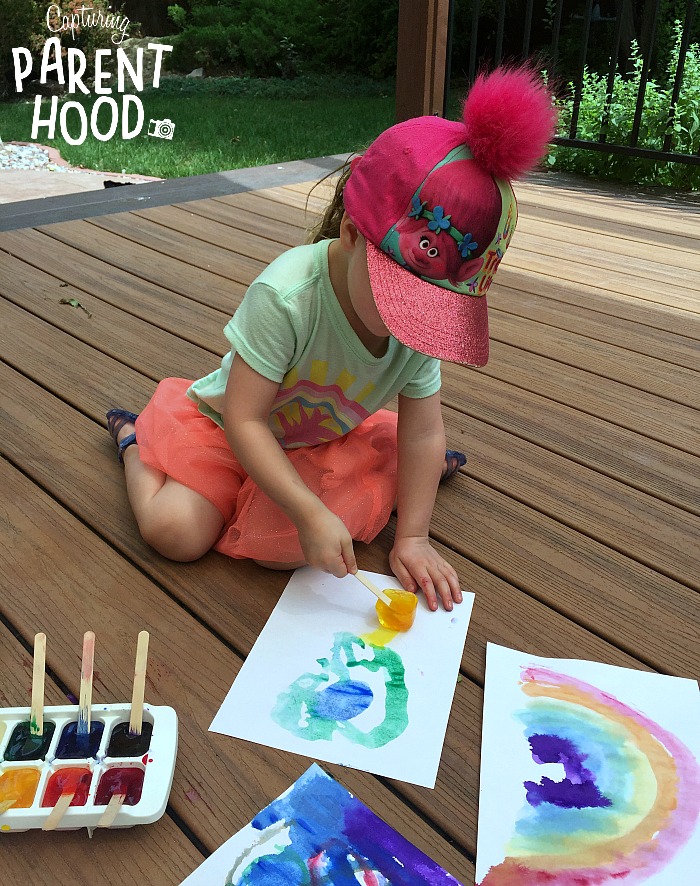
We just can’t stop painting! Can’t stop. Won’t stop. 🙂 If you caught our Painting with the Five Senses post on Tuesday, you already know that we’ve been on a painting kick lately. And this Watercolor Ice Painting activity just might be our new favorite! Plus, it’s another fantastic way to highlight the sense of touch during an art session…the watercolor ice cubes will cool you off in a heartbeat.
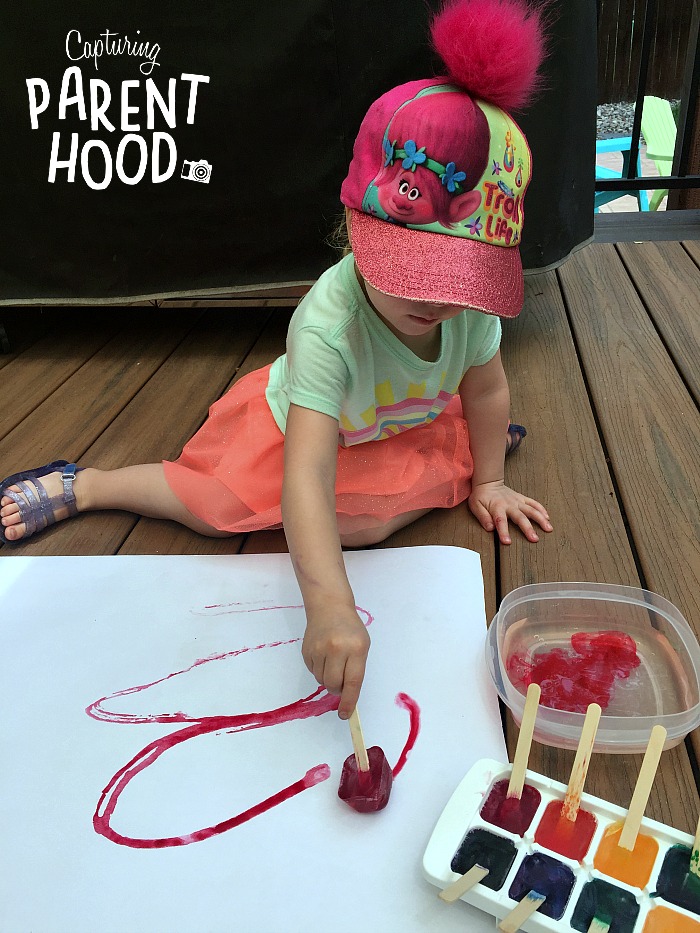
During the summer, we love to take our art supplies outside and find a nice shady spot to paint. We discovered that the nice warm weather paired perfectly with our watercolor ice, because the heat caused the ice to melt, allowing us to easily transfer our vibrant watercolors to our paper.
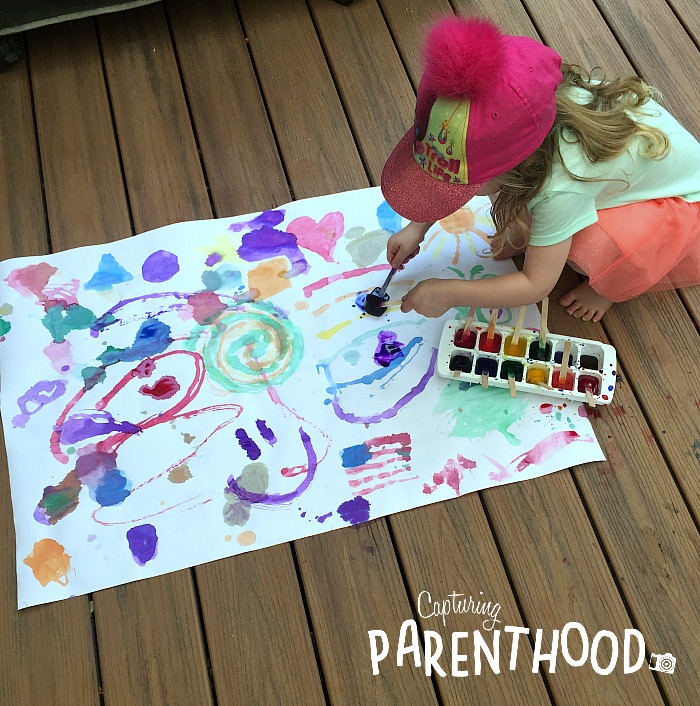
Our little nugget had so much fun! She painted several watercolor paper masterpieces…switching colors every few seconds. And she loved creating a collaborative painting with me on a large sheet of craft paper. We painted various shapes, butterflies, flowers, a heart of Te Fiti (spiral), smiley faces, a flag, etc. The creativity just kept coming. We couldn’t get enough.
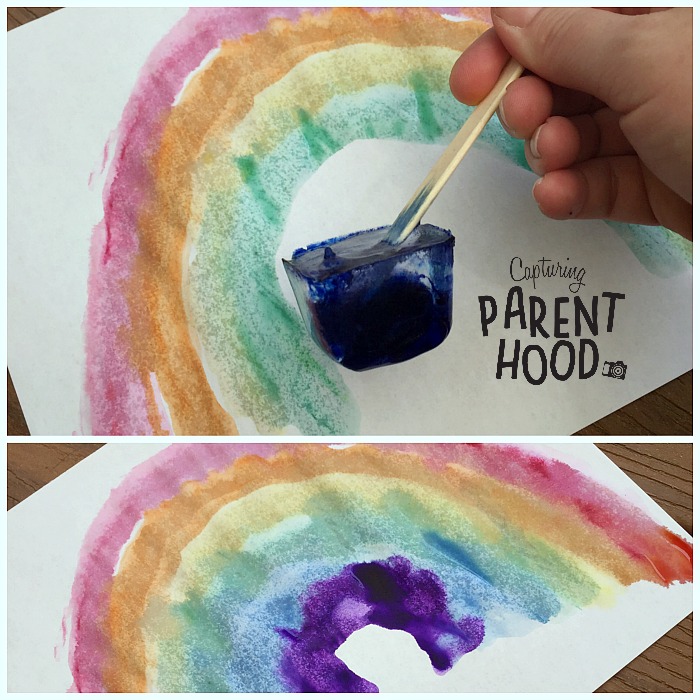
We also had to paint a few rainbows, because our daughter has become completely obsessed…not that I can blame her…rainbows are one of my all-time favorite things!
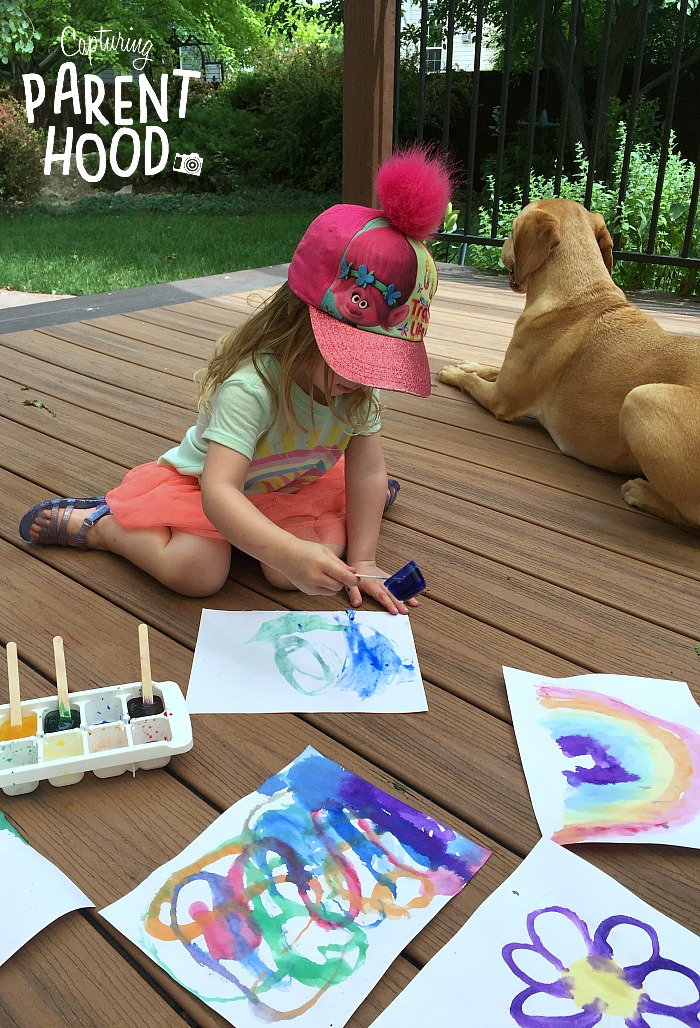
Our dogs even decided to join us in our shady outdoor spot, though they did not care to paint. 🙂 It was just one of those nice, fun, relaxing afternoons!
Watercolor Ice Painting
Supplies:
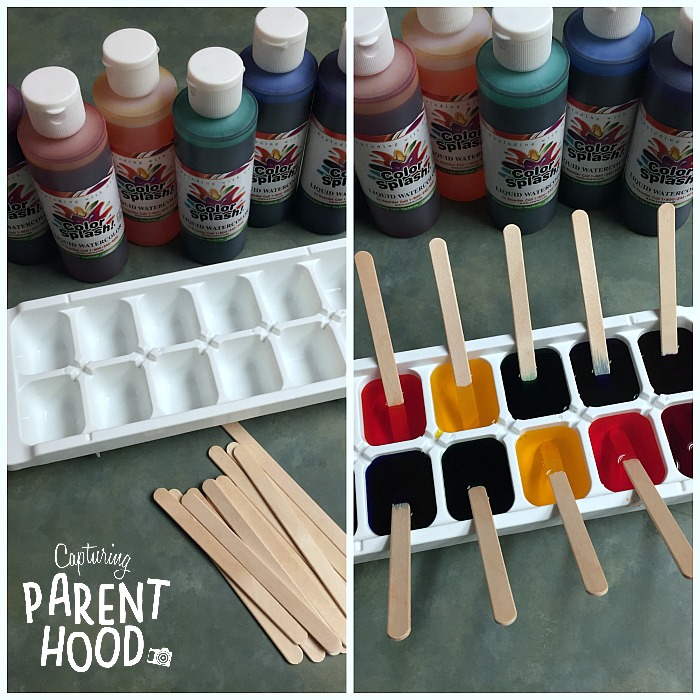
- Liquid Watercolors
- Ice Cube Tray
- Popsicle Sticks
- Watercolor Paper or White Craft Paper
- Cup of Water (optional)
Instructions:
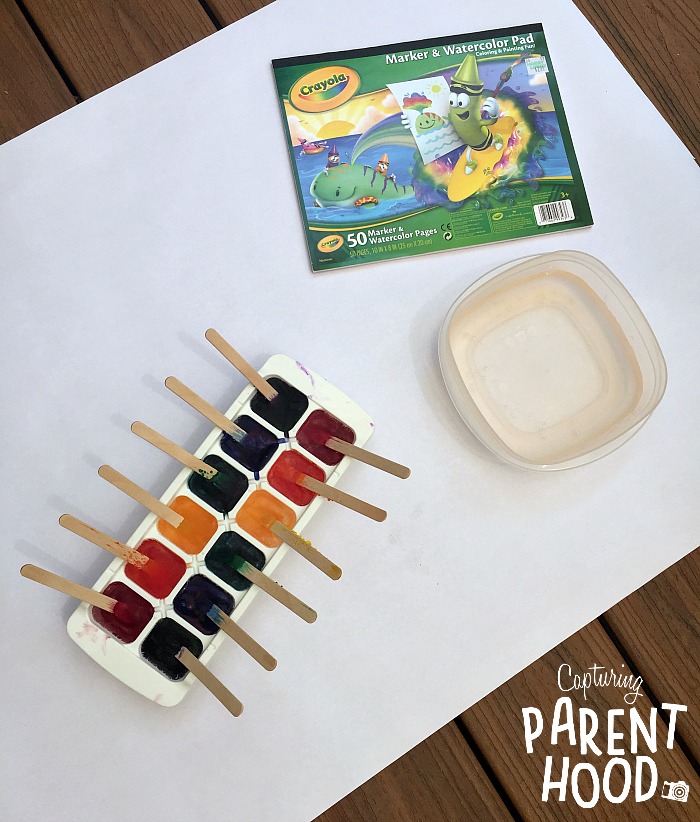
- To make the watercolor ice, simply fill the ice cube tray with various shades of liquid watercolors. We placed a few drops of each color into the different sections of the ice cube tray, and then filled the rest of the way with water. You could also use food coloring, if you don’t have any liquid watercolors on hand.
- Place one popsicle stick into each section of the ice cube tray. Place in the freezer, until the cubes are completely frozen. We made ours a day in advance.
- Once the watercolor ice is frozen solid, give the tray a good twist to pop the cubes out. Roll out a large sheet of white craft paper, or grab some sheets of watercolor paper (we used both).
- Feel free to dip the watercolor ice into a cup of water, to get things going. We decided to conduct our watercolor painting outside on a hot day, so it really didn’t take long for the ice to start melting (rendering the cup of water useless).
- Paint to your heart’s content…or until all of the ice has melted. 🙂
I came across this amazingly cool idea over on Easy Peasy and Fun. Andreja uses food coloring to create her ice paint…but since we’ve recently fallen in love with our new liquid watercolors, we use them any chance we get. The colors were vibrant and beautiful!
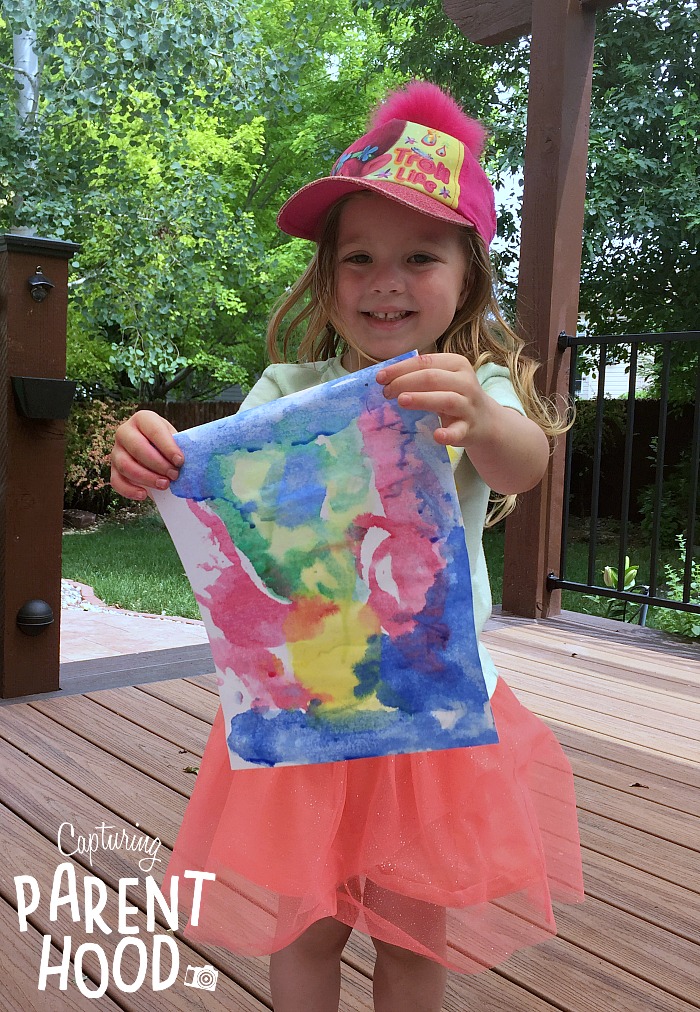
We ended up with more watercolor paintings than we had room to display. Our little nugget was having so much fun, she just kept painting…one masterpiece after another. It was a very productive afternoon. 🙂
Since this Watercolor Ice Painting was such a smashing success, I think I’ll make a few batches for our little nugget’s upcoming birthday party…and maybe we’ll add a bit of glitter too!
