If you’ve been following along with us for awhile now, you know about our love for all things sensory – sensory activities, sensory experiences, sensory bottles. We’ve shared a multitude of fun sensory ideas over the past couple of years – including our Sensory Walk – Texture Exploration, our Rainbow Rice Sensory Bin, our Frozen Goop – Summer Sensory Exploration, and so much more! Heck, we even shared a brand new sensory bottle every day for two full weeks!
Needless to say, when Katy from @prekwolfpack started selling her own curated sensory bins at the beginning of this year, I knew we had to get our hands on one. Unfortunately, her January bins sold out before I could buy one (which is a testament to their awesomeness). When the release date for her February bin rolled around, I made sure I was ready. Luck was on my side this time! Our little nugget has spent the last month playing, creating, and exploring with this fantastic Wolfpack Sensory Bin. And she has used the bin in a variety of different ways. So today, we wanted to share our Wolfpack Sensory Bin Review & Wrap-Up!
I would like to start by pointing out that this post is not sponsored, nor is it meant to be an advertisement. We just happened to get our hands on something truly remarkable – something that our little nugget absolutely loves engaging with on a regular basis – and we wanted to share the magic with all of you. 🙂 I have been following Katy on Instagram for awhile now and I am always amazed, inspired, and in awe of her incredibly colorful and insightful feed. Katy is a Pre-K teacher in California and she does so many amazing activities with her kiddos. I’m often a bit jealous that we don’t live in California…our daughter would absolutely love having such an incredible teacher. One of the many great things about Katy is that she is always willing to share everything that she’s doing in her classroom – and trust me, she has a ton of brilliant ideas! She’s kind, honest, completely down-to-earth, funny, and talented. Don’t believe me? Just swing by her Instagram page to see the mind-blowing sensory bin that she just created for her students to play with in March! In fact, her sensory bin fillers have been going viral on Instagram lately…for obvious reasons. And the sensory bins that she is curating for the rest of us are just as magical.
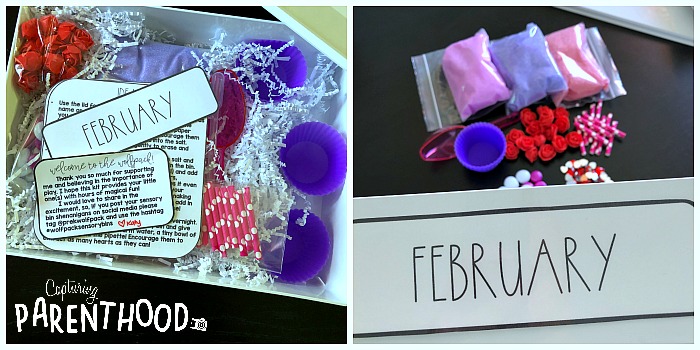
Case in point – the February Wolfpack Sensory Bin. Each purchase comes with a fantastic bin that also includes a lid! In my honest opinion, the bin alone makes buying one of these totally worthwhile. The amazing sensory materials inside are just the icing on the cake. Katy also includes a laminated monthly label, as well as a few different ideas on how to use the bin (which is helpful in getting those sensory wheels spinning). As for the goodies, our February bin included the following:
- three beautiful hues of colored salt (in valentine colors, of course)
- a pink scoop
- three silicone cupcake liners
- foam roses
- paper straws
- glass gems
- heart gems
- a pipette
- crinkly packing paper (yes, you can use this too)
Our little nugget was beyond excited when she opened her special sensory bin surprise. All of her favorite colors were inside and she was completely blown away! 🙂
Throughout the course of the month, I added a few other items that we had around the house. Those items include:
- plastic cups (clear and pink)
- ice cube trays
- letter charms
- sight word cards
- Learning Resources Helping Hands Fine Motor Tool Set
- liquid watercolors
- water beads
- heart table scatter
- shaving cream
- silicone heart mold
- heart confetti
- condiment squeeze bottles
- playdough
Ok…without further ado…let’s get in to some sensory play!
Initial Setup – Free Sensory Play
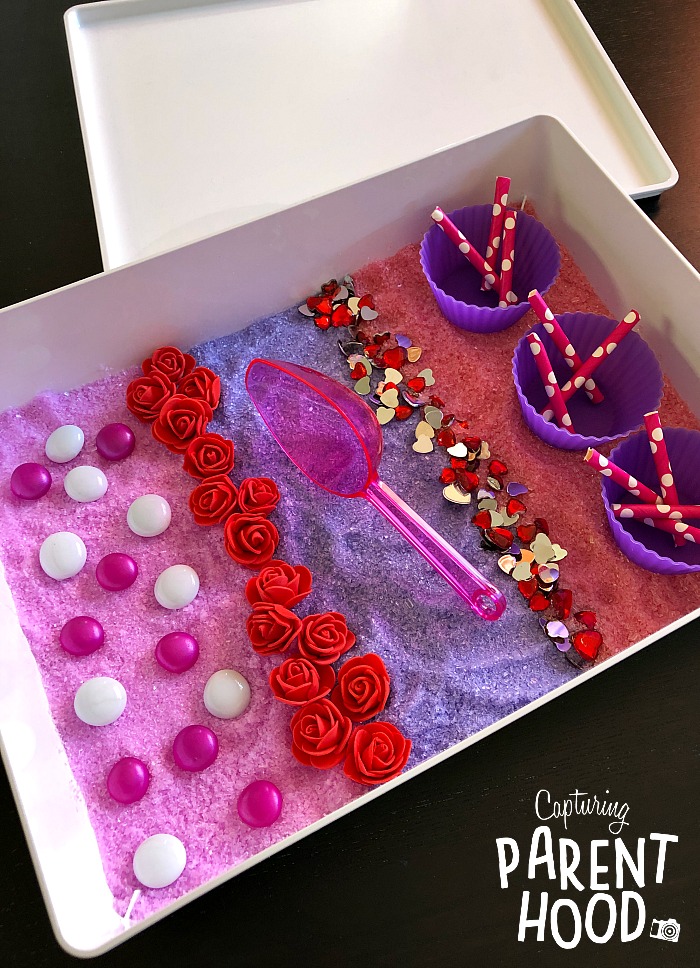
For our very first sensory setup, I decided to utilize everything that came with the bin (minus the pipette). Always inspired by the beautiful bin setups that Katy creates in her classroom (she likes to create lines and lay everything out in an organized manner)…I decided to follow suit. Katy believes that laying everything out in this particular way results in more creativity and imaginative play from the kiddos – because they can see absolutely everything that they can use, and it’s not just piled in one big jumbled mess. Plus, for us OCD parents and teachers out there…this type of setup just makes our hearts happy. I stared at the beauty of this bin for several minutes before handing it over to our daughter. 🙂 Needless to say, the clean lines and organized layout last merely seconds once the kiddos get their hands in them…but that’s the whole point!
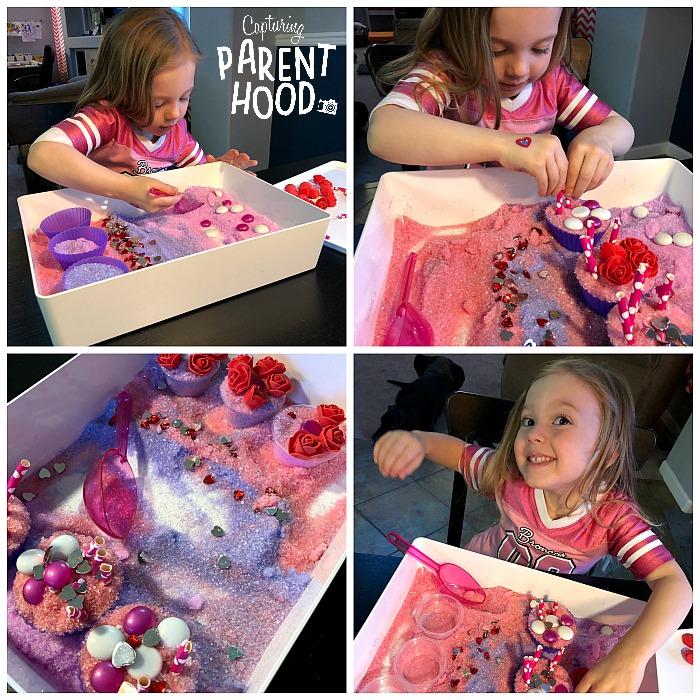
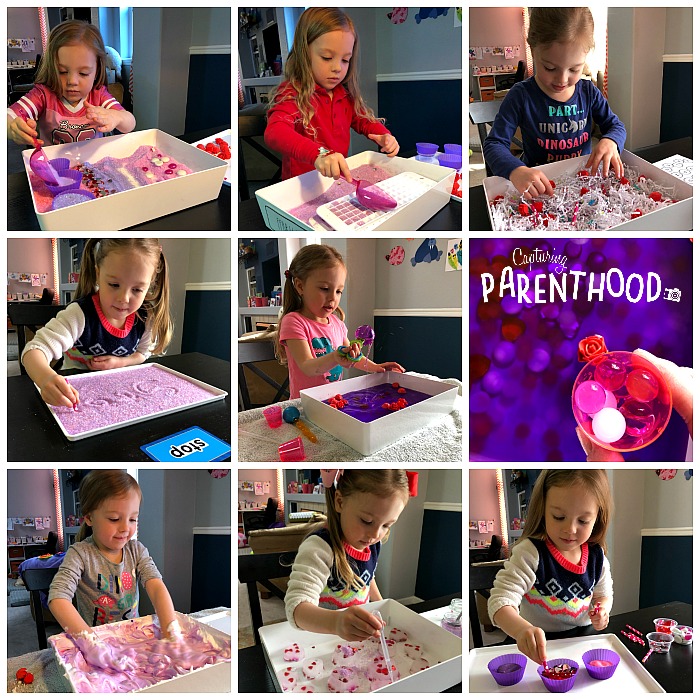
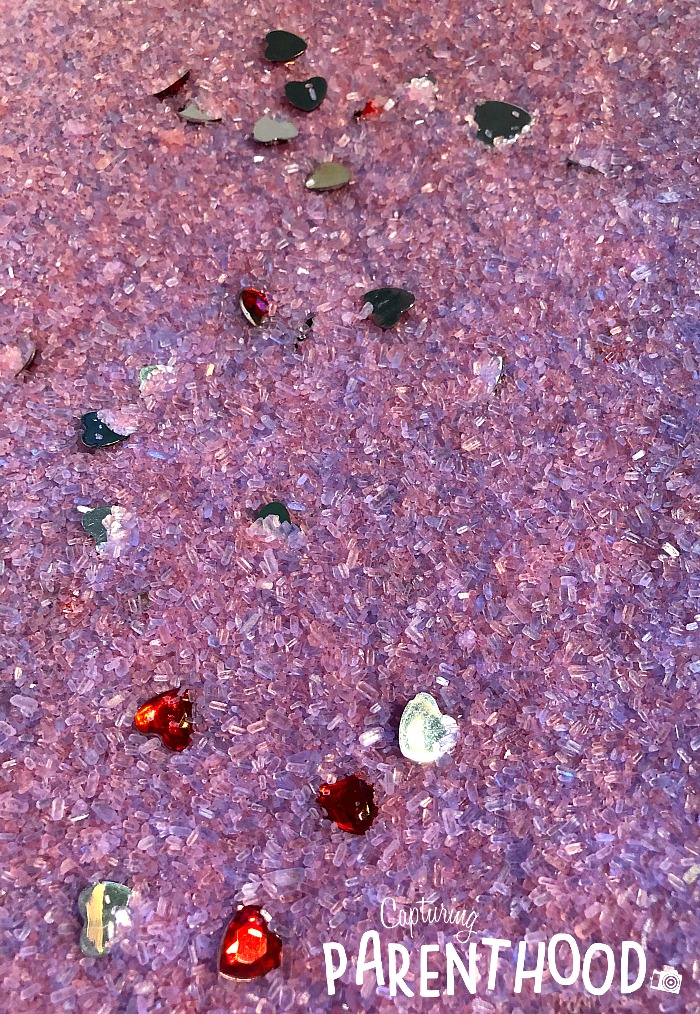
Our little nugget dove right into this bin, and the first thing that she went for was the pink scoop. It didn’t take long before she was whipping up her very own batch of valentine cupcakes! She scooped the colored salt into the silicone cupcake liners, topped them with the gems and foam roses, and stuck the paper straws in (as candles, of course) for the finishing touch. She was fully engaged for over an hour – scooping, pouring, and decorating. And she would have continued on, if we didn’t have to stop and eat dinner. Side note – these bins are perfect when you need to keep your kiddos busy while you prep a meal.
I loved sitting back and watching our daughter’s creativity run wild! And in case you’re wondering how our daughter felt about the sensory bin…it happened to be the very first thing that she asked for the next morning. 🙂
Ice Cube Tray Scoop & Sort
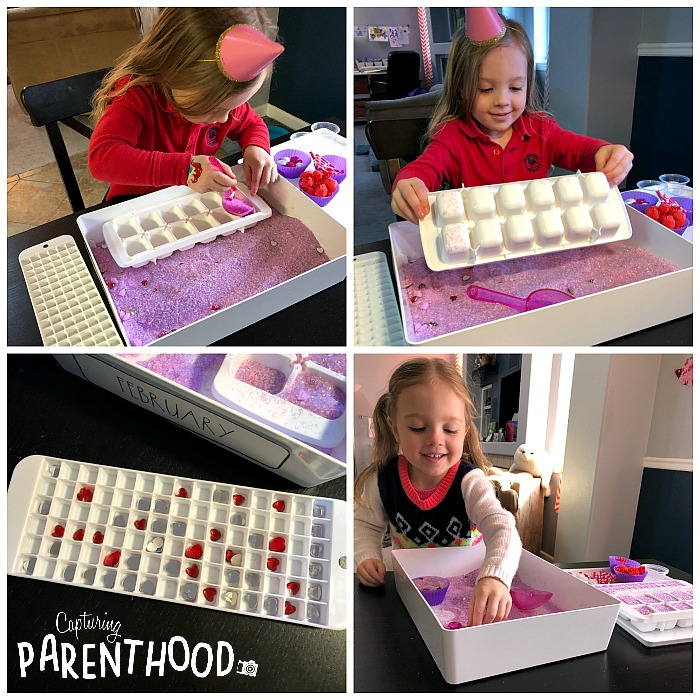
Since our daughter was having so much fun scooping and pouring the colored salt, I figured I would add another component – a couple of ice cube trays. As it turned out, our mini (square) ice cube tray was perfect for sorting the heart gems. Thus, a small-scale archaeological dig began. She carefully scooped and dug through the salt until she found a heart, and then she carefully placed each heart into one square in the tray – a great fine motor skills activity!
But, her absolute favorite way to utilize the ice cube trays was to fill them, and then tip them over to release a cascading waterfall of colorful salt! Over and over and over again. 🙂
Valentine Search-and-Find
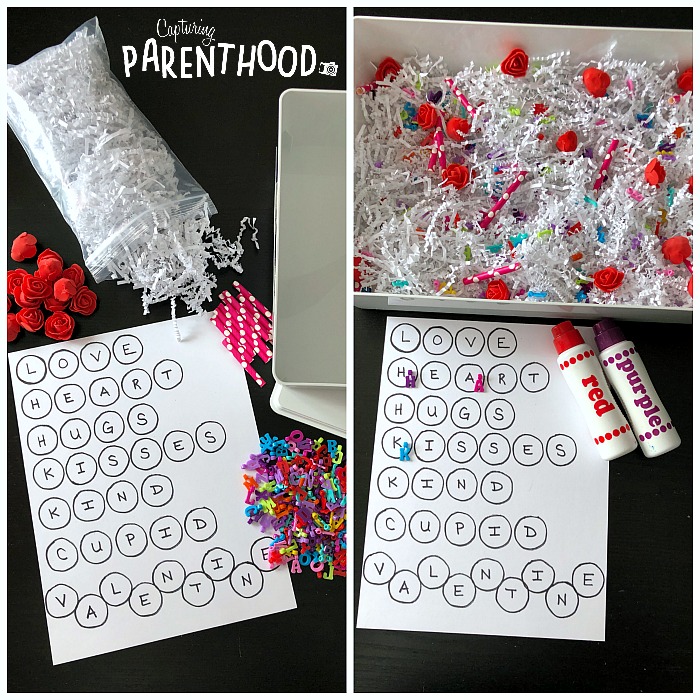
That crinkly packing paper? It’s time to put it to good use with a Valentine Search-and Find! For this activity, I wrote several valentine-themed words on a piece of paper and paired it with some Do-A-Dot markers. I dumped all of the crinkly packing paper back into the bin, along with some letter charms, the foam roses, and the paper straws. And then I mixed it all up into one colorful mess.
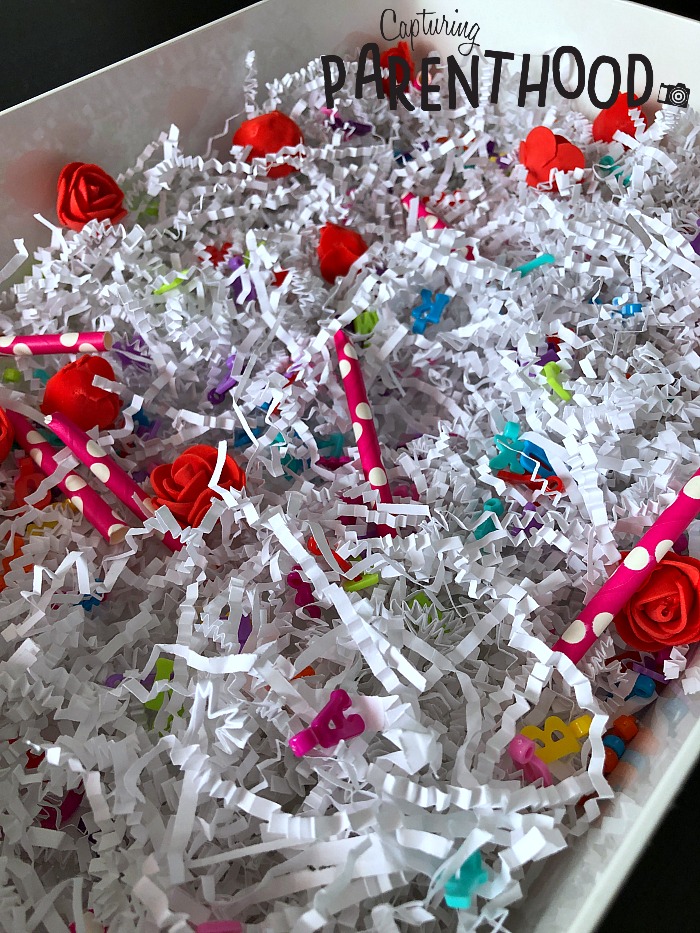
Our daughter’s task was to dig through all of the paper to find various letters of the alphabet. Once she found a letter, she would check to see if it appeared on her sheet of valentine words. If the letter appeared, she would dot it on her sheet with a dot marker. If it was not part of a valentine word, she would set the letter aside. Once all of the letters on her sheet of paper were dotted, her mission was complete!
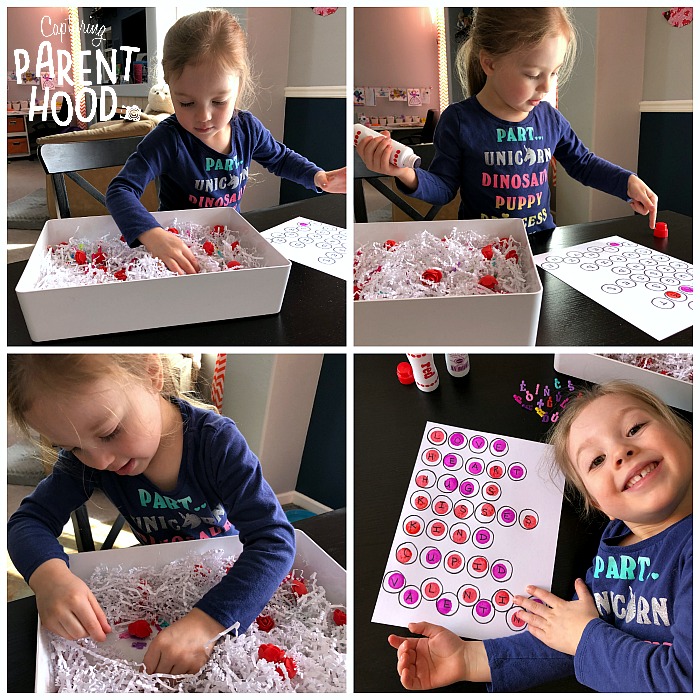
Our little nugget had the best time sifting and sorting through the bin to find all of the letters that she needed. And she absolutely loved squishing all of the crinkly paper – so make sure not to overlook this incredible sensory material. As a parent, I loved this activity because it combined the fun of the sensory bin with some letter recognition practice and the opportunity to learn a few new words!
Salt Tray Sight Words
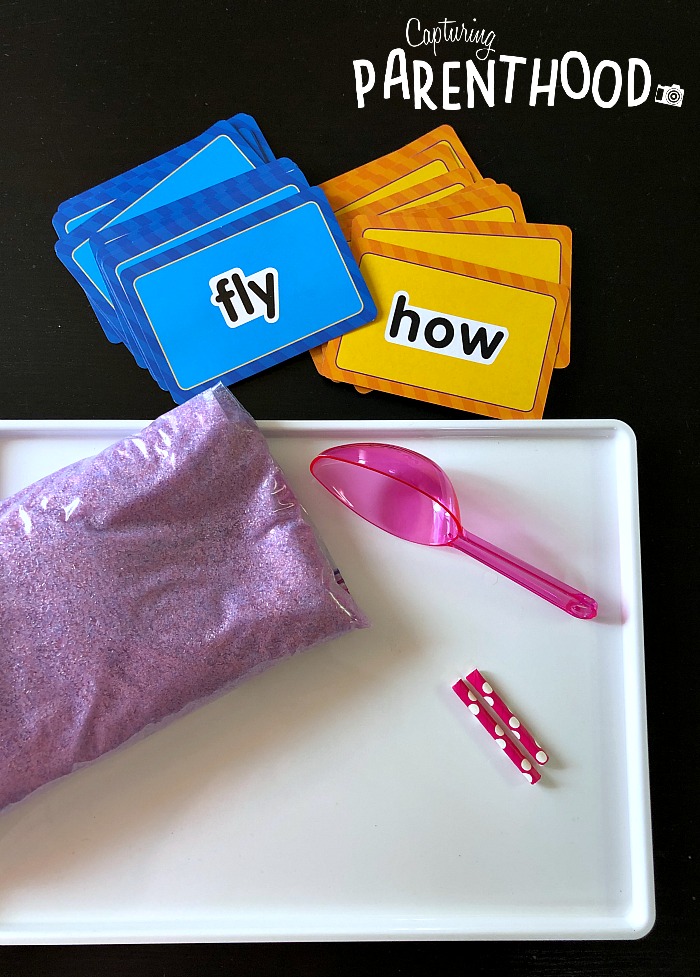
Combining sensory play with an educational activity is a great way to make learning more fun. And as you already know, I’m a big believer that if you make it fun, the lesson is more likely to stick. 🙂 Since we’ve been practicing our sight words lately, we obviously had to set up a Salt Tray Sight Word activity. In fact, I just shared this in our Preschool Reading – Learning Sight Words post last week.
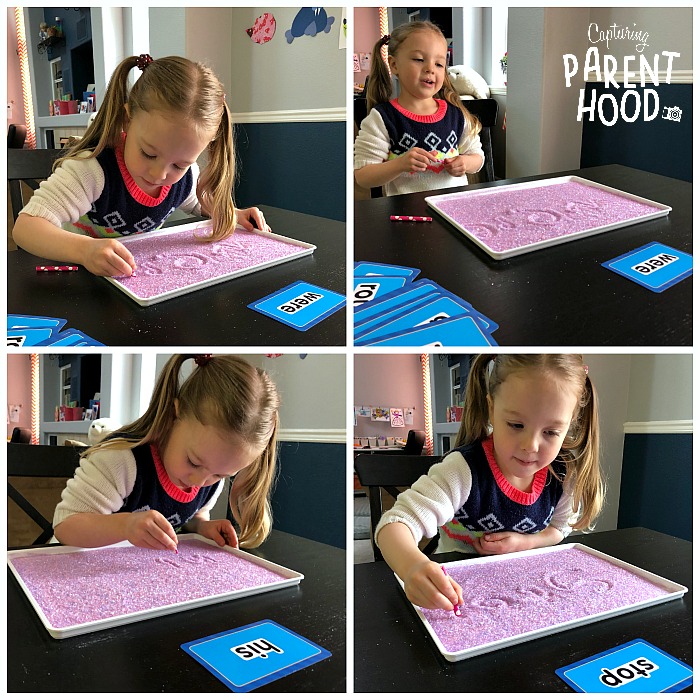
We utilized the sensory bin lid for this activity and it worked like a charm! We scooped some colorful salt into the lid and spread it around until we had a nice even layer. I would then place a sight word above the tray, and our little nugget would use one of the paper straws (or her finger) to write the sight word in the salt. Gliding your fingers through salt feels amazing and our little nugget thoroughly enjoyed getting creative and drawing her very own designs in the salt…once our sight word activity was finished. You can utilize this same method to practice letters, numbers, name recognition, and more! P.S. The salt writing tray was one of the ideas that Katy shared with the bin.
Water Bin
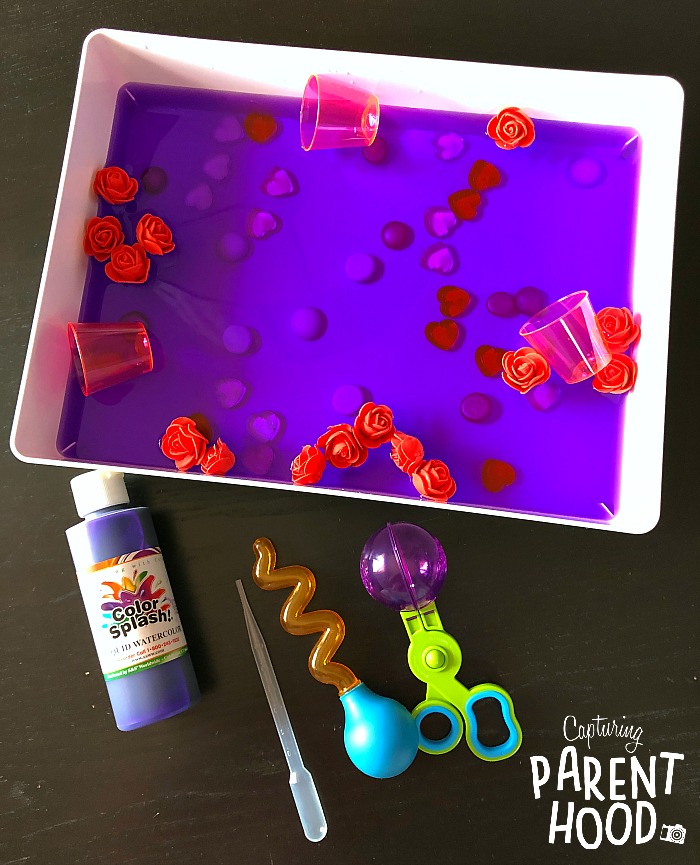
Another one of Katy’s spectacular ideas was to create a water bin. We can seriously never go wrong with a water sensory bin – they are always a big hit in our house. For this activity, I mixed some water with a few drops of purple liquid watercolor paint to create a gorgeous valentine-inspired hue. I added in the glass gems, the foam roses, some heart table scatter and a few pink plastic cups that I already had on hand. You could also use the little heart gems and the silicone cupcake liners (ours were preoccupied in the freezer, for another activity that you will see below). We paired the water bin with the pipette from Katy, and a couple of our favorite water tools from Learning Resources.
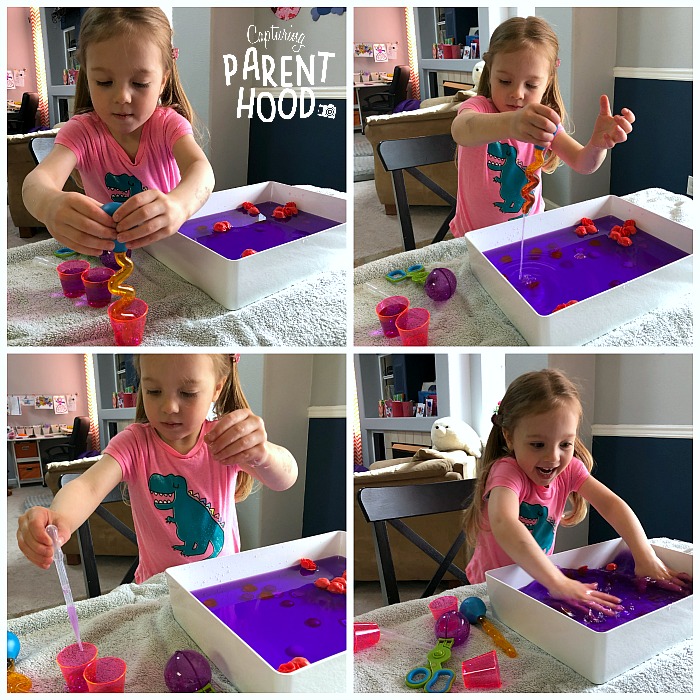
Our little nugget was obsessed with sucking the water up into the pipettes and transferring it into the little plastic cups. And she loved scooping up all of the roses and gems…and splashing around, of course. 🙂 It was also fun to test her sink and float predictions for the various components. I personally loved the look of the gems sitting in the bottom of the bin, while the red roses floated around on the top!
Water Bead Bin
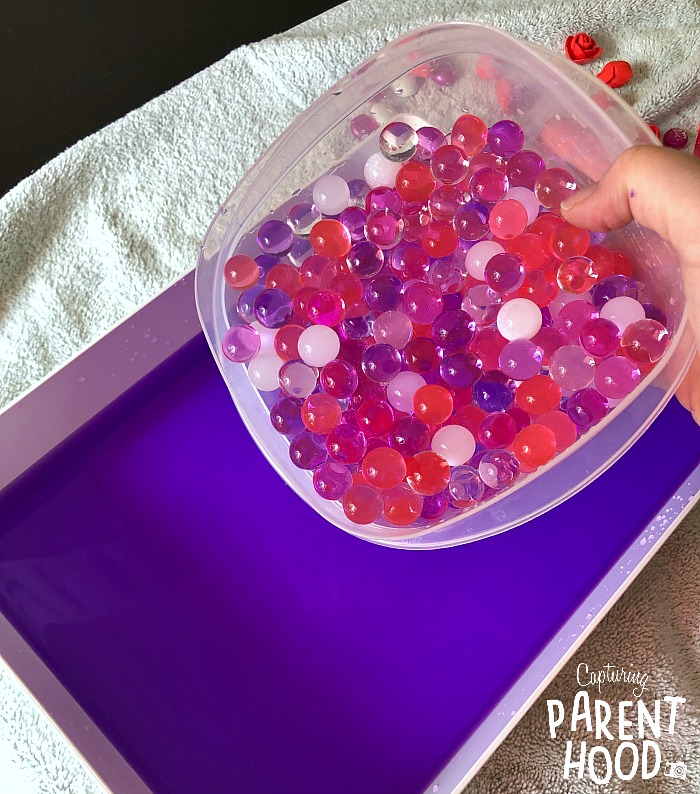
Our fun with the water bin didn’t stop there. We decided to add in one of our all-time favorite sensory materials…water beads! It’s so great to be able to revitalize an activity just by adding one new component. And we got a little sorting practice in beforehand, when we decided to sort through our supply of hydrated water beads, to remove all of the valentine colors.
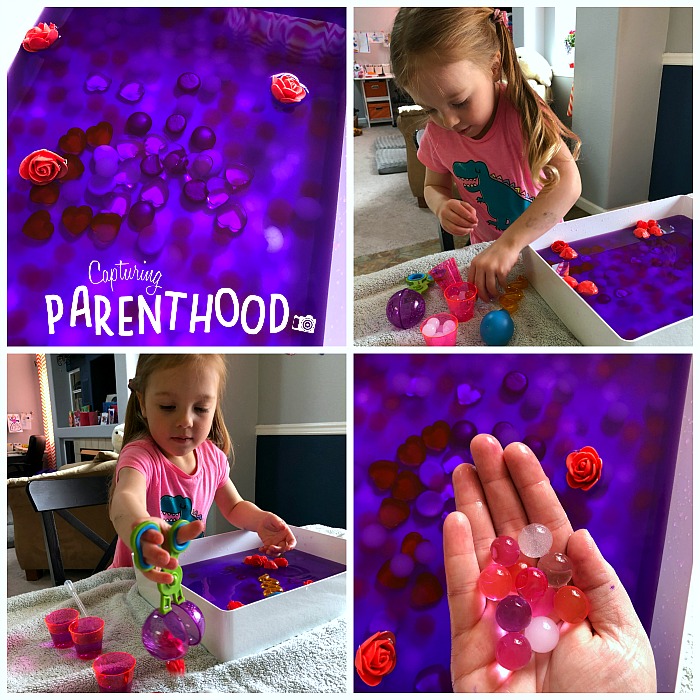
I seriously could not get over how gorgeous this bin looked! It was truly mesmerizing! The water beads added another element that could be scooped, transferred, swirled, and squished. This is what sensory dreams are made of. 🙂 Our little nugget even continued her water bead sorting mission, by separating each color into its own little plastic cup.
Shaving Cream Bin
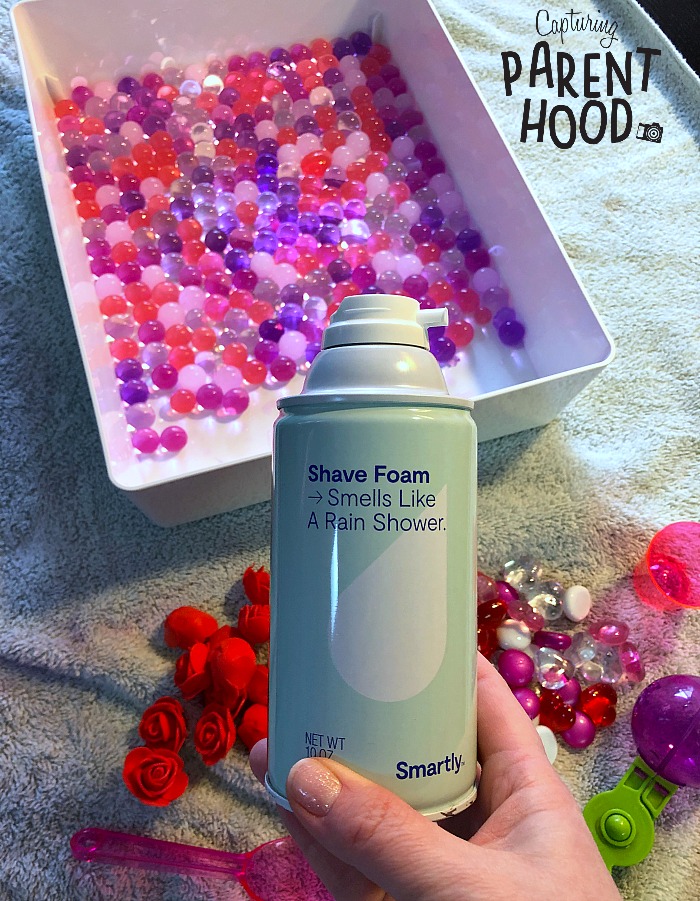
When it was time for another sensory bin switch, we decided to drain the purple water and keep the water beads. We pulled out another one of our all-time favorite sensory materials – shaving cream – and went a little crazy!
Our little nugget loved swirling the water beads around in the shaving cream! She added the gems and roses back into the mix. And I added a bit of water to make everything a bit more fluid (so she didn’t have one big blob of shaving cream stuck on her hands the entire time). After playing for a bit, our daughter asked for some color, so I added a couple of squirts of red and purple liquid watercolors, and she mixed it all together!
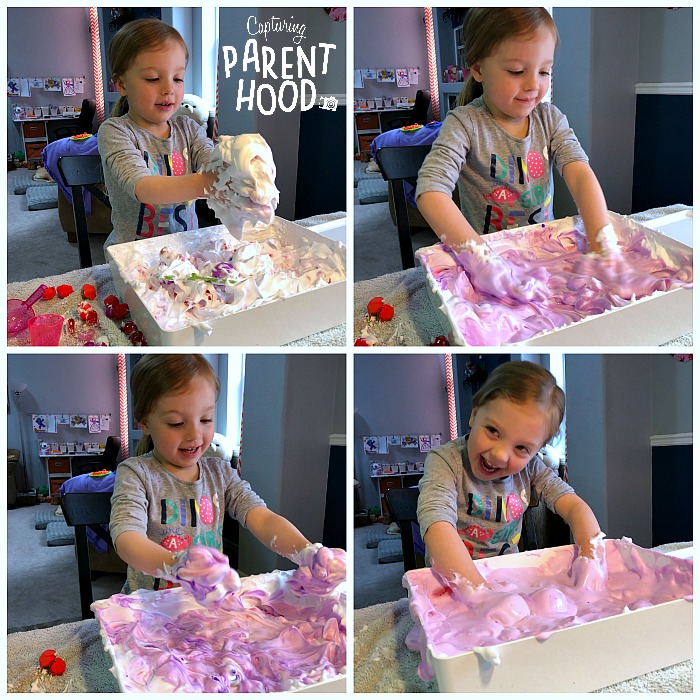
The smile on her face, while she played with this shaving cream bin, truly says it all. 🙂
Salt & Ice Excavating
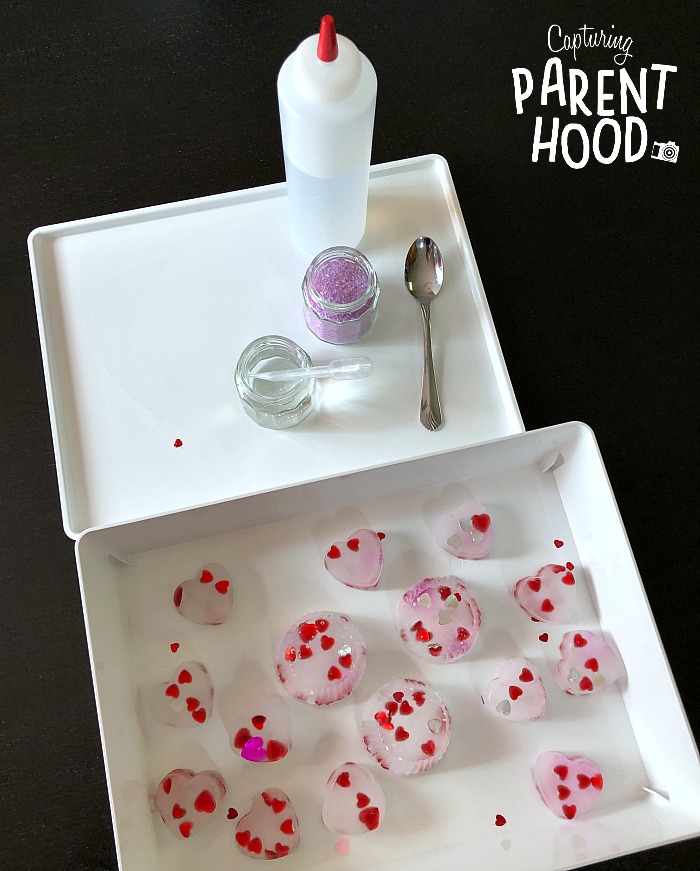
I mentioned before that our heart gems and silicone cupcake liners were preoccupied in the freezer (along with our heart silicone mold) – and this Salt & Ice Excavating activity is the reason why. This is another one of Katy’s fabulous ideas! We filled our cupcake liners and our silicone heart mold with water and placed them on a baking sheet. We then dropped our heart gems (and some heart confetti that I had on hand) into each mold and popped them into the freezer.
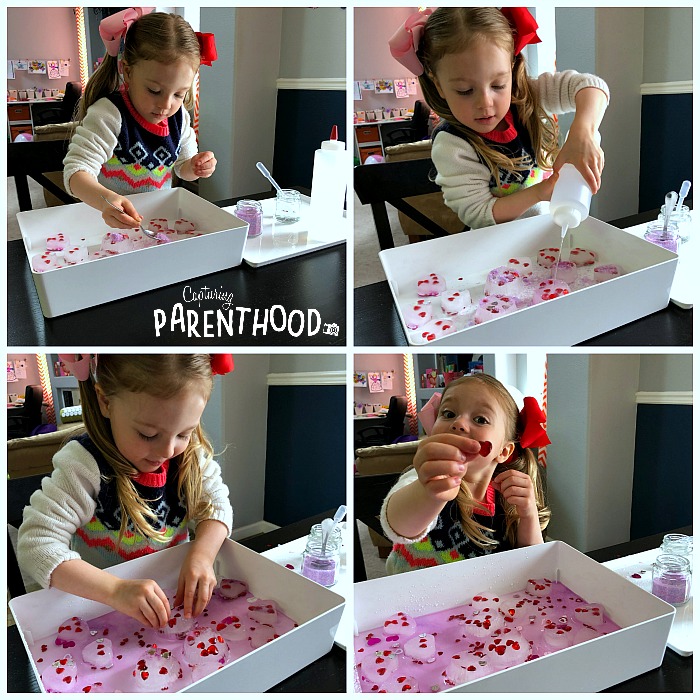
Once frozen, we carefully popped them out of their molds and placed them into our empty sensory bin. We set a jar of colored salt, along with a jar of warm water (and a pipette), on the side. I also added a squeeze bottle of warm water, since our little nugget loves using them so much. The goal of this activity was to melt the ice, and excavate and extract as many hearts as possible. The addition of the salt causes the ice to melt faster, because when you add salt to ice you raise the temperature above the ice’s melting point.
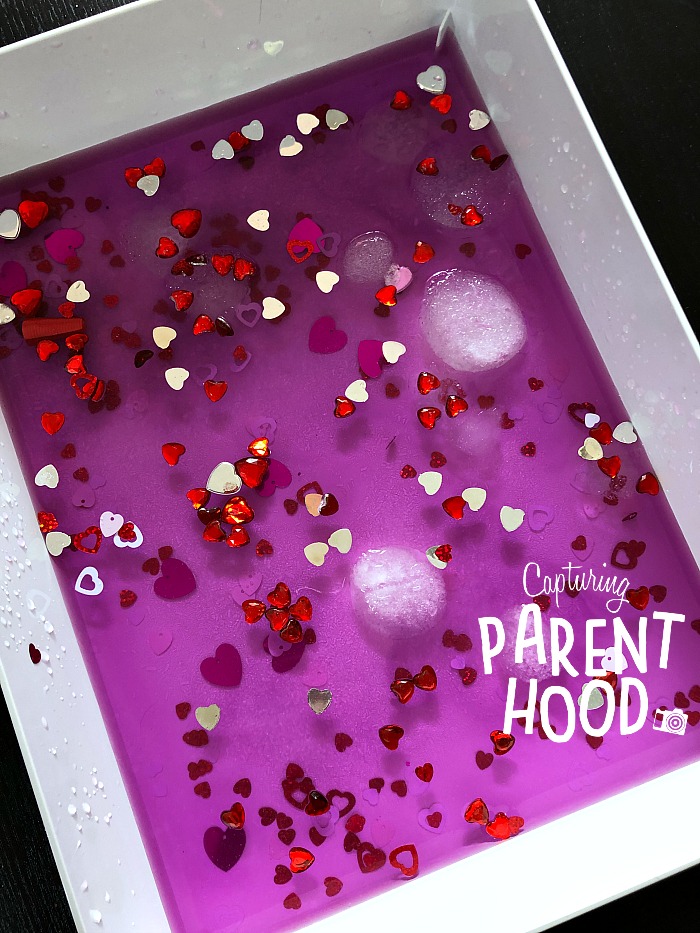
Our little nugget would scoop colored salt on top of every piece of ice and then she would go back over each of them with warm water (either from the pipette or the squeeze bottle). As the ice began to melt, she was able to use her fingers to extract the hearts. And just look at how stunning the bin looked when all of the ice (ok…most of the ice) had melted.
Playdough Cupcakes
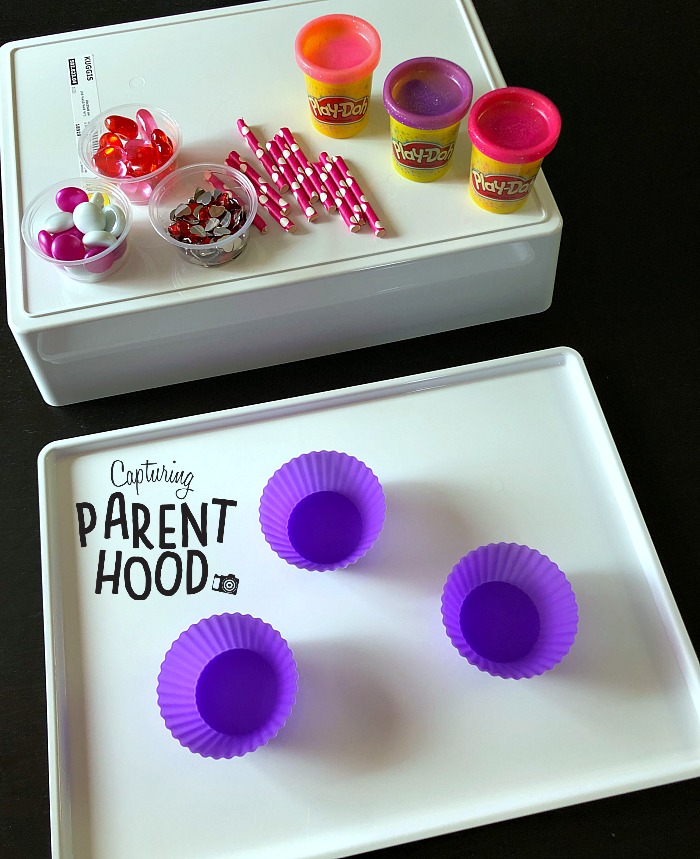
Since our little nugget loved creating cupcakes with the colored salt so much, I figured I would switch up one of the elements and let the fun continue! And so I swapped out the salt for some pink and purple glitter playdough – because you can never go wrong with sparkly cupcakes.
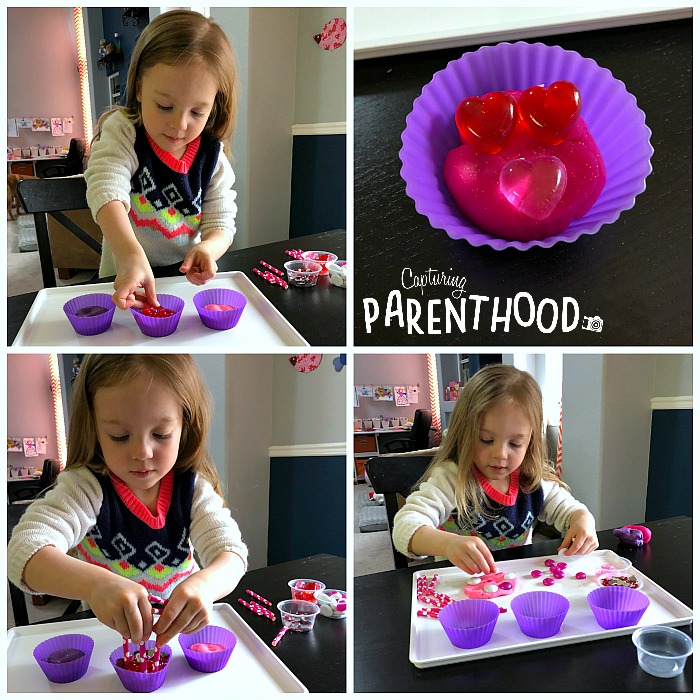
There’s also something incredibly satisfying about squishing things into playdough. Our little sensory explorer enjoyed pressing all of the gems, hearts, and paper straws down into the playdough. And she giggled every time that she pulled a straw back out, and noticed that the playdough was still stuck inside. 🙂
And there you have it…the nine incredibly fun and engaging ways that we utilized our February Wolfpack Sensory Bin, that we purchased from Katy at @prekwolfpack. We absolutely loved this bin – the color combinations were amazing, all of the components sparked creativity and imagination, and the activities were thoroughly engaging. Our family was under the weather for the majority of February and this sensory bin was a complete lifesaver!
If you would like to get your hands on a Wolfpack Sensory Bin (or if you are interested in finding some other inspiring ideas for your preschooler) make sure to follow Katy on Instagram. Her March bins are already sold out, and she has yet to share the release date for her April bins, but she always gives plenty of advanced notice.
On that note, our March bin just showed up in the mail a couple of days ago, and we can’t wait to play with it!!! We will make sure to share all of the fun we are having in our Instagram stories, if you want to follow along.
