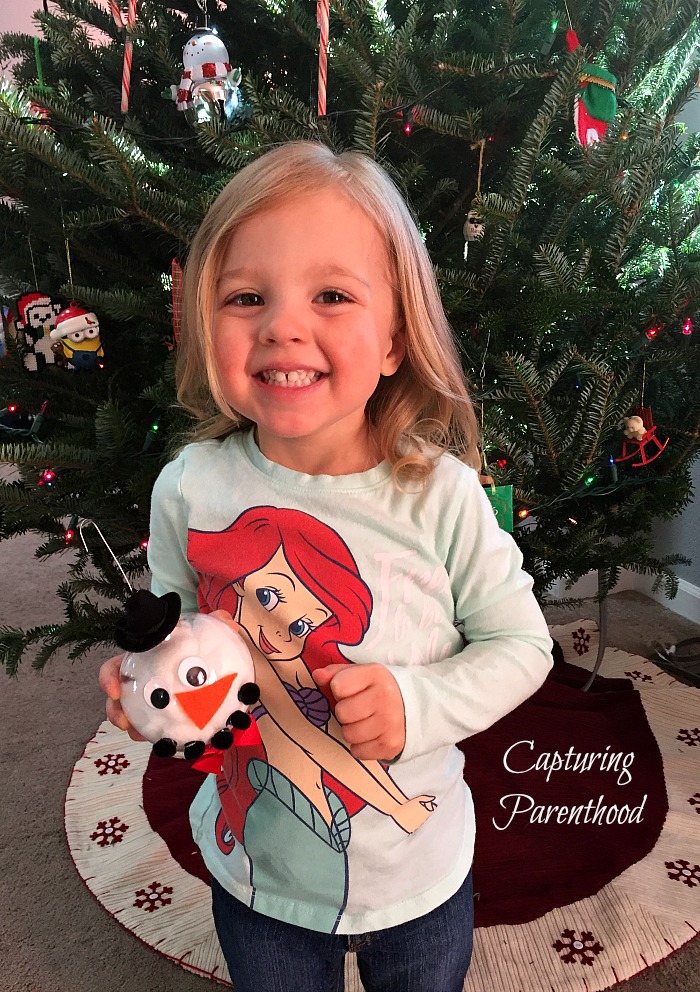
I have fond memories of crafting various Christmas ornaments each year of elementary school. In fact, some of my elementary school ornaments grace our family Christmas tree today, since my mother passed them along to me several years ago. And guess what? I still love crafting Christmas ornaments…but now it’s even better, because I get to share the experience with my daughter! We had the best time creating these Simple Snowman Ornaments this year!
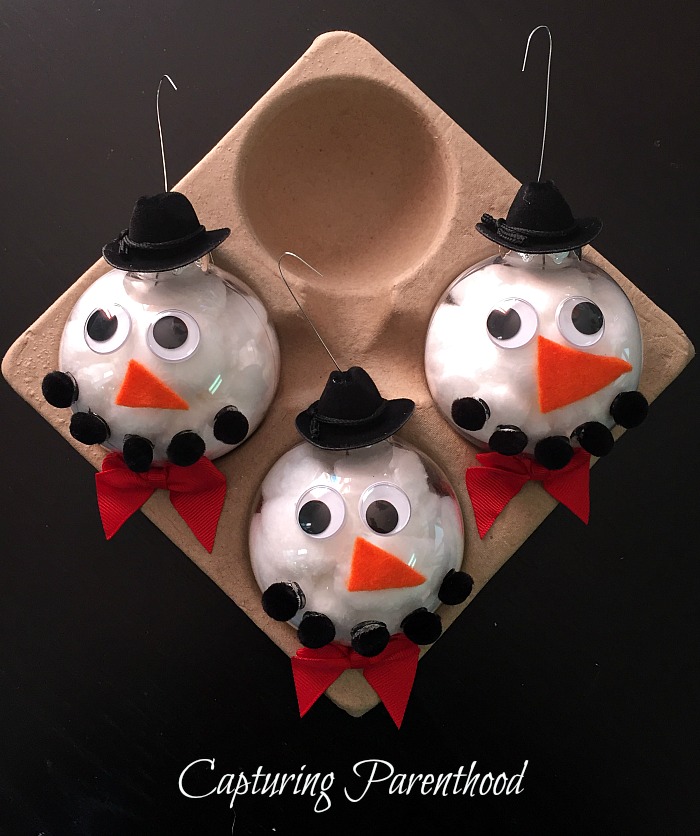
Our ornaments were inspired by this Easy (Adorable) Snowman Ornament for Kids to Make post, over on Happy Hooligans. And we decided that they would make the perfect gifts for our little nugget’s preschool teachers! I’m sure grandparents (as well as other family members, friends, neighbors) would also love to receive a special handmade Christmas ornament from your little ones. In fact, this Thursday, we will be sharing the sparkly (and festive) ornaments we recently made for grandparent gifts. But first…let’s focus on these cute snowman ornaments!
Simple Snowman Ornaments
Supplies:
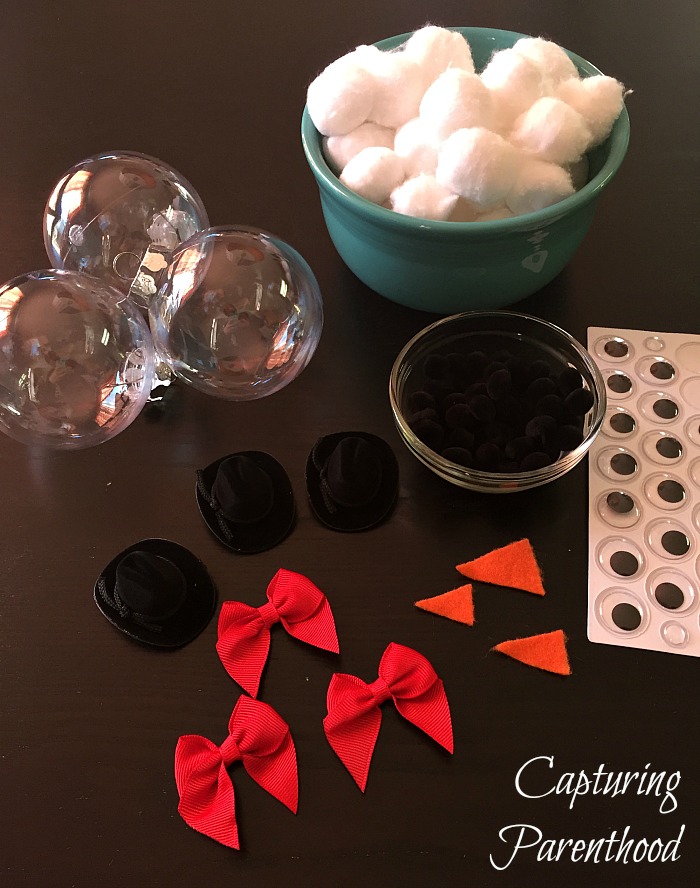
- Clear Ball Ornaments (I recommend using the non-breakable plastic version, if you’re working with small children. I found ours at the Dollar Spot in Target)
- Cotton Balls
- Googly Eyes
- Orange Felt
- Mini Black Poms
- Small Black Hats (I ended up using black cowboy hats, because all of the top hats at Hobby Lobby were way too big)
- Red Bows (I went with bows, because adhering a scarf to the bottom of a round object is tricky)
- Ornament Hooks
- Hot Glue Gun
- Scissors
- Box-Cutter
Instructions:
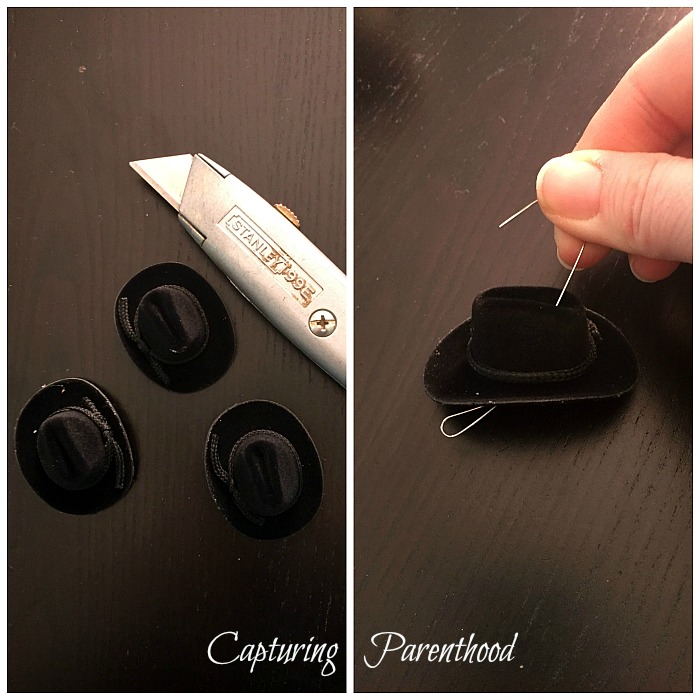
- Start by gently removing the metal tops to the ornaments, and set aside.
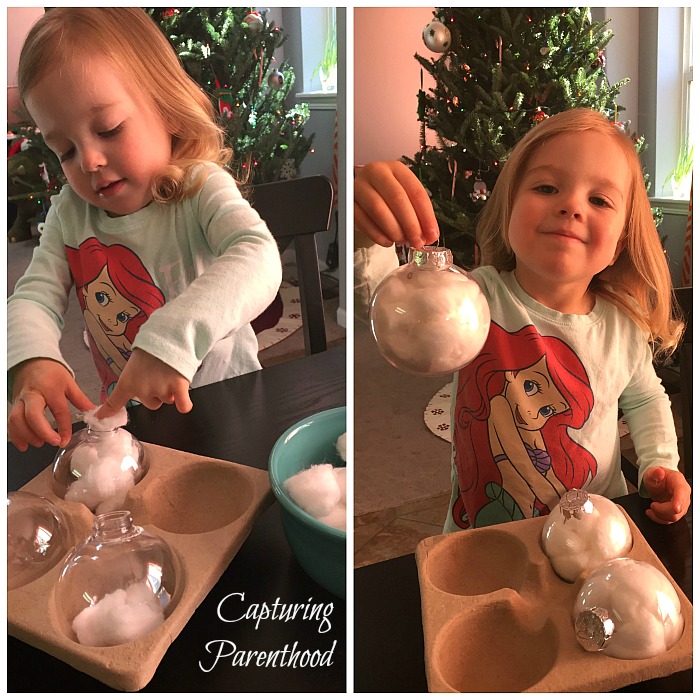
- Have your little ones stuff the ornaments with cotton balls, until the ornaments are full.
- While your kiddos are busy stuffing the ornaments, gently create a small slit into the top of each hat, using the box-cutter. Slide an ornament hook through each small slit.
- Once the ornaments are filled, gently attach the metal tops of each ornament.
- Cut some small triangles out of the orange felt (for the carrot noses).
- Now, it’s time to start gluing! Make sure to warn your kiddos about the hot glue, and demonstrate how to gently apply the snowman decorations without touching the glue, so they avoid getting burned.
- Start by gluing on the googly eyes…then move to the carrot noses. To create each snowman’s smile, simply dot (approximately five) dabs of glue below each carrot nose, and apply a mini black pom to each glue dot.
- Carefully apply a small dab of glue to the top part of each bow, and gently adhere the bow below the snowman’s mouth, on each ornament.
- The final task is gluing the hats to the top of the ornaments. First, attach the bottom of the ornament hooks to the rings on the top of each ornament. Then carefully apply an adequate amount of hot glue to the underside of each hat. Gently slide the hat down the hook until it is in place on the top of ornament. Press firmly to insure that the hats are secure.
- Set aside to allow all of the glue to dry.
- As a final flourish, I grabbed a Sharpie marker and wrote our little nugget’s name (along with the year), on the top (backside) of each ornament.
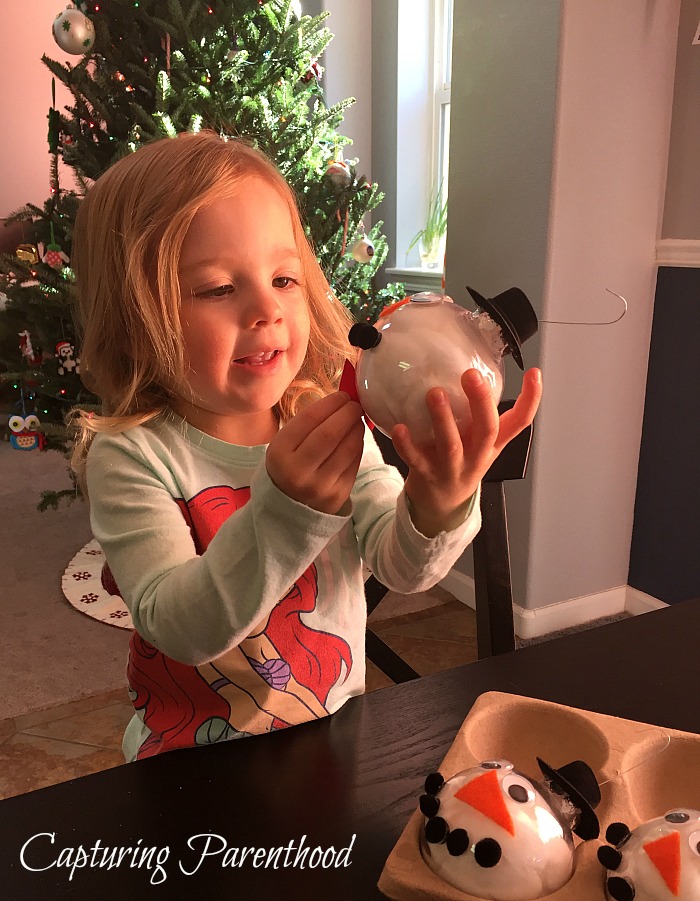
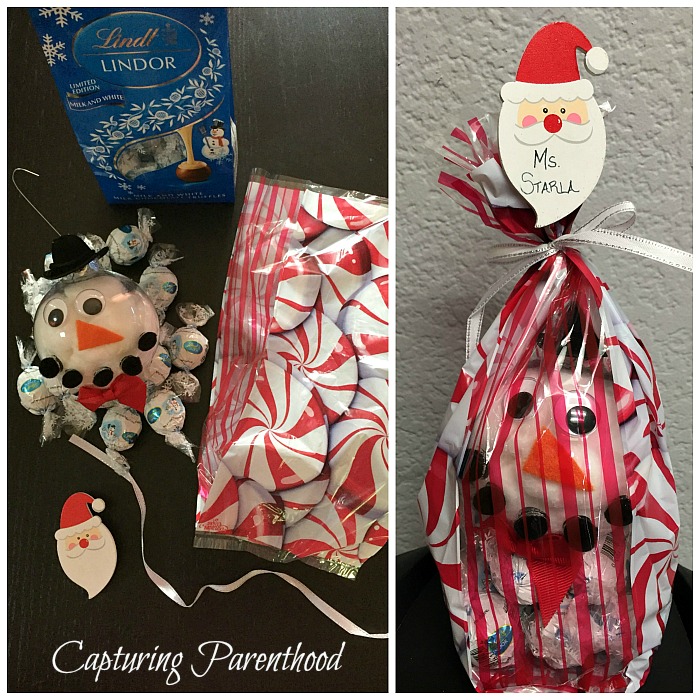
Since we decided to give our snowman ornaments as teacher gifts this year, we packaged them up in a festive cellophane bag (along with a handful of Lindt’s White & Milk Chocolate Snowman LINDOR Truffles)! Yum!
I’m sensing a recurring snowman teacher-gift theme…last year we made these adorable Yogurt Pretzel Snowman Jars for our teacher gifts. 🙂 They were also a huge hit!
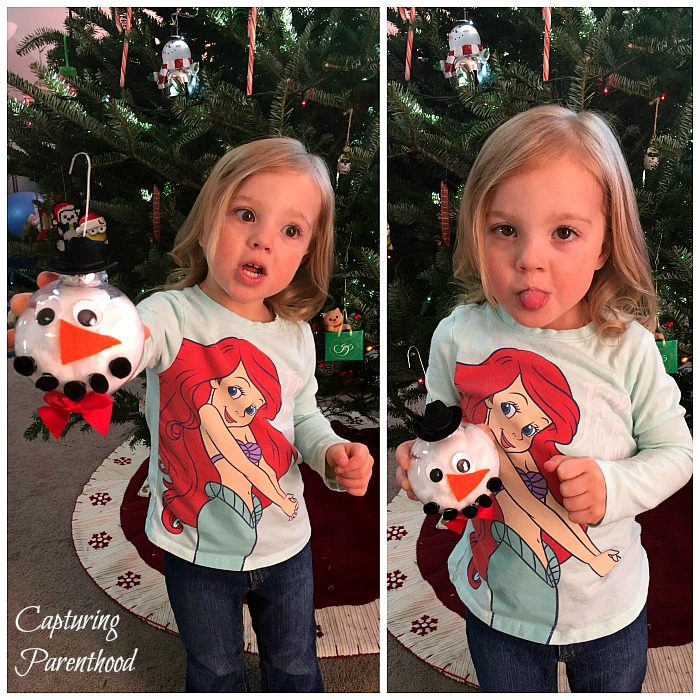
Any day that I get to sit down and create something with this silly little nugget…is a good day! She is the greatest gift I’ve ever received. She is my everything!
HAPPY HOLIDAYS!
