I remember being obsessed with making my own necklaces and bracelets when I was a little girl. I’m pretty sure every member of our family had at least one handmade friendship bracelet (my mom had several). I’ve noticed over the past couple of years, that our little nugget is fond of this activity as well. She absolutely loves making edible necklaces out of various breakfast cereals (probably because she gets to eat them afterward). And she also had a great time placing red, green, and clear craft beads on a string, to create her very own jingle bell necklace during the holidays. So, when I came across remarkable color-changing UV beads online, I added them to my cart immediately. What could be a better summer project than creating our very own jewelry that magically changes color in the sun (and glows in the dark)?!?
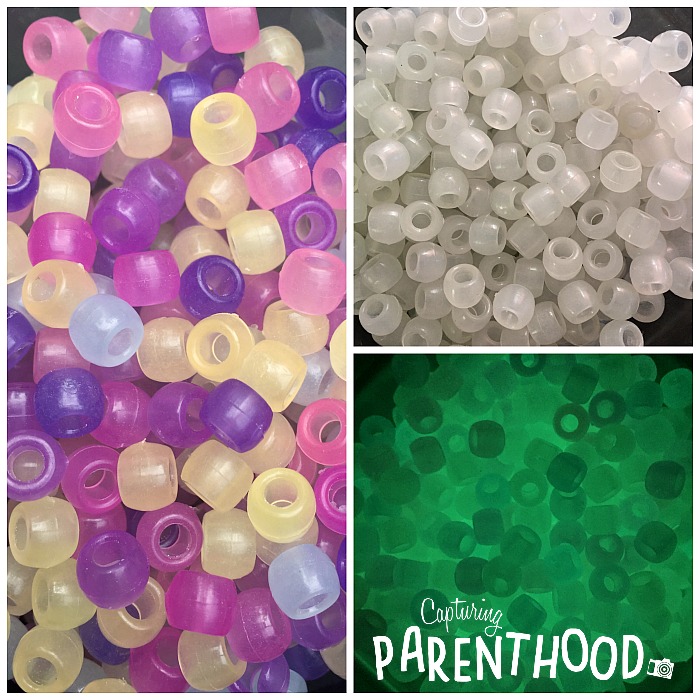
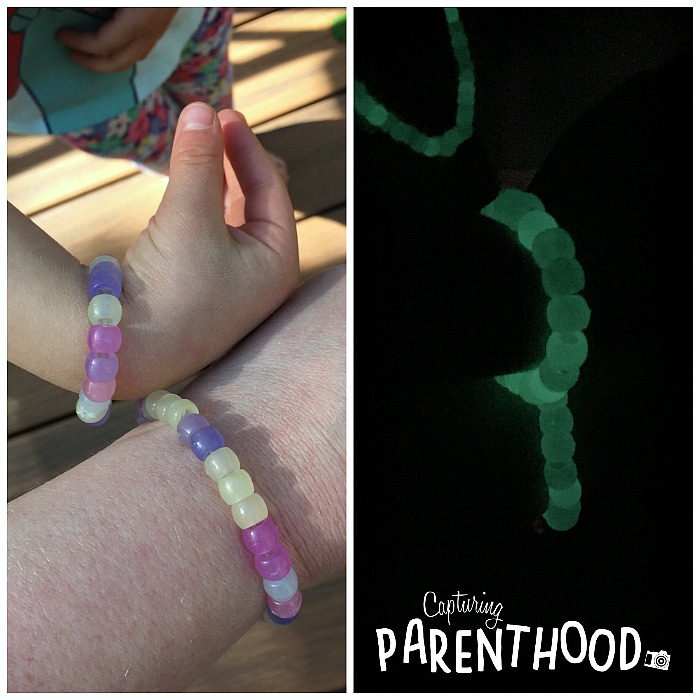
I had never seen anything like these color-changing UV beads before, and I became smitten right alongside our daughter. The best part is that the color-changing effects are quick…as soon as you step out into the sunshine, the beads begin to turn purple, pink, and orange. They turn back to their basic white just as quickly. And what child doesn’t have an appreciation for all things glow-in-the-dark? Our little nugget is constantly running into the bathroom, and closing the door, to see her glowing necklace in action. 🙂
Stringing beads onto a jewelry cord also provides ample fine motor skills practice. It takes a bit of focus and hand-eye coordination to get all of those beads onto a tiny string. It’s an activity that our little nugget is always happy to complete…though I’m sure it helps that she gets to wear the finished product.
Color-Changing UV Bead Jewelry
Supplies:
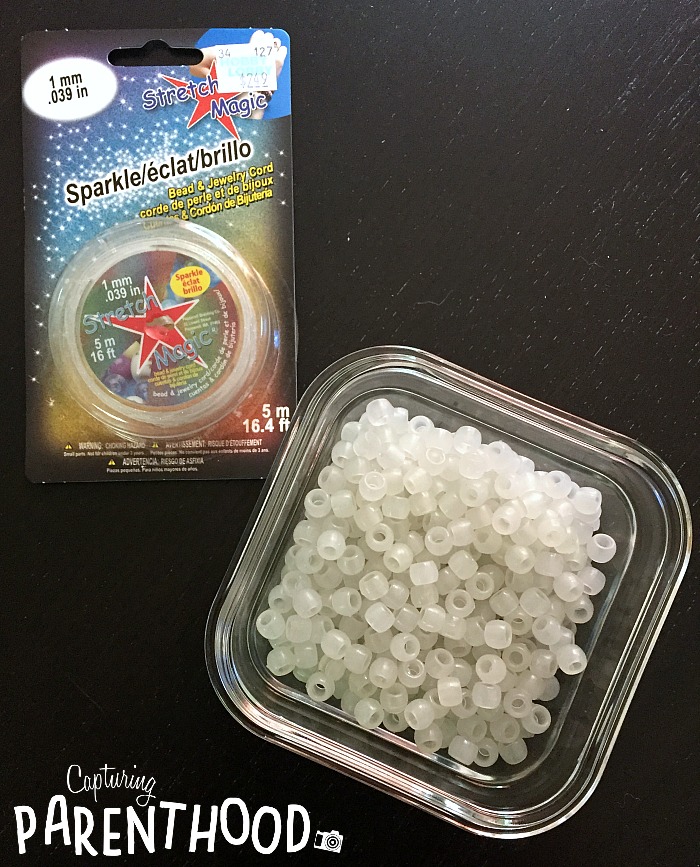
- Color-Changing UV Beads
- Stretch Magic Bead & Jewelry Cord (I prefer to use stretchy materials when making children’s jewelry, because kids seem to prefer being able to put jewelry on all by themselves. That being said, you could also use string, yarn, etc.)
Instructions:
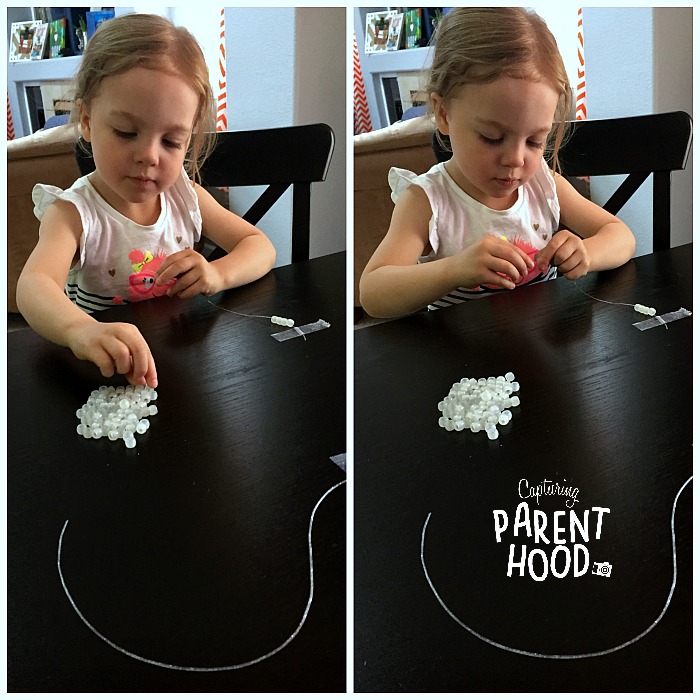
- Cut enough of the jewelry cord to create the article of jewelry that you desire to make, plus a bit extra for tying.
- Tape one end of the jewelry cord to a table, or other flat surface. This ensures that the beads stay put, and don’t come sliding off the other end, when the kiddos are creating their beautiful jewelry.
- Have your kiddos string as many color-changing beads onto the cord as they would like. We chose to fill our necklaces and bracelets to the brim. 🙂
- Once they are finished stringing beads, remove the taped-down end, and tie to secure. I found that tying the cord in a knot a few times over, and then placing a small dab of Elmer’s glue on top of the knots, worked like a charm.
- Once the glue has dried, put your jewelry on and dash outside…or into a dark room! Enjoy!
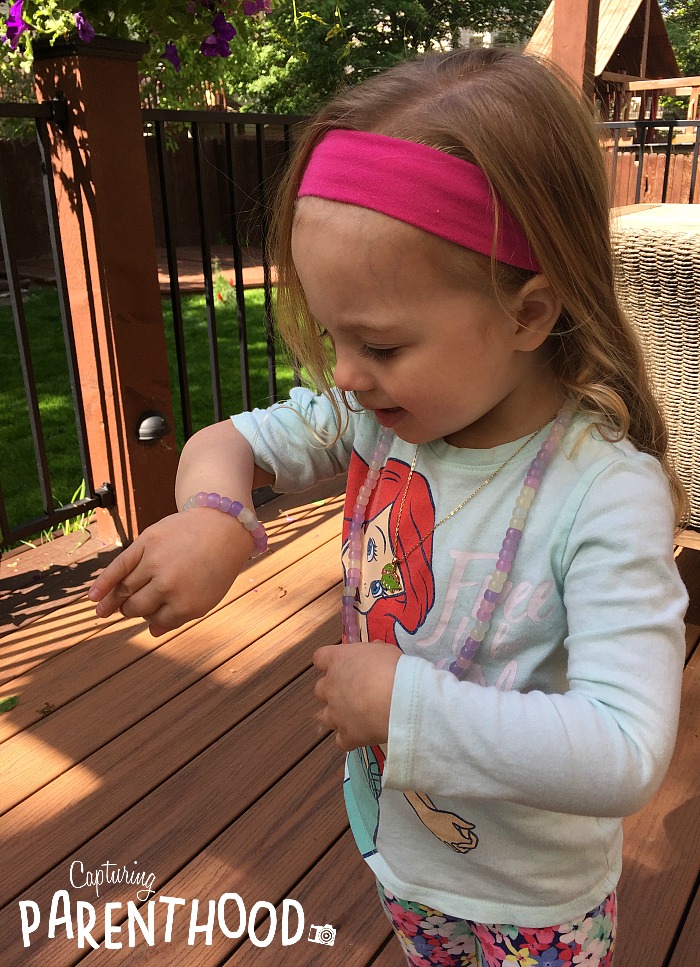
Our little nugget is still thrilled about these color-changing beads. She shows them to every single one of our house guests, and she even made sure to make a necklace for her daddy.
Now, I’m intrigued to discover if these beads will retain their color-changing magic, if we melt them down into craft bead suncatchers. I think we may have our next project all mapped out. 🙂


