I don’t know about you, but when the weather turns warm, my breakfast cravings change. I’m less inclined to seek out a hot breakfast…but I still want something quick and easy, healthy, and energizing. These Summertime Breakfast Bowls are the perfect solution!
These three delicious and filling breakfast bowls are a great way to kick-start your day. And while I mostly enjoy the chilled temperatures of these breakfast bowls during the summer months, they are equally delightful throughout the remainder of the year.
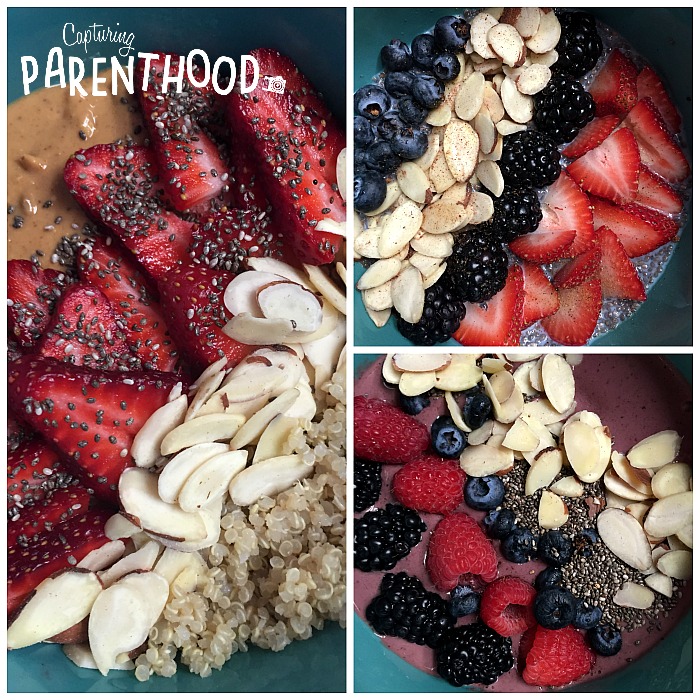
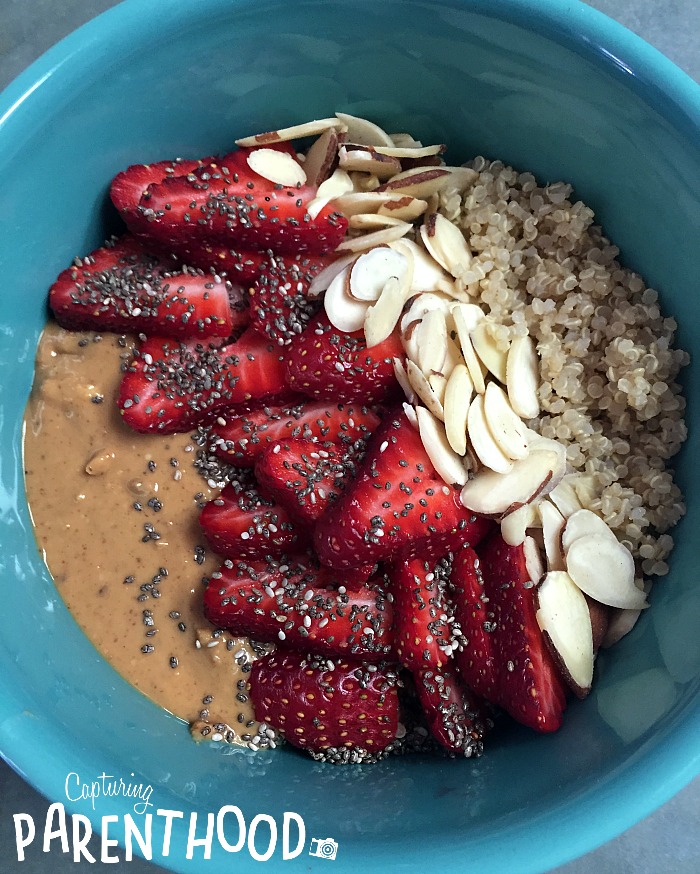
Quinoa Breakfast Bowl
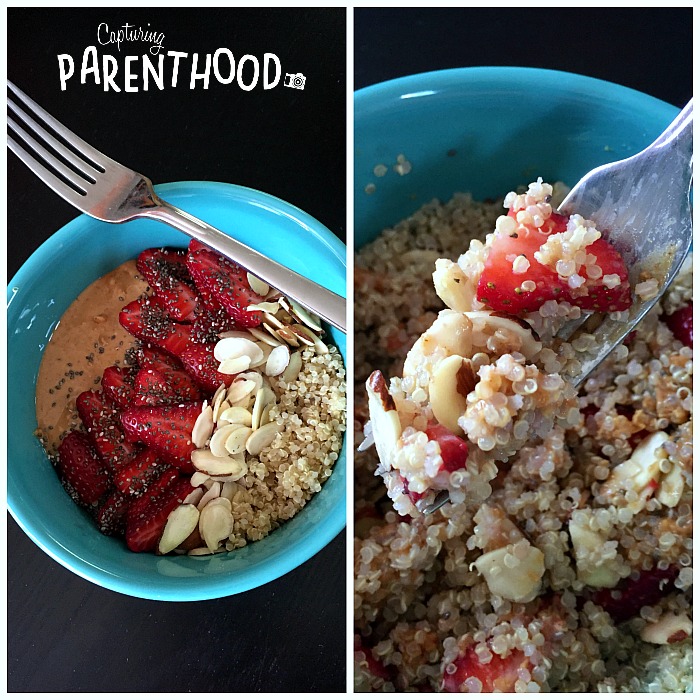
I’m sure most people would not categorize quinoa as a breakfast food, but I must say that this quinoa breakfast bowl is my absolute favorite (though it may be because it also contains peanut butter and strawberries). 🙂
Quinoa is an ancient grain that is classified as part of the amaranth family. It’s popularity has sky-rocketed over recent years due to its vast array of health benefits. Quinoa is a protein-packed whole grain that contains every single amino acid. It is an excellent source of iron, magnesium, vitamin E, potassium, and fiber. So clearly, it’s a great way to start your day! And with a nutty-like flavor, it pairs perfectly with a creamy peanut or almond butter.
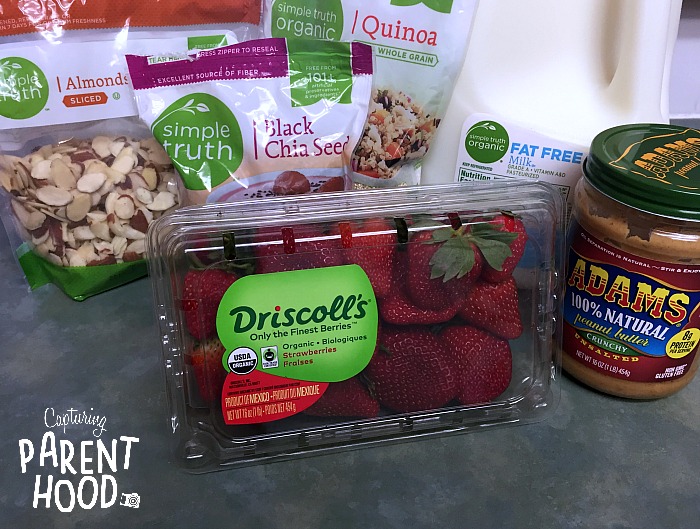
Ingredients:
For the Quinoa:
- 1 Cup Quinoa (this will make enough for approximately 4 bowls)
- 2 Cups Water
For the Breakfast Bowls:
- 1 Cup Cooked Quinoa
- 2 Tbsp. Natural Peanut Butter, Almond Butter, or other Nut Butter
- 4-5 Strawberries, Sliced
- 1/4 Cup Sliced Almonds
- 2 tsp. Chia Seeds
- Splash of Milk
Instructions:
For the Quinoa:
- Combine 1 cup of quinoa with 2 cups of water, in a medium saucepan. Place over medium-high heat and bring to a boil. Once boiling, give one quick stir and cover with a lid.
- Reduce the heat to medium-low and cook for approximately 15 minutes, until all of the water has been absorbed.
- Remove from heat, and fluff with a fork. Let stand, covered, for 5 more minutes.
For the Breakfast Bowls:
- Spoon 1 cup of cooked quinoa into a bowl. Top with the nut butter, sliced strawberries, sliced almonds, and chia seeds.
- Add a splash of milk, and serve!
The quinoa can be served hot or cold, depending on your preference…it is delicious either way. The extra cooked quinoa can be stored in an airtight container in the fridge for several days.
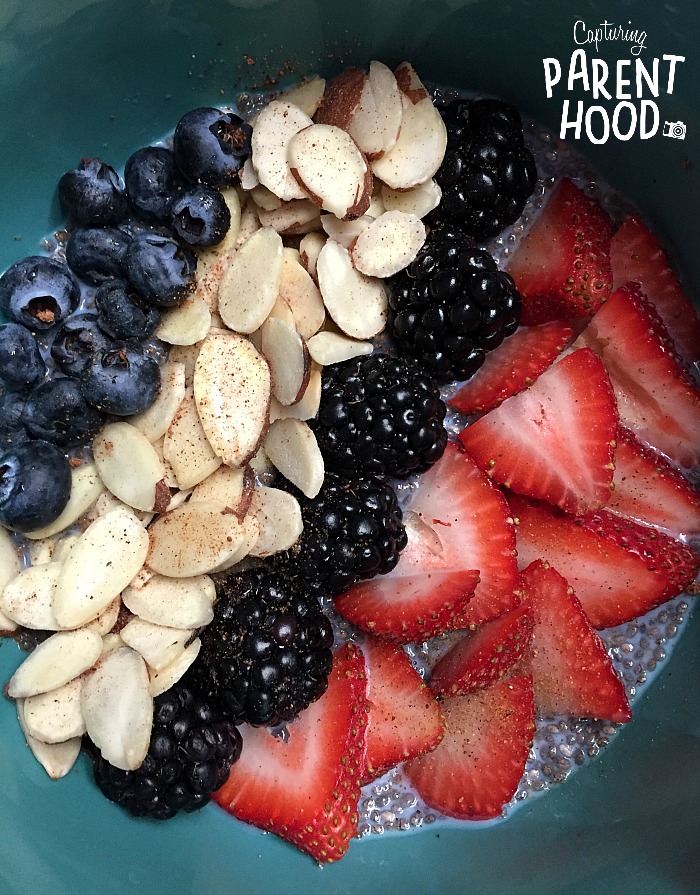
Chia Breakfast Bowl
Chia seeds are another food that has becoming increasingly popular over the past several years…again for their nutritional value and vast health benefits. While I typically like to add chia seeds to my smoothies (or quinoa bowls), if you soak the seeds in liquid, they create a pudding-like substance that makes the perfect base for yet another breakfast bowl!
Chia is an edible seed that comes from a desert plant in the mint family. The seeds are rich in omega-3 fatty acids and antioxidants. They are also a good source for fiber, calcium, phosphorus, magnesium, manganese, copper, iron, molybdenum, niacin, and zinc. And like quinoa, they have a nutty-like flavor.
While the pudding-like texture of the soaked chia seeds takes a little getting used to, I find that the subtle flavor pairs well with numerous fruits…my favorites being a mixture of colorful berries.
Ingredients:
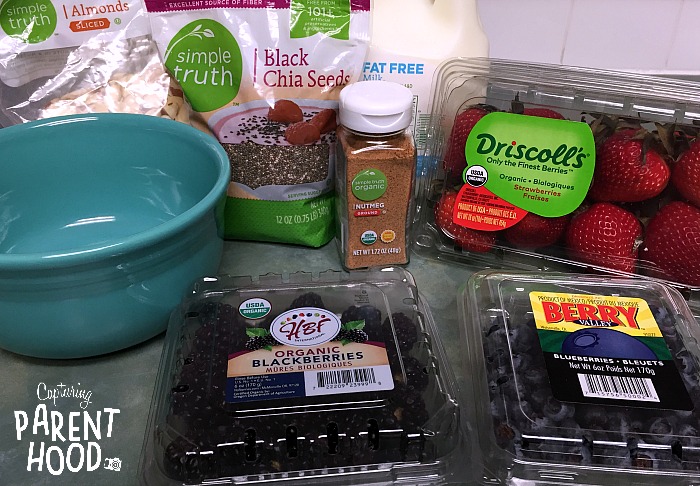
- 2 Tbsp. Chia Seeds
- 1/4 Cup Milk
- 3-4 Strawberries, Sliced
- 2 Tbsp. Blueberries
- 2 Tbsp. Blackberries
- 2 Tbsp. Sliced Almonds
- Dash of Nutmeg (optional)
Instructions:
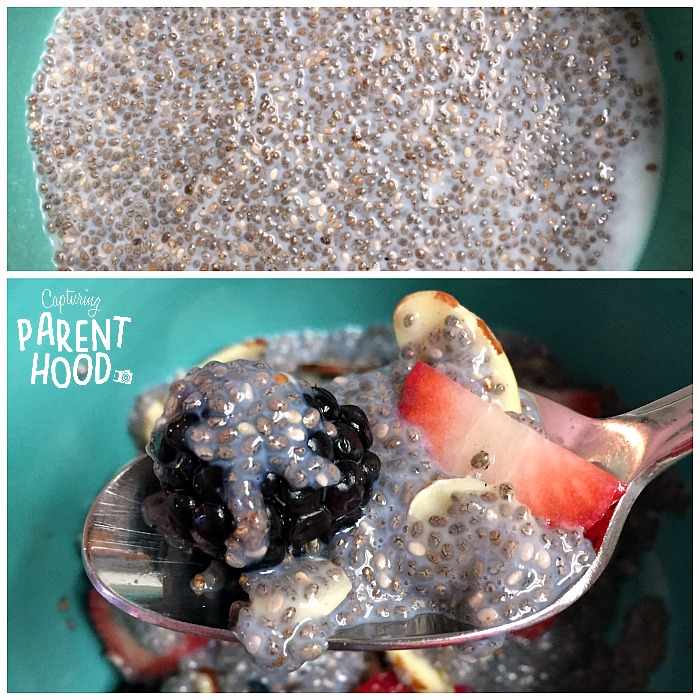
- Combine the chia seeds and milk in a bowl. Give a quick stir and let stand for approximately 15 minutes (stirring again halfway through). The chia seeds should soften and create a pudding-like substance.
- Top the chia seeds with the sliced strawberries, blueberries, blackberries, and sliced almonds.
- Sprinkle with nutmeg. Serve and enjoy!
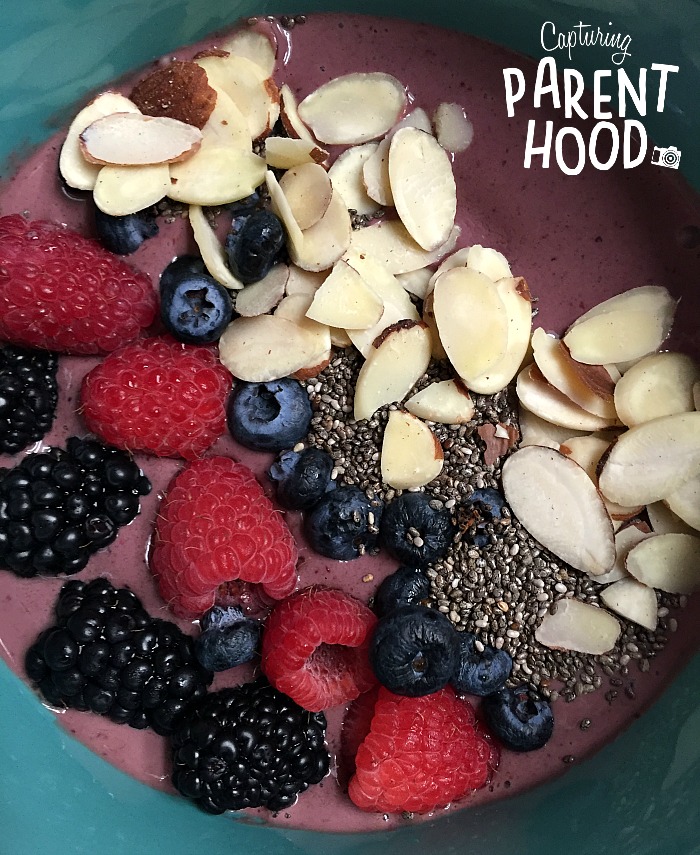
Smoothie Breakfast Bowl
I’m also pretty partial to smoothies during the summer. It’s hard to beat tossing everything into the blender, and then going on your merry way. Smoothies are the perfect on-the-go breakfast…but, every now and then I crave a little more texture with my breakfast. On those days, I simply create a thicker smoothie and transform it into a delicious berry-filled breakfast bowl.
Clearly I love my berries…but in reality, you could use just about any type of fruit in all of these breakfast bowls. In fact, part of the breakfast bowl appeal is the variety of ingredients that you can add. So, I highly recommend testing out various seasonal fruits throughout the year, to find out which ones you like best.
Ingredients:
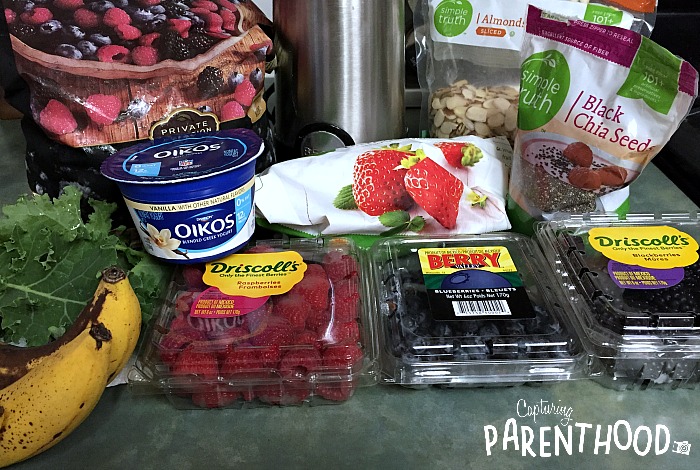
- 1/4 Cup Frozen Mixed Berries
- 2-3 Frozen Strawberries
- 1 Banana
- 4-5 Kale Leaves
- 1/2 Cup Vanilla Yogurt
- Milk, As Needed
- 2 Tbsp. Sliced Almonds
- 2 Tbsp. Blueberries
- 2 Tbsp. Raspberries
- 2 Tbsp. Blackberries
- 1 Tbsp. Chia Seeds
Instructions:
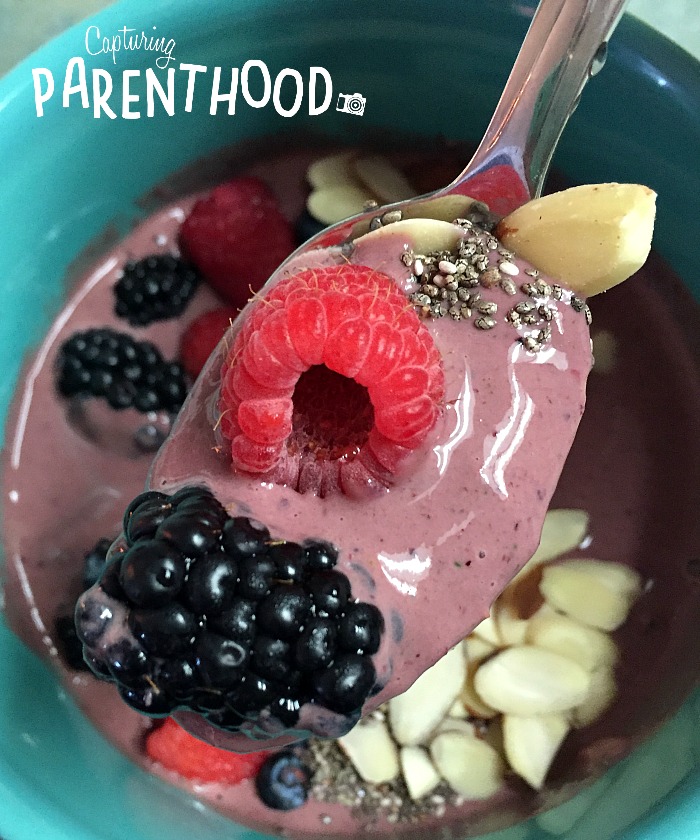
- Add the frozen fruit, banana, kale, and yogurt to a blender. I like to use a single-serving blender. As I mentioned, I prefer my smoothie bowls to be thicker than a traditional smoothie, so I only add as much milk as necessary to get all of the ingredients blended together.
- Pour the thickened smoothie into a bowl. Top with the sliced almonds, berries, and chia seeds.
- Enjoy!
And there you have it…three delectable and healthy breakfast options that you will love adding to your morning rotation this summer.
If you’re looking for another scrumptious (and cool) breakfast idea…check out our Overnight Oats post!