“We should not teach children the sciences; but give them a taste for them.”
– Jean-Jacques Rousseau
I strongly believe that conducting engaging science experiments with young children will result in a love for science, and a thirst for knowledge. A science experiment is a powerful sensory tool that encourages children to explore, wonder, observe, predict, and most importantly…ask questions. Our daughter’s eyes light up with excitement every time we conduct an experiment. And the process does not have to be elaborate or complicated. To prove my point, we are sharing one of our favorite simple science experiments for kids…Testing the Density of Oranges!
All you need is a glass vase, oranges, and water. It really can’t get any easier! And while the setup is extremely quick and easy, the experiment itself is thought-provoking. I was personally blown away by how such a simple experiment could be so engaging and educational for our little nugget. Even I didn’t know that an un-peeled orange always floats, while a peeled orange always sinks. Did you?
Testing the Density of Oranges
Supplies:
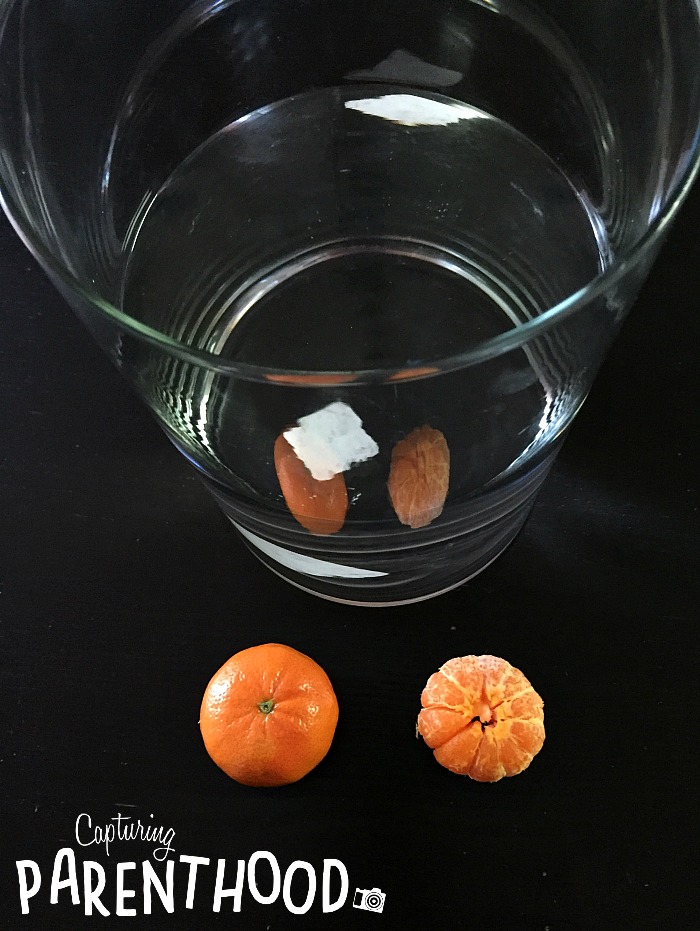
- Glass Vase/Pitcher
- 2 Oranges (we used mandarin oranges, but any type of orange will work)
- Water
Instructions:
- Fill the glass vase approximately 3/4 full, with water.
- Peel one orange and leave the other un-peeled.
- Ask your little ones what will happen to the oranges when they are placed in the water. Will they both sink? Will they both float? Have them make their predictions, and then test their hypotheses.
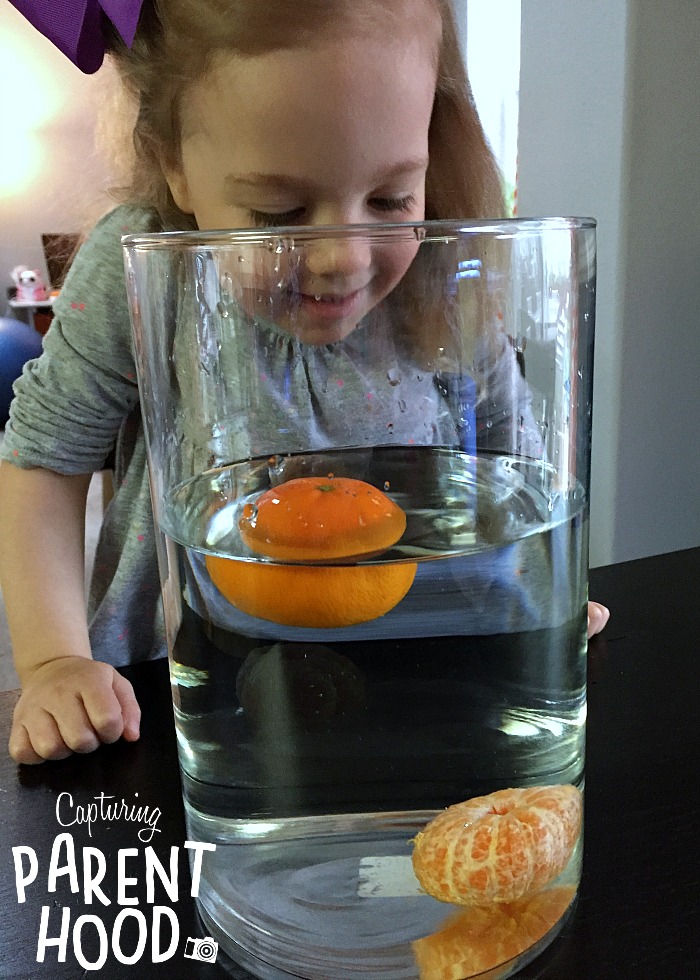
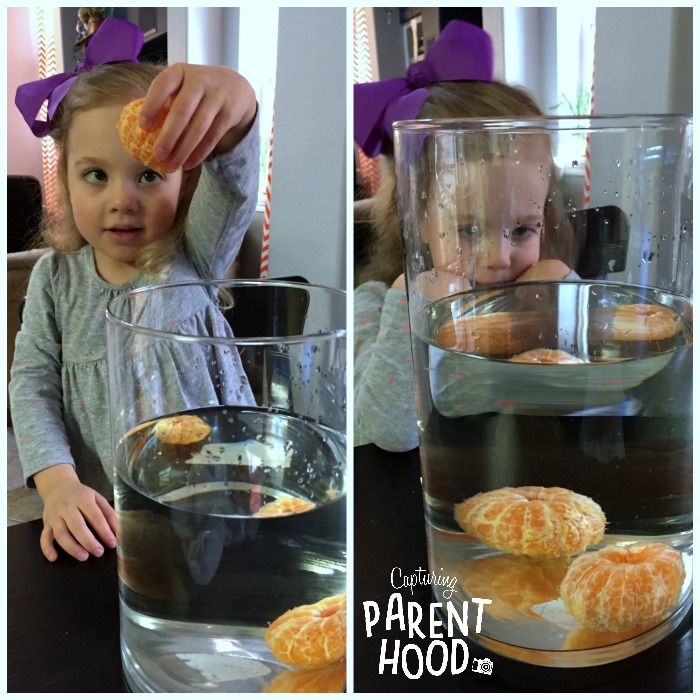
- Place the un-peeled orange in the water. Does it sink or float?
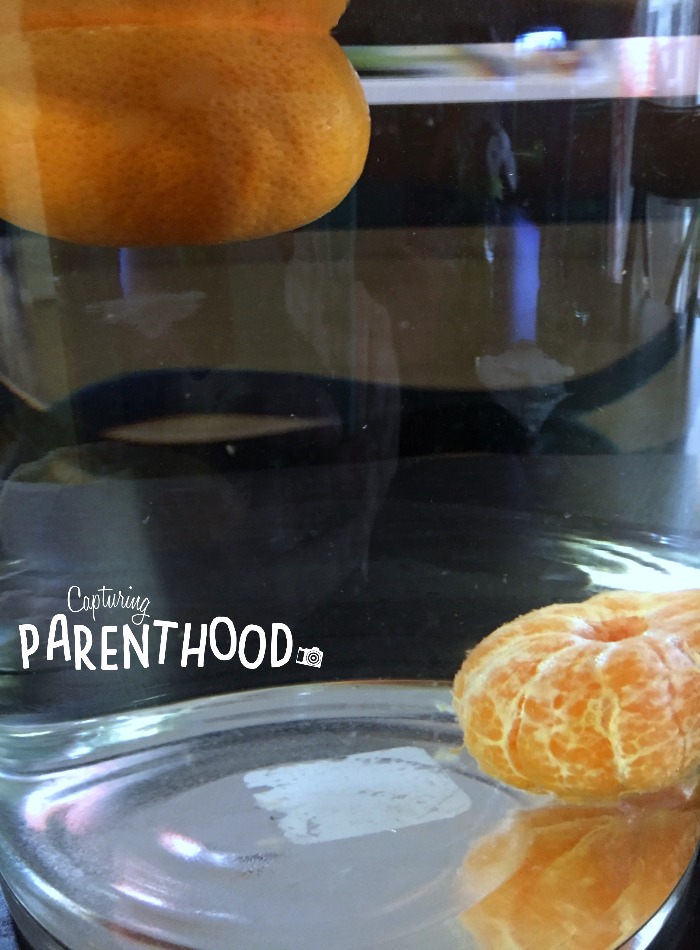
- Since the un-peeled orange floats (and it’s bigger and heavier than the peeled orange), do you think the peeled orange will also float? Add it to the water and watch as it sinks to the bottom of the vase.
- Ask your kiddos why one orange floats, and the other one sinks.
- What do they think will happen if they take the un-peeled orange out and peel it? Will it still float, as it did just minutes before? Or will it sink like the other peeled orange?
- Go ahead and peel the other orange and drop it in the water. When all of the wonder has worn off, have a little discussion about density (you can find the explanation behind this experiment below).
Density is the mass of an object relative to its volume. When you hold an un-peeled orange in one hand, and a peeled orange in the other, the un-peeled orange is bigger and heavier…so one would think that the un-peeled orange would be the one to sink in the water, right? The magic is in the orange peel (or rind). An orange rind is full of teeny-tiny air pockets that make the entire orange less dense than water…which is why it floats. When you peel the orange and remove the rind, you also remove all of the tiny air pockets, making the peeled orange more dense than water…which is why it sinks.
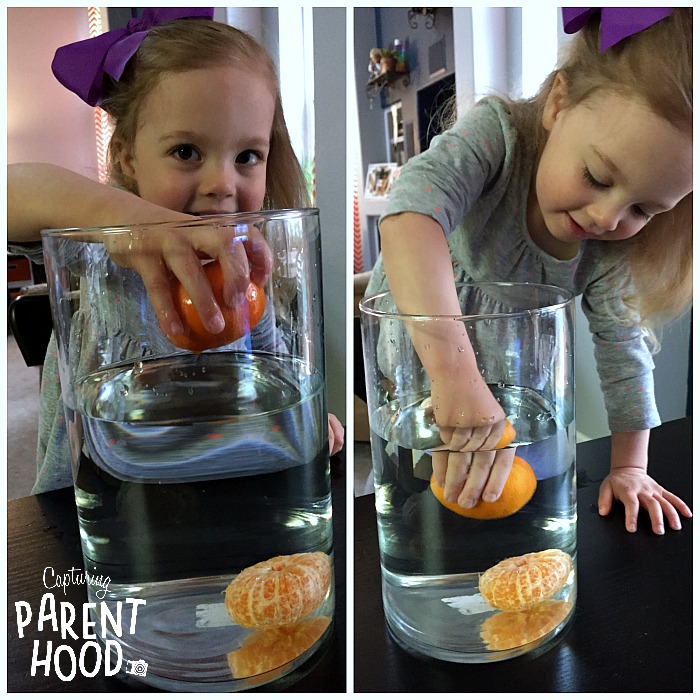
I loved how engaging this simple experiment was for our little nugget. She made predictions (hypotheses) for what would happen to the oranges before we placed them in the water, she observed the reactions, explored what would happen if she pushed an un-peeled orange down in the water with her hand, and most importantly…she asked lots of questions.
She was dead sure that when we removed the floating orange and peeled away the rind, it would still float in the water. I mean…it was just floating a few seconds ago, right? 🙂 She was slightly disappointed that her hypothesis was incorrect…but we learned the importance of testing our predictions and learning from the observations. Our little scientist in the making!
If you’re interested in more simple science experiments, that your kiddos are sure to love, make sure to check out: The Great Vinegar Eggsperiment, the Milk, Dye & Dish Soap Experiment, the Colorful Skittles Experiments, and the Walking Rainbow Experiment!